

Maintenance
SeaKing & SeaPrince Imaging Sonars
0374-SOM-00001, Issue: 08
37
© Tritech International Ltd.
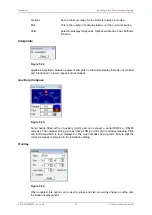
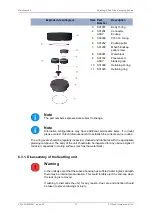
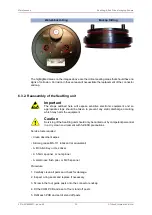
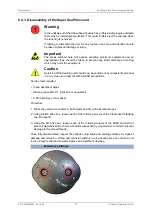
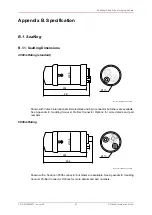
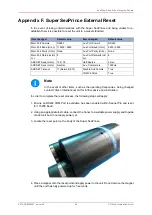
6.4.1. Disassembly of the Super SeaPrince unit
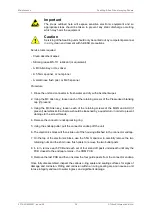
Warning
In the unlikely event that the subsea housing has suffered water ingress at depth
there may be internal pressurization. This could forcibly eject the end-cap when
the lock ring is removed.
If wishing to dismantle the unit, for any reason, due care and attention should
be taken to prevent damage or injury.
Important
The steps outlined here will expose sensitive electronic equipment and so
appropriate steps should be taken to prevent any static discharge occurring
which may harm the equipment.
Caution
Servicing of the SeaKing unit should only be carried out by competent personnel
in a dry, clean environment with full ESD precautions.
Service tools required
• Clean absorbent wipes
• Silicon grease MS-111 lubricant (or equivalent)
• A M3 Allen Key or Hex driver
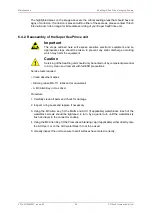
Procedure
1. Rinse the unit and connector in fresh water and dry with absorbent wipes
2. Using the M3 Allen key, loosen each of the retaining screws of the Pressurised blanking
cap (if present)
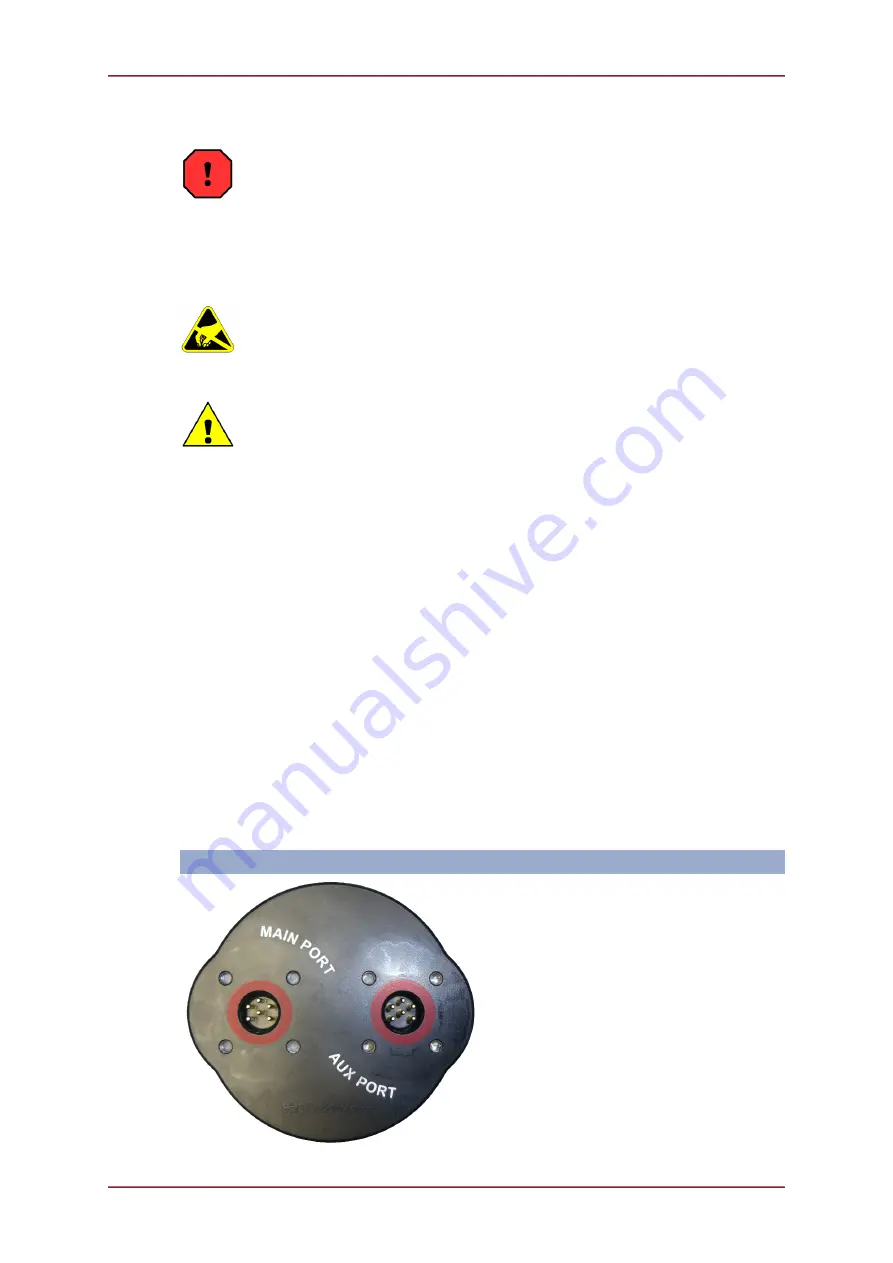
3. Using the M3 Allen key, loosen each of the retaining screws of the MAIN and AUX (if
present) waterblocks. Each screw should be loosened by a quarter turn in order to prevent
damage to the screw threads.
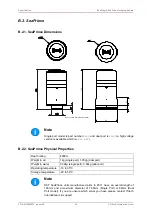
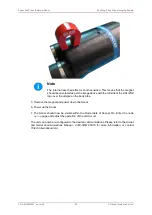
Once fully disassembled, inspect the various o-ring seals and sealing surfaces for signs of
damage and corrosion. Pitting and corrosion within an o-ring sealing area can cause a unit
to lose integrity and lead to water ingress and significant damage.
Waterblock O-Rings


