Model
Item no.
Network Digital Video Recorder
301050/ 51
Version
EN
triax.com
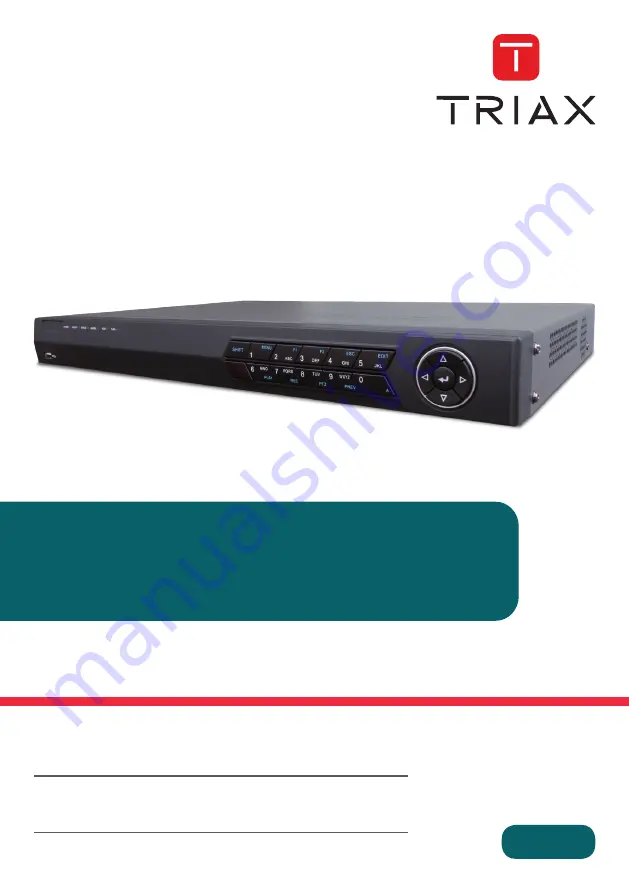
TNR 4, TNR 8
Page 1: ...Model Item no Network Digital Video Recorder 301050 51 Version EN triax com Network Digital Video Recorder TNR 4 TNR 8 ...
Page 2: ...signed for ventilation Do not cover or block these vents and openings as insufficient ventilation can cause overheating and or shorten the life of the product Place the device in well ventilated areas only Do NOT power off the DVR during normal recording conditions You must first stop the DVR recording function Then select shutdown from the lower left of the menu screen to exit Finally switch off ...
Page 3: ...eo cables 3 When installing cables ensure that the bend radius of the cables are no less than five times than its diameter 4 Connect both the alarm and RS 485 cable 5 Allow at least 2cm 0 75 inch of space between racks mounted devices 6 Ensure the NVR is grounded 7 Environmental temperature should be within the range of 10 C 55 C 14 F 131 F 8 Environmental humidity should be within the range of 10...
Page 4: ...the motherboard of NVR and the other end to the HDD 3 Connect the power cable to the HDD 4 Place the HDD on the bottom of the device and then fasten the screws on the bottom to fix the HDD 5 Re install the cover of the NVR and fasten screws ...
Page 5: ... turning on off the device 5 USB Interface Universal Serial Bus USB ports for additional devices such as USB mouse and USB Hard Disk Drive HDD 6 GND Ground needs to be connected when NVR starts up 7 HDMI Interface HDMI video output connector 8 VGA Output DB9 connector for VGA output Display local video output and menu 9 Audio In RCA connector for voice talk input 10 Audio Out RCA connector for aud...
Page 6: ... resolution 5MP 3MP 1080P UXGA 720P VGA 4CIF DCIF 2CIF CIF QCIF Synchronous playback 4 ch 720P 2 ch 1080P 1 ch 5MP 8 ch 4CIF 4 ch 720P 2 ch 1080P 1 ch 5MP Hard disk SATA 2 SATA interfaces for 2 HDDs Capacity Up to 4TB for each disk External interface Network interface 1 RJ 45 10 100 1000 Mbps self adaptive Ethernet interface 4 independent 10 100 Mbps PoE Ethernet interfaces Serial interface 1 RS 4...
Page 7: ...Rate Storage Used 96K 42M 128K 56M 160K 70M 192K 84M 224K 98M 256K 112M 320K 140M 384K 168M 448K 196M 512K 225M 640K 281M 768K 337M 896K 393M 1024K 450M 1280K 562M 1536K 675M 1792K 787M 2048K 900M Note Please note that supplied values for storage space is for reference only Storage space used is estimated by formulas and may have some deviation from actual value ...
Page 8: ...t an Uninterruptible Power Supply UPS be used in conjunction with the device The Power indicator LED on the front panel should be red indicating the device gets the power supply 2 Turn on the power switch on the rear panel to start the NVR immediately To shut down the NVR 1 Enter the Shutdown menu Menu Shutdown Shutdown Menu 2 Select the Shutdown button 3 Click the Yes button 4 Shut the power swit...
Page 9: ...t moment click the Cancel button You can also choose to use the Setup Wizard next time by leaving the Start wizard when NVR starts checked 2 Click Next button on the Wizard window to enter the Login window Login Window 3 Enter the admin password By default the password is 12345 4 To change the admin password check the New Admin Password checkbox Enter the new password and confirm the password in t...
Page 10: ...Date and Time Settings 6 After the time settings click Next button which takes you back to the Network Setup Wizard window TNR 4 and TNR 8 Network Configuration ...
Page 11: ...arameters to take you to the HDD Management window HDD Management 8 To initialize the HDD click the Init button Initialization removes all the data saved in the HDD 9 Click Next button to enter the Adding IP Camera interface 10 Click Search to find online IP Camera Select the IP camera to be added and click the Add button Search for IP Cameras 11 Click Next button Configure the recording for the s...
Page 12: ...n Live View mode to indicate different camera status These icons include Live View Icons In the live view mode there are icons at the top right of the screen for each channel showing the status of the record and alarm in the channel Alarm video loss tampering motion detection or sensor alarm Record manual record schedule record motion detection or alarm triggered record Alarm Record ...
Page 13: ...nd add the online IP cameras by following the startup wizard or through the following steps 1 Enter the Camera Management interface Menu Camera Camera Main Menu 2 To add the online cameras with same network segment 1 Click Search to search the online cameras Camera Settings Interface 2 Check the box of certain cameras to be added 3 Click Quick Add to add the camera ...
Page 14: ...fter the adding of the IP cameras the basic information of the camera lists in the page and you can configure the basic setting of the IP cameras Steps 1 Click the icon to edit the parameters you can edit the IP address protocol and other parameters Edit the Parameters 2 Click apply to save the settings and click OK to exit the editing interface To edit more parameters 1 Click the Advance Set icon...
Page 15: ...s Steps 1 Enter the PTZ Settings interface Menu Camera PTZ Camera Settings Interface 2 Choose the camera for PTZ setting next to Camera label 3 Enter the parameters of the PTZ camera Note All the parameters should be exactly the same as the PTZ camera parameters 4 Click Copy if you want to configure same settings to other PTZ cameras 5 Click the Apply button to save and exit the interface PTZ Cont...
Page 16: ...ription Direction button and the auto cycle button Zoom Focus Iris Zoom Focus Iris The speed of the PTZ movement Light on off Wiper on off 3D Zoom Image Centralization Preset Patrol Pattern Menu Previous item Next item Start pattern patrol Stop the patrol or pattern movement Minimize windows Exit ...
Page 17: ...ck Interface Playback by channel Steps 1 Enter the Playback menu Mouse right click a channel in live view mode and select Playback from the menu Right click Menu under Live View Front Panel press PLAY button to play back record files of the channel under single screen live view Under multi screen live view record files of the top left channel not masked will be played back Note pressing numerical ...
Page 18: ...rious devices such as USB flash drives USB HDDs or a DVD writer Steps 1 Enter Video Export interface Choose the channel s you want to back up and click on the Search button Quick Export Interface 2 Check Search result Choose the record file in Export interface and press button to check it Then click Export button 3 Enter Export interface choose backup device and press Export button to start export...
Page 19: ...Quick Export using USB1 1 Checkup of Quick Export Result Using USB1 1 ...
Page 20: ...ve When you log in for the first time the system will remind you to install the Plug in control After the installation you can configure and manage the device remotely Live View The live view interface appears by default when you log into the device Interface Introduction Camera List Displays the list of cameras and the playing and recording status of each camera Live View Window Displays the imag...
Page 21: ...ick Configuration Camera Settings Schedule Settings to enter Record Schedule settings interface 2 Select the camera to configure the record schedule 3 Select the checkbox of Enable Record Schedule 4 Click Edit to edit record schedule 5 Choose the day in a week to configure scheduled recording 1 Configure All Day or Customise record l If you want to configure the all day recording please check the ...
Page 22: ...lick the camera from the device list for playback 3 Select the date from the calendar and click Search Note The day with record will be marked like 4 Click the button to play the video file searched on the current date 5 Use the buttons on the toolbar to operate in playback mode Button Description Button Description Play Pause Stop Slow down Speed up Play by single frame Capture Stop All Playback ...
Page 23: ... Log on the menu bar to enter the Log interface 2 Set the log search conditions to refine your search including the Major Type Minor Type Start Time and End Time 3 Click the Search button to start searching log files 4 The matched log files will be displayed on the list shown below Note Up to 100 log files can be displayed on each page You can click the button to save the searched log files to loc...
Page 24: ...ogo and TRIAX TRIAX Multimedia are registered trademarks or trademarks of the TRIAX Company or its affiliates All specifications in this guide are subject to change without further notice TRIAX A S Bjørnkærvej 3 DK 8783 Hornsyld Denmark triax com support ...