41
Chapter 8
USB Settings
Computer
1 ) Open the
Windows Explorer
(or go to
Computer
, only for Windows
users) or open a web browser.
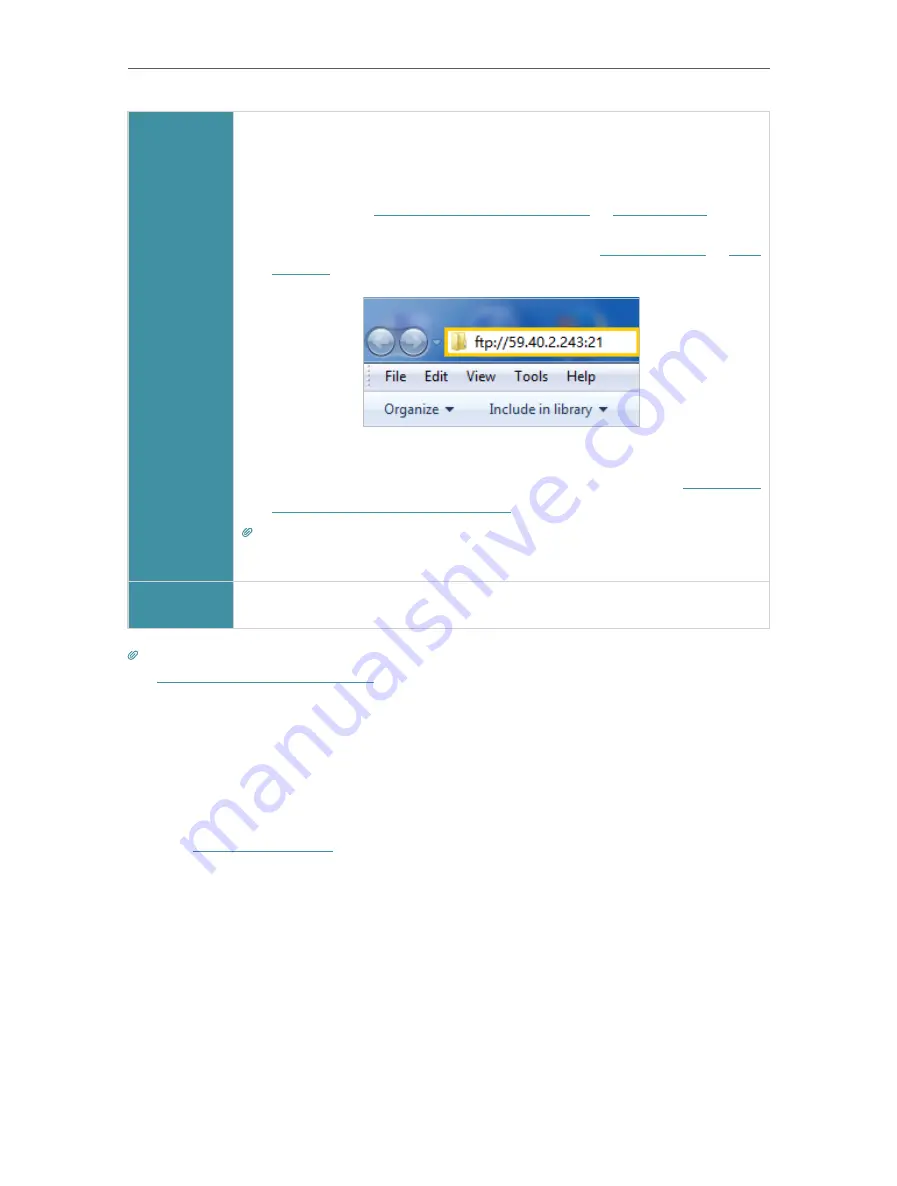
2 ) Type the server address
in the address bar:
Type in
ftp://<WAN IP address of the router>:<port number>
(such
as
ftp://59.40.2.243:21
). If you have specified the domain name
of the router, you can also type in
ftp://<domain name>:<port
number>
(such as
ftp://MyDomainName:21
)
3 ) Press
Enter
on the keyboard.
4 ) Access with the username and password you set in
Authentication for Data Security
Tips:
You can also access the USB disk via a third-party app for network files management, which can
resume broken file transfers.
Tablet
Use a third-party app for network files management.
Tips:
Set Up a Dynamic DNS Service Account
to learn how to set up a domain name for you router.
8 1 3 Customize the Access Settings
By default, all the network clients can access all folders on your USB disk. You can
customize your sharing settings by setting a sharing account, sharing specific contents
and setting a new sharing address on the router’s web management page.
1
Visit
http://tplinkwifi.net
, and log in with your TP-Link ID or the password you set for
the router.
2
Go to
Advanced
>
USB
>
USB Storage Device
.
• To Customize the Address of the USB Storage Device
You can customize the server name and use the name to access your USB storage
device.
1
In the
Access Method
session, make sure
Samba for Windows
is ticked, and enter a
Network/Media Server Name
as you like, such as
MyShare
, then click
SAVE
.


