36
Chapter 8
Guest Network
8 1 Create a Network for Guests
1. Visit
http://tplinkwifi.net
, and log in with your TP-Link ID or the password you set for
the router.
2. Go to
Advanced
>
Guest Network
. Locate the
Wireless
section.
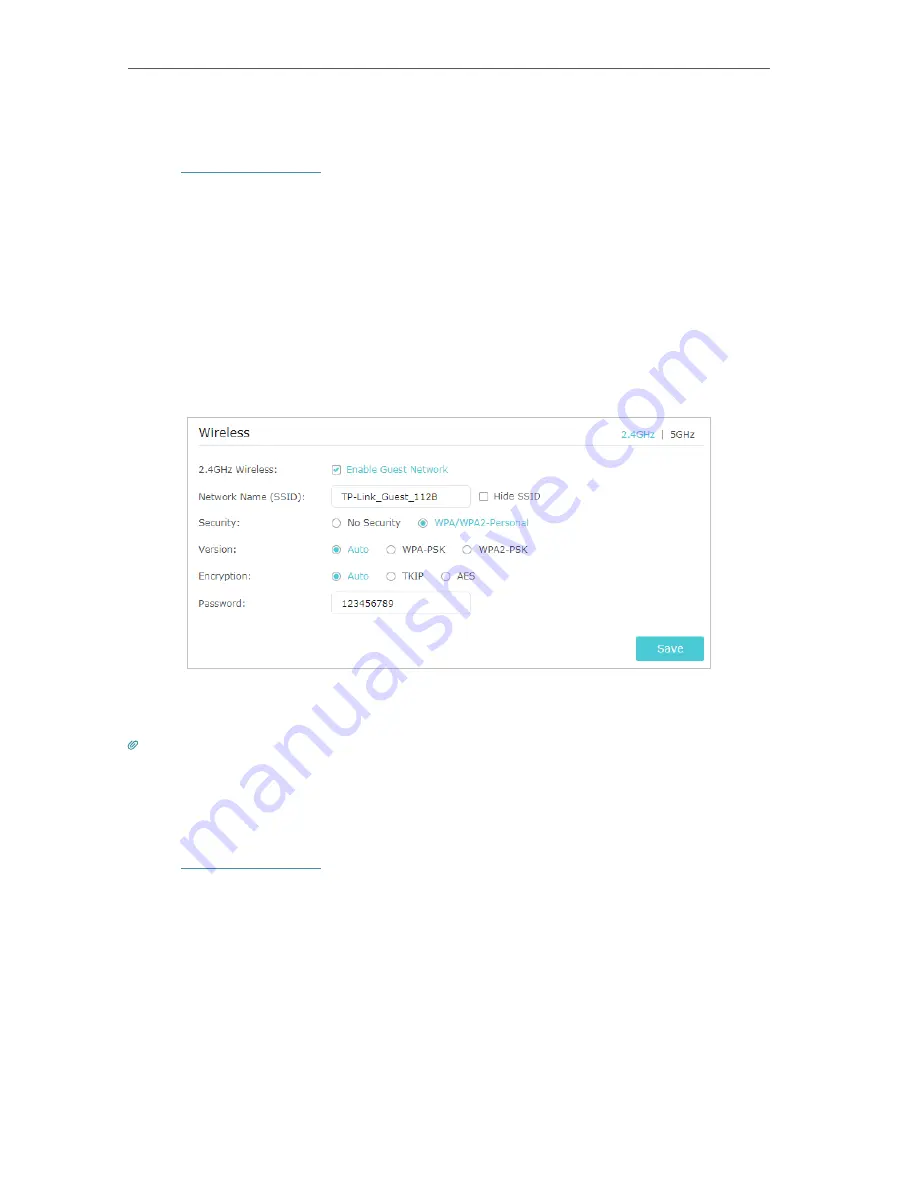
3. Create a guest network as needed.
1 ) Select
2.4GHz
or
5GHz
network and tick the
Enable Guest Network
checkbox.
2 ) Customize the SSID. Don‘t select
Hide SSID
unless you want your guests to
manually input the SSID for guest network access.
3 ) Set
Security
to
WPA/WPA2 Personal
, keep the default
Version
and
Encryption
values, and customize your own password.
4. Click
Save
. Now your guests can access your guest network using the SSID and
password you set!
Tips:
To view guest network information, go to
Advanced
>
Status
and locate the
Guest Network
section.
8 2 Customize Guest Network Options
1. Visit
http://tplinkwifi.net
, and log in with your TP-Link ID or the password you set for
the router.
2. Go to
Advanced
>
Guest Network
. Locate the
Settings
section.
3. Customize guest network options according to your needs.


