132
Setting the Color Profiles
1.
Click [[C
Coollo
orr]] on the left side of the screen.
2.
To set the [[IInnp
puutt PPrrooffiilleess]]:
1. Go to the [[IInnp
puutt PPrrooffiilleess]] section and expand it.
2. For the CMYK input profile, go to [[IInnp
puutt p
prrooffiillee,, C
CM
MY
YK
K]] and select the profile for each of the
[[IIm
ma
ag
geess]], [[TTeexxtt]], [[LLiinnee a
arrtt]], and [[SSm
mooootthh sshha
ad
deess]] objects.
3. For the RGB input profile, go to [[IInnp
puutt p
prrooffiillee,, RRG
GB
B]] and select the profile for each of the
[[IIm
ma
ag
geess]], [[TTeexxtt]], [[LLiinnee a
arrtt]], and [[SSm
mooootthh sshha
ad
deess]] objects.
4. For the gray input profile, go to [[IInnp
puutt p
prrooffiillee,, g
grra
ayy]] and select the profile for each of the
[[IIm
ma
ag
geess]], [[TTeexxtt]], [[LLiinnee a
arrtt]], and [[SSm
mooootthh sshha
ad
deess]] objects.
3.
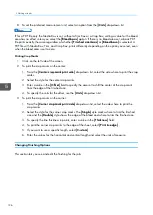
To allow one device to simulate another by using RGB separation, select a profile from the
[[RReeffeerreennccee p
prrooffiillee]] drop-down list.
4.
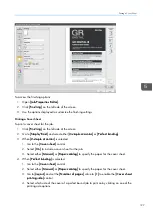
To set the [[PPrriinntteerr PPrrooffiilleess]]:
1. Go to the [[PPrriinntteerr PPrrooffiilleess]] section and expand it.
2. To set the printer profile on the front, go to [[PPrriinntteerr p
prrooffiillee,, ffrroonntt]] and select the profile for
each of the [[IIm
ma
ag
geess]], [[TTeexxtt]], [[LLiinnee a
arrtt]], and [[SSm
mooootthh sshha
ad
deess]] objects.
3. To set the printer profile on the back, go to [[PPrriinntteerr p
prrooffiillee,, b
ba
acckk]] and select the profile for
each of the [[IIm
ma
ag
geess]], [[TTeexxtt]], [[LLiinnee a
arrtt]], and [[SSm
mooootthh sshha
ad
deess]] objects.
4. To set separate intents for images, text, line art, and smooth shades, select one of the values
from the [[RReennd
deerriinng
g iinntteenntt]] drop-down list.
If separate intents are supported for color spaces, you can also set separate intents for the
CMYK, RGB, and Gray color spaces for each object.
Matching Spot Colors
The spot color is used when only one or two solid colors are needed on a page or when a color has to
match perfectly and be consistent.
To enable matching the spot colors:
1.
Click [[C
Coollo
orr]] on the left side of the screen.
2.
Go to [[SSp
poott ccoolloorr m
ma
attcchhiinng
g]].
3.
Select [[O
Onn]] from the drop-down list.
For more detailed settings, return to the console and go to C
Coonnffiig
guurra
attiioonn
→
→
C
Coolloorr
M
Ma
anna
ag
geem
meenntt
→
→
B
Ba
assiicc PPood
d.
Configuring the Advanced Color Settings
1.
Click [[C
Coollo
orr]] on the left side of the screen.
2.
Go to the [[A
Ad
dvva
anncceed
d]] section and expand it.
3.
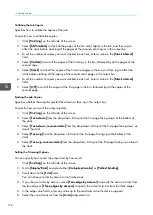
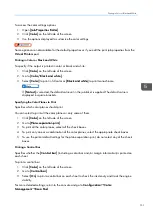
To substitute a color, set the [[C
Coolloorr ssuub
bssttiittuuttiioonn]] to [[O
Onn]].
Summary of Contents for Print Server R-60
Page 2: ......
Page 14: ......
Page 56: ......
Page 62: ...2 60 ...
Page 102: ...4 100 ...
Page 150: ...5 148 ...
Page 162: ...6 160 ...
Page 172: ...7 170 ...
Page 178: ...8 176 ...
Page 198: ...10 196 ...
Page 208: ...206 ...
Page 218: ...Copyright 2015 2015 Ricoh Company Ltd All rights reserved ...
Page 219: ......

