4-1
W
EB
C
ONFIGURATION
Chapter 4
Web Configuration
After you have configured your system as described in Chapter 3, Setup, you can
proceed with the initial configuration described in this chapter.
You can manage the Wireless Routing Center through a Web browser-based
manager. To configure the Wireless Routing Center via Web browser, at least one
properly configured computer must be connected to the network and reside on the
same subnet as the Wireless Routing Center. The Wireless Routing Center comes
with the default IP address of 192.168.10.1 and subnet mask of 255.255.255.0. The
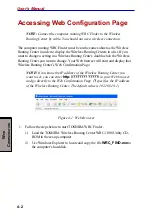
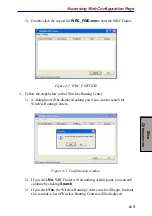
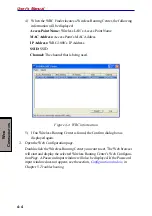
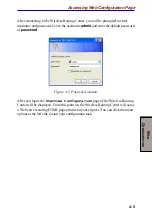
DHCP Server is enabled by default. You can also use the TOSHIBA WRC Finder
program on the TOSHIBA Wireless Routing Center WRC-1000 Utility CD-ROM
to open the Wireless Routing Center’s Web Configuration page.
NOTES: 1. If data is being transmitted while you are changing settings,
transmission will be interrupted when you click
Apply
.
2. The DHCP server function is enabled before the Wireless
Routing Center is shipped. If the LAN has other DHCP
servers, the DHCP server function of the Wireless Routing
Center must be disabled.
3. You will need Internet Explorer version 5.0 or higher.
4. If your browser is set to allow you to use a Proxy on your
LAN, you will not be able to display the Wireless Routing
Center set-up page. In this case, follow the steps below.
a. Open the
Start
menu and open the
Control Panel
.
b. Click
Network and Internet Connections
.
c. Click
Internet Options
.
d. Select the
Connections
tab and click
LAN Settings
.
e. Clear the checkbox for
Use a proxy server for
your LAN (These settings will not
apply to dial-up or VPN connections)
.
f. Click
OK
.


