Error! Style not defined. Error! Style not defined.
4 Replacement Procedures
4.6 HDD
Removing the HDD
CAUTION: Do not press on the top or bottom of the drive.
Applying such pressure can either corrupt the data in the drive or
damage the drive.
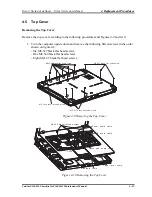
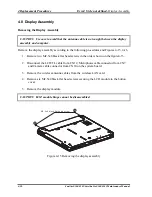
Remove the HDD (hard disk drive) according to the following procedures and Figures 4-11,
4-12.
1.
Release the three M2x4 black flat screws securing the HDD.
2.
Pull out the HDD, following the direction of the arrow.
M2x4 black flat head screw
FM
cable
grounding
wire
Figure 4-11 Removing the HDD pack
NOTE: Do not disassemble the HDD pack when it is working normally. Disassemble
or replace the HDD pack only if it fails.
3.
Place the HDD pack on a flat surface (such as a desk), and remove the four M3x3.5
black flat head screws.
4.
Place the HDD pack on a flat surface (such as a desk), and remove the chassis.
Satellite E100/E105/ Satellite ProE100/E105
Maintenance Manual
4-21
Summary of Contents for Satellite E100 Series
Page 13: ...Chapter 1 Hardware Overview i Satellite E100 E105 Maintenance Manual ...
Page 14: ...1 Hardware Overview ii Satellite E100 E105 Maintenance Manual ...
Page 35: ...2 Troubleshooting 2 i Satellite E100 E105 Maintenance Manual 2 概要 Chapter 2 Troubleshooting ...
Page 63: ...2 13Cooling Module 2 Troubleshooting Satellite E100 E105 Maintenance Manual 2 25 ...
Page 64: ...Chapter 3 Diagnostic Programs ...
Page 67: ......
Page 106: ...3 5 System Test 3 Diagnostic Programs Satellite E100 Maintenance Manual 39 ...
Page 125: ...3 Diagnostic Programs 3 8 Video 58 Satellite E100 Maintenance Manual ...
Page 137: ...Chapter 4 Replacement Procedures 4 1 ...
Page 138: ...4 Replacement Procedures 4 ii Satellite E100 E105 Satellite ProE100 E105 Maintenance Manual ...
Page 191: ......
Page 196: ...6000 1 次 Appendices ...

