


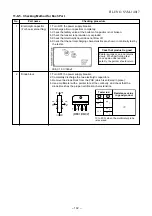


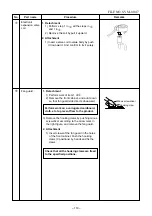


Plasma-ion
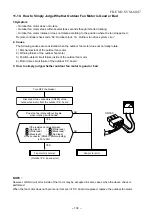
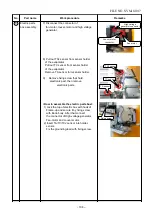
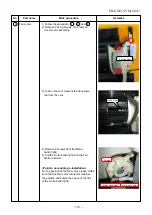
1) Follow to the procedure in the item
charger, High
2) Remove 5 screws and remove the ion-
volt generator
charger assembly from the frame.
3) Remove the Plasma-ion charger
from the
High
volt generator assembly.
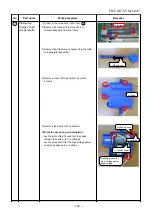
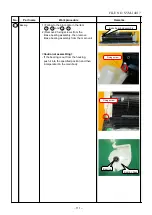
4) Remove cover of HV generator by unlock
4 claws.
5) Remove the board of HV generetor.
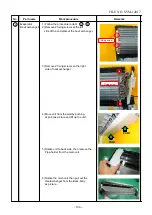
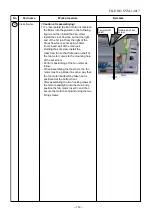
<Points to note during re-installation>
- Lay the wires straight, such that they pass
through the earth wire in a U-shape.
- Lay the wires such that the high voltage power
supply line passes in a U-shape.
No.
Part name
Work procedure
Remarks
7
5
5 Screws
Plasma-ion
4 Claws
U-shape groove
U-shape groove for
high- voltage power
supply's lead
Ground lead
HV power supply
−
1
08
–
FILE NO. SVM-1
401
7