


1.BEFORE USING EQUIPMENT
Placing Paper 21
1 BEFORE USING EQUIPMENT
6
Press [CLOSE] on the touch panel or the [USER FUNCTIONS] button on the control
panel.
Clearing the set paper type
Press the drawer button on the menu in step 4, and then press the paper type whose setting you want
to clear.
If both INSERT 1 and INSERT 2 are set and you clear the setting of only INSERT 1, the setting for
INSERT 2 automatically becomes the setting for INSERT 1.
Placing paper in the External Large Capacity Feeder (optional)
y
A maximum of 4500 sheets (64 g/m
2
) (17 lb. Bond) can be placed. However the stack height of
the paper must not exceed the line indicated on the rear side guide.
y
The copy side may be noted on its wrapping paper.
y
Be careful not to cut your fingers when fanning the paper.
y
Do not allow any gap between the paper and the rear side guide. If there is any gap, the copied
image may be skewed.
3
Push the drawer of the External Large Capacity Feeder straight into this equipment
carefully.
When the drawer is completely inserted, the tray will move up to the paper feeding position.
Be careful not to let your fingers be caught when pushing the drawer into this equipment.
This could injure you.
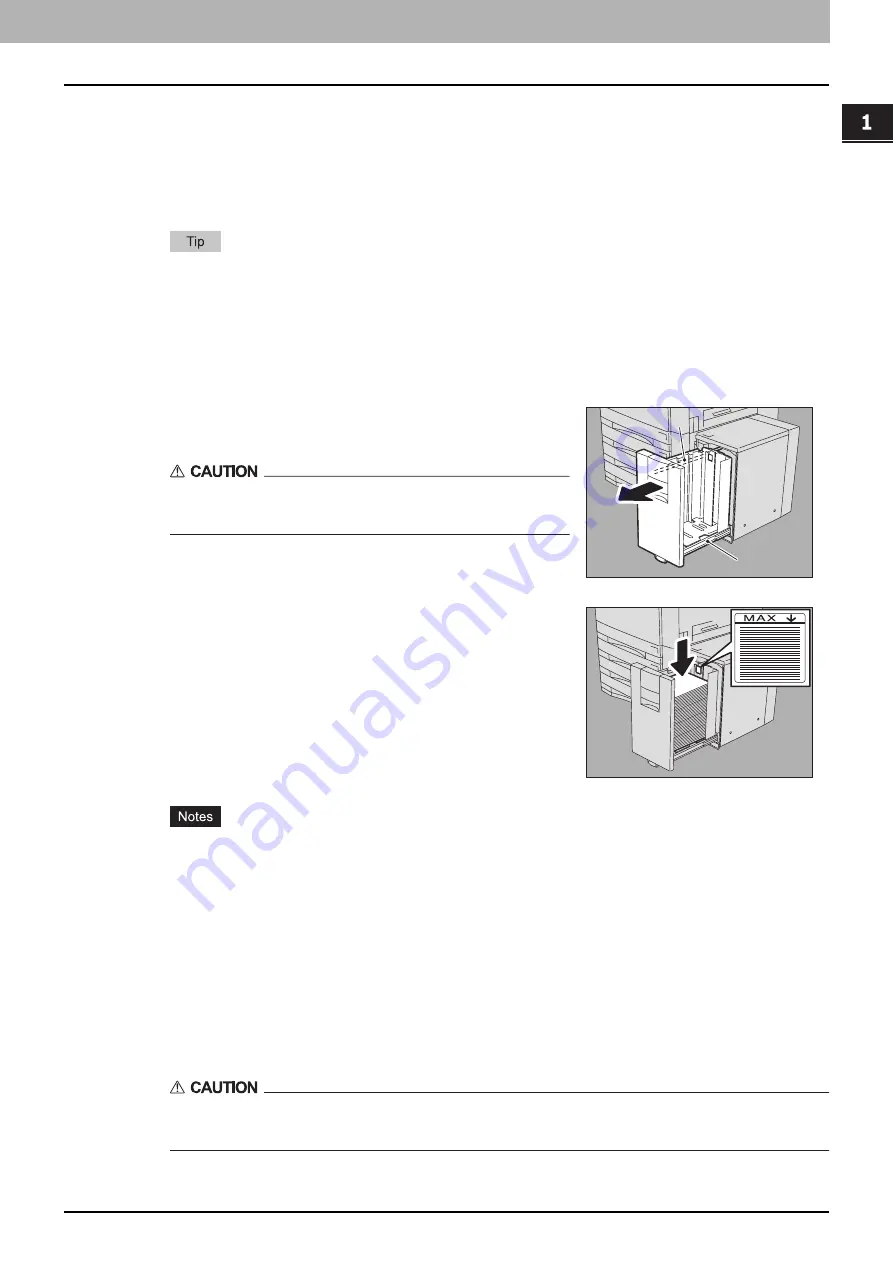
1
Pull out the drawer of the External Large Capacity
Feeder carefully until it comes to a stop.
Be careful not to touch the slide rails (A in the figure).
This could injure you.
2
Place paper on the tray.
Fan and jog the paper well before placing it on the tray. Place it
with its copy side up. Do not allow any gap between the paper
and the rear side guide.
A
A
Summary of Contents for e-STUDIO557
Page 1: ...MULTIFUNCTIONAL DIGITAL SYSTEMS Copying Guide ...
Page 8: ...6 CONTENTS ...
Page 24: ......
Page 86: ...Inserter 129 ...
Page 134: ......
Page 140: ......
Page 168: ......
Page 174: ......
Page 178: ...176 INDEX ...


