Basic Procedure for Internet Faxing
- 99 -
Faxing (for
e-
STUDIO403S only)
3
4
Check that [
Close the list
] is selected
and then press .
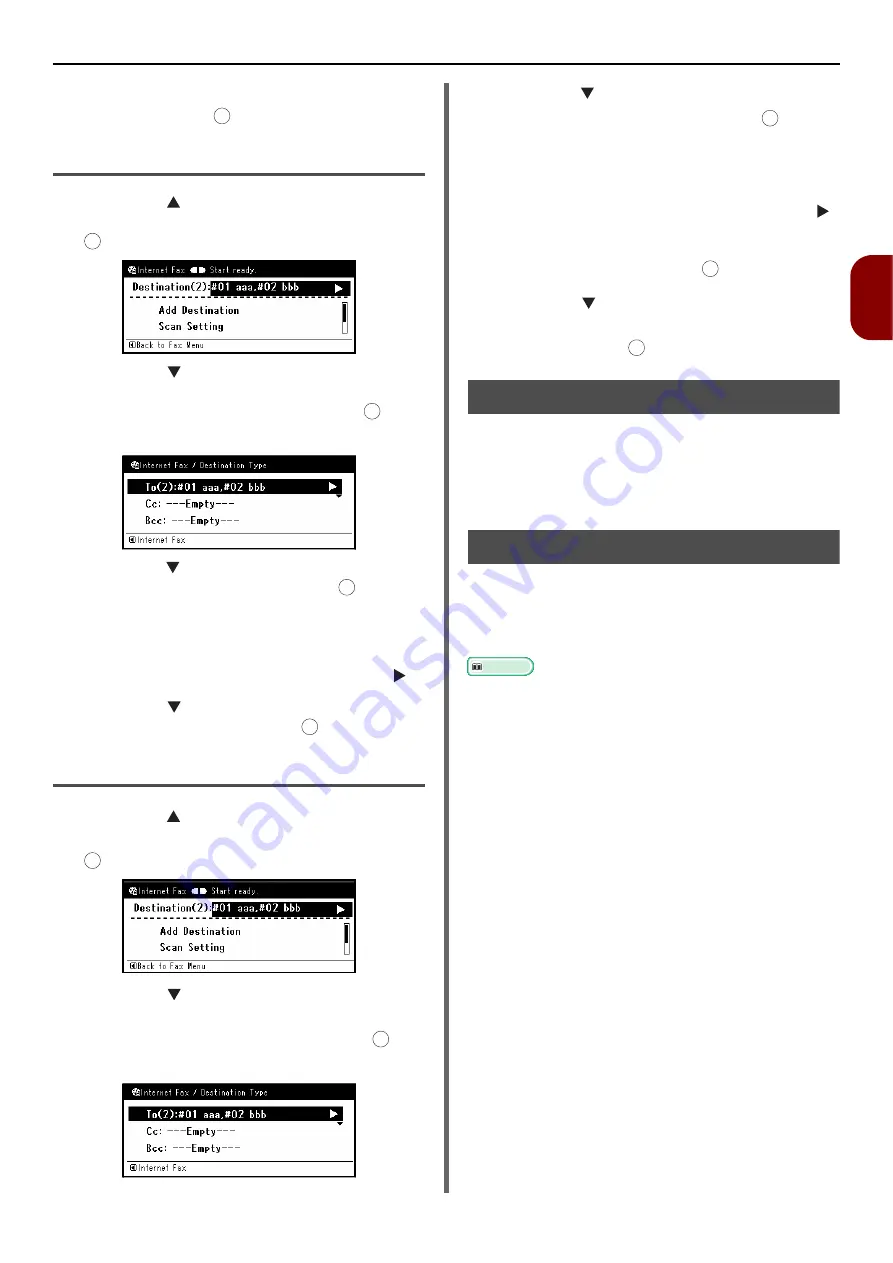
Deleting a Destination
1
Press the on the start screen to select
the specified destination and then press
.
2
Press the to select the destination
type in which the destination you want to
delete is included and then press .
The destination type includes To, Cc, and Bcc.
3
Press the to select the destination you
want to delete and then press .
The check box is selected. You can select multiple
addresses.
4
When you have selected all the
destinations to be deleted, press the .
5
Press the select [
Delete The
Address
] and then press .
Changing the Destination Type
1
Press the on the start screen to select
the specified destination and then press
.
2
Press the to select the destination
type in which the destination you want to
change is included and then press .
The destination type includes To, Cc, and Bcc.
3
Press the to select the destination you
want to change and then press .
The check box is selected. You can select multiple
addresses.
4
When you have selected all the
destinations to be changed, press the .
5
Check that [
Edit Destination Type
] is
selected and then press .
6
Press the to select the destination
type you want from [
To
], [
Cc
], or [
Bcc
]
and then press .
Canceling Transmission
While the "Scanning" screen is displayed, you
can cancel the job.
1
Press the <
STOP
> key on the operator
panel to cancel transmission.
Receiving Internet Faxes
The machine automatically prints the Internet
faxes it receives. If the document is larger than
A4 size, the machine automatically reduces it to
the size of the paper in the specified paper tray.
Reference
z
If you want to forward an Internet fax, you can use the
auto delivery function (e-STUDIO403S only). For details,
refer to the User's Manual Advanced.
z
The Auto Delivery function does not operate on machines
that do not have an SD card inserted.
z
In order to receive Internet faxes, it is necessary to
configure e-mail receiving settings beforehand. For details,
please refer to the User's Manual Advanced.
OK
OK
OK
OK
OK
OK
OK
OK
OK
OK


