Configuring Copy Settings
- 78 -
z
Configuring Copy Settings
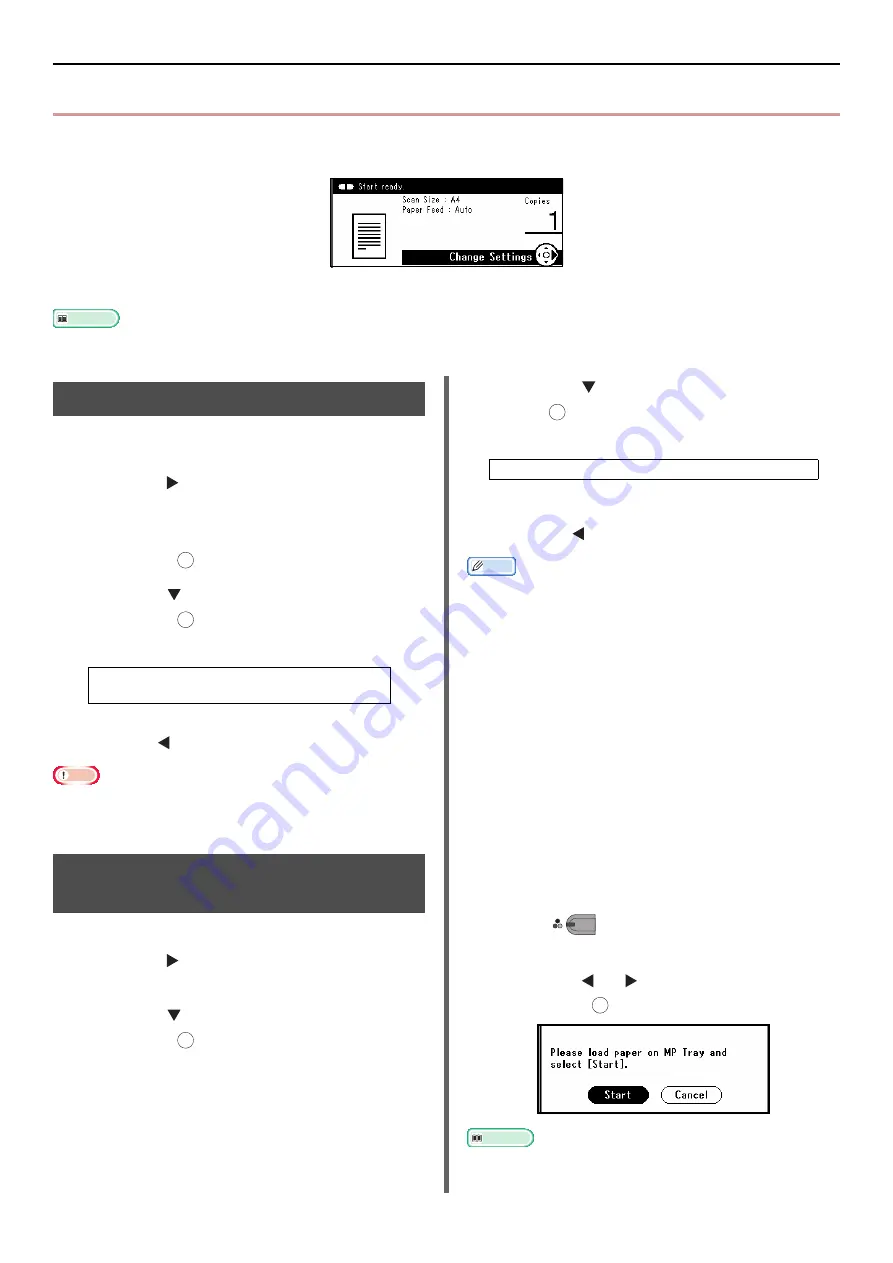
You can change the copy settings to alter the output to suit your needs. Each setting can be configured
from the [
Change Settings
] menu on the copy standby screen.
Perform the following procedures at step 3 of
described above.
Reference
z
The changes made in the [
Change Settings
] menu on the copy standby screen are temporary. You can change the default
settings by configuring [
Admin Setup
] from the <
SETTING
> key. For details, refer to the User's Manual Advanced.
Changing the Scan Size (Scan Size)
You can select the appropriate size of the
document to be scanned.
1
Press the to enter the [
Change
Settings
] menu.
2
Check that [
Scan Size
] is selected and
then press .
3
Press the to select a scan size and
then press .
4
Press the until the start screen is displayed.
Note
z
If you select the scan size of less than or equal to
177.8mm (7 inches) wide, and make copies from ADF,
Scan Resolution is changed to High Quality automatically.
Changing the Paper Tray
(Paper Feed)
You can select the size of the document to be copied.
1
Press the to enter the [
Change
Settings
] menu.
2
Press the to select [
Paper Feed
] and
then press .
3
Press the to select a tray and then
press .
4
Press the until the start screen is displayed.
Memo
z
[
Tray 2
] is displayed only when the optional second tray
unit is installed.
z
When set to [
Auto
], the MP tray is not selected in the
default setting. To use the MP tray, press the <
SETTING
>
key and select [
Paper Setup
] > [
Select Tray
] > [
Copy
] >
[
MP tray
], and then select [
ON
] or [
ON (Prior)
].
z
When set to [
Auto
], the paper tray that holds paper other
than A4, B5, A5, A6, letter, legal 13/13.5/14, or executive
is not selected. To use a different paper size, select the
desired paper tray in the [
Paper Feed Tray
] setting.
Copying Using the MP Tray
If you have selected [
MP Tray
], you can copy your
documents onto the paper loaded in the MP tray.
1
Place your document with text face up in the
ADF or face down on the document glass.
2
Load the paper in the MP tray.
3
Press .
4
When the pop-up message is displayed,
press the or to select [
Start
] and
then press .
Reference
z
For details on how to load the paper in the MP tray, refer to
"Loading Paper on the MP Tray (e-STUDIO403S)" P. 38
.
Settable Values:
A4* A5 A6 B5 Letter Legal 13
Legal 13.5 Legal 14 Executive
*indicates the factory default.
OK
OK
OK
Settable Values:
Auto* Tray 1 Tray 2 MP Tray**
*indicates the factory default.
**Not displayed in e-STUDIO332S.
OK
M
ONO
OK


