


2 COPY FUNCTIONS
Copy Settings 45
Copy Settings
You can make the copy settings on the copy functions menu.
Press [CANCEL] to exit from the setting without making any changes.
Adjusting the exposure
You can adjust the density to make copies lighter or darker in nine levels from -4 to +4. The auto density
setting can represent the copy image in the middle density status.
You can directly access this function by pressing . The button operation varies depending on the region.
For Europe and the Americas:
P.42 “Using the “EXPOSURE” or “ID CARD” function quickly”
1
Press [COPY].
2
Press or to select the item displayed on the LCD screen, and then press .
3
Press or to select the setting item.
4
Adjust the density as follows.
For “AUTO”:
Press [OK].
For manual:
1) Press or to increase or decrease the density level.
2) Press [OK].
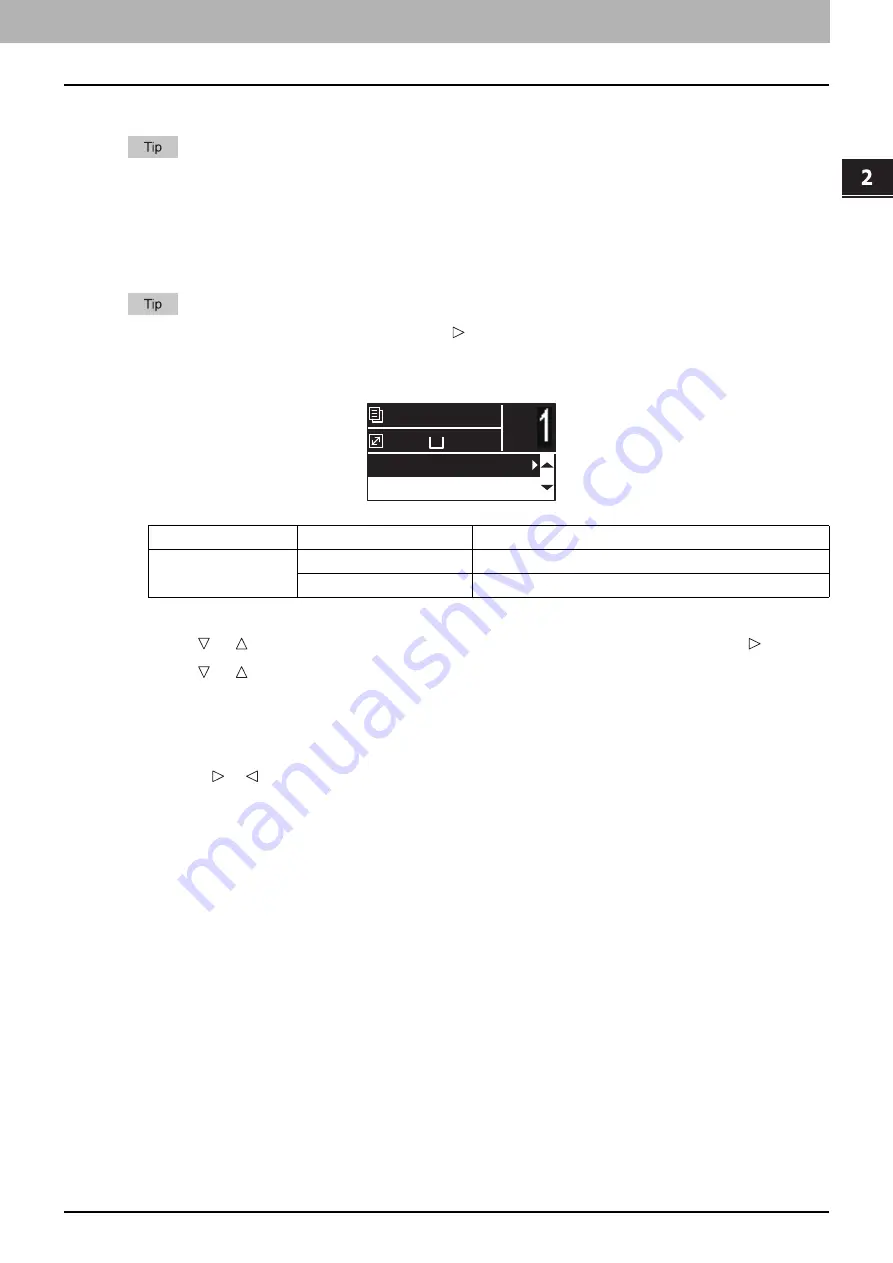
Menu Functions
Settings
Description
EXPOSURE
AUTO
Adjusts the density automatically.
Manual
Adjusts the density manually.
A4
1
READY
100%
AUTO EXPOSURE
TEXT/PHOTO
Summary of Contents for e-studio2309a
Page 1: ...MULTIFUNCTIONAL DIGITAL SYSTEMS User s Guide ...
Page 6: ......
Page 38: ......
Page 132: ......
Page 200: ......
Page 219: ...8 MAINTENANCE AND INSPECTION Regular Cleaning 218 Cleaning Charger 219 ...
Page 222: ......
Page 230: ......
Page 235: ...DP 2309A 2809A OME150006A0 ...


