


5.SCAN FUNCTIONS
Scan Settings 163
5 SCAN FUNCTIONS
Removing blank pages
If your original contains blank pages, you can remove them from the scan result.
This function is available only when “BLACK” is selected in the “COLOR MODE” function.
1
Press [SCAN].
2
Press or to select the item displayed on the LCD screen, and then press .
3
Press or to select the setting item, and then press [OK].
Adjusting the exposure
You can adjust the density to make scans lighter or darker in nine levels from -4 to +4. The auto density
setting can represent the scan image in the middle density status.
This function is not available when “GRAY SCALE” is selected in the “COLOR MODE” function.
“AUTO” is available only when “BLACK” is selected in the “COLOR MODE” function and “TEXT” or
“TEXT/PHOTO” is selected in the “ORIGINAL MODE” function.
1
Press [SCAN].
2
Press or to select the item displayed on the LCD screen, and then press .
3
Press or to select the setting item.
4
Adjust the density as follows.
For “AUTO”:
Press [OK].
For manual:
1) Press or to increase or decrease the density level.
2) Press [OK].
Menu Functions
Settings
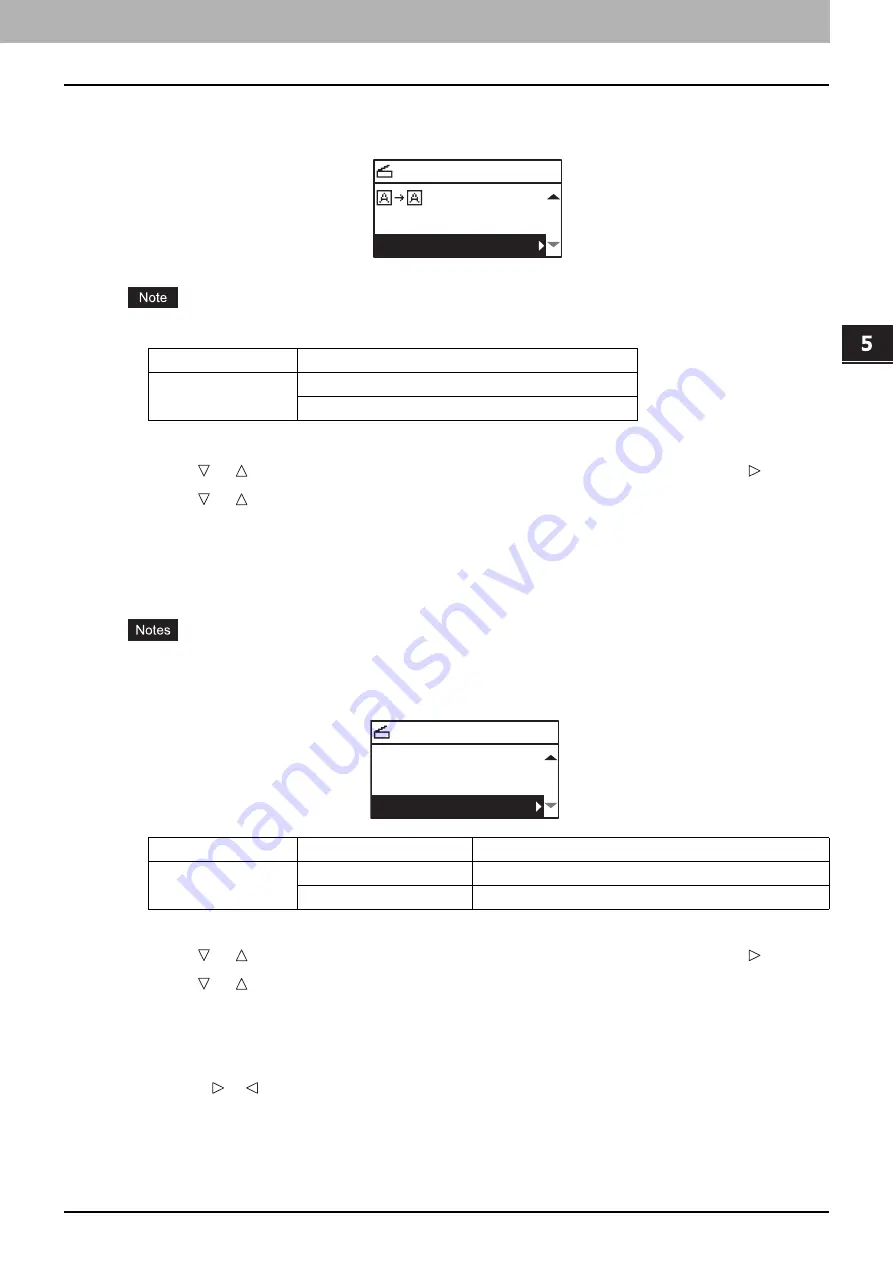
OMIT BLANK
PAGE
OFF
ON
SELECT SCAN TYPE
OMIT BLANK:OFF
COMPRESS:LOW
Menu Functions
Settings
Description
EXPOSURE
AUTO
Adjusts the density automatically.
Manual
Adjusts the density manually.
SELECT SCAN TYPE
AUTO EXPOSURE
OMIT BLANK:OFF
COMPRESS:LOW
Summary of Contents for e-studio2309a
Page 1: ...MULTIFUNCTIONAL DIGITAL SYSTEMS User s Guide ...
Page 6: ......
Page 38: ......
Page 132: ......
Page 200: ......
Page 219: ...8 MAINTENANCE AND INSPECTION Regular Cleaning 218 Cleaning Charger 219 ...
Page 222: ......
Page 230: ......
Page 235: ...DP 2309A 2809A OME150006A0 ...


