Printing from Application on Mac OS X 10.2.4 to Mac OS X 10.4.x 291
— Finishing
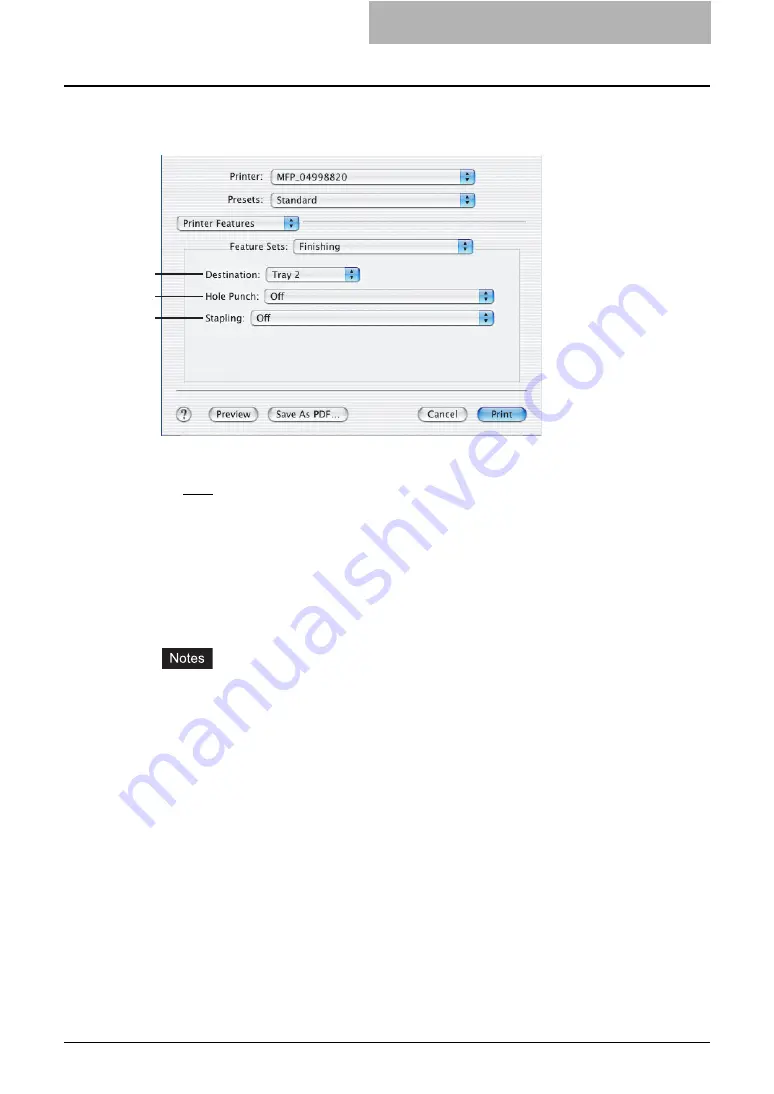
In the Finishing menu, you can set destination, hole punching and stapling.
1) Destination
This selects the destination tray.
-
Auto
— Select this to route the output to the default tray (that is set as the default tray for
raw job in the Printer setting page of TopAccess Administrator’s page).
-
Inner Tray
— Select this to route the output to the inner tray.
-
Tray 1
— Select this to route the output to the upper tray of the Finisher.
-
Tray 2
— Select this to route the output to the lower tray of the Finisher.
-
Job Separator Upper
— Select this to route the output to the upper tray of the Job Sep-
arator.
-
Job Separator Lower
— Select this to route the output to the lower tray of the Job Sep-
arator.
y
Depending on the type of finisher installed and destination settings, stapling and hole
punching may not be performed.
y
Depending on the equipment settings, the paper may be delivered to a tray that cannot
carry out stapling or hole punching when “Auto” is selected as the “Destination” option.
y
For e-STUDIO452 Series and e-STUDIO453 Series, “Tray 1” and “Tray 2” can be
selected when the Hanging Finisher, Finisher (Type A), Finisher (Type B), or Saddle
Stitch Finisher are installed.
y
When the Finisher (Type B) is installed in the e-STUDIO452 Series and stapling is
enabled, select “Tray 2”.
y
For e-STUDIO282 Series and e-STUDIO283 Series, “Tray 1” and “Tray 2” can be
selected when the Hanging Finisher is installed, and “Tray 1” can be selected when the
Saddle Stitch Finisher is installed.
y
When the optional Job Separator is installed, you can select “Job Separator Upper” and
“Job Separator Lower” instead of “Inner Tray”.
1
2
3
Summary of Contents for e-studio202L
Page 1: ...MULTIFUNCTIONAL DIGITAL SYSTEMS Printing Guide ...
Page 2: ......
Page 10: ......
Page 14: ...12 INDEX 349 ...
Page 20: ......
Page 200: ......
Page 332: ......
Page 354: ......


