e-STUDIO2020C/2330C/2820C/2830C/3520C/3530C/4520C
© 2008 - 2011 TOSHIBA TEC CORPORATION All rights reserved
ERROR CODE AND TROUBLESHOOTING
6 - 88
6.2.20
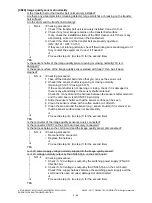
Image control related service call
(1)
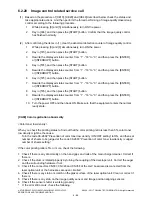
Based on the procedure of [CE10], [CE20] and [CE40] described below, check the status and
take appropriate actions. And then perform the forced performing of image quality closed-loop
control according to the following procedure.
(2)
After confirming the items in (1), clear the abnormal detection counter of image quality control.
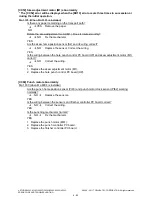
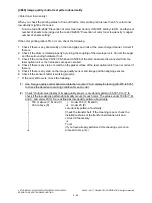
[CA00] Color registration abnormality
<Color toner low density>
When you check the printing status to find out that the color printing ratio is less than 5%, color toner
low density might be the cause.
Turn the code 08-2692 “Prevention of color toner low density / ON/OFF setting” to ON, and then set
number of sheets to be judged at the code 08-2693 “Prevention of color toner low density / Judged
number of sheets setting”.
If the color printing ratio is 5% or more, check the following.
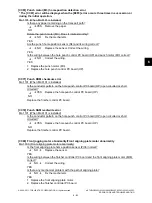
1. Check if there is any abnormality on the hand grips and rods of the main charger cleaner. Correct if
there is.
2. Check if the drum is rotated properly by turning the coupling of the developer unit. Correct the auger
and the surrounding hardware if not.
3. Check if the connectors CN337, CN346 and CN358 of the LGC board are disconnected from the
laser optical unit or the harnesses are open circuited.
4. Check if there is any stain or scratch on the glass surface of the laser optical unit. Clean or correct if
there is.
5. Check if there is any stain on the image quality sensor and Image position aligning sensors.
6. Check if the sensor shutter is working properly.
*
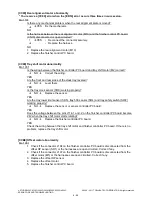
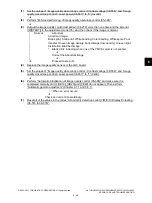
If the error still occurs, check the following.
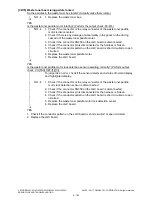
1.
While pressing [0] and [5] simultaneously, turn ON the power.
2.
Key in [396], and then press the [START] button. Confirm that the image quality control
has finished normally.
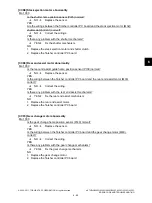
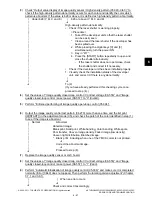
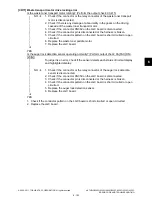
1.
While pressing [0] and [8] simultaneously, turn ON the power.
2.
Key in [573], and then press the [START] button.
3.
Rewrite the displayed status counter from “1” - “16” to “0”, and then press the [ENTER]
or [INTERRUPT] button.
4.
Key in [574], and then press the [START] button.
5.
Rewrite the displayed status counter from “1” - “16” to “0”, and then press the [ENTER]
or [INTERRUPT] button.
6.
Key in [575], and then press the [START] button.
7.
Rewrite the displayed status counter from “1” - “16” to “0”, and then press the [ENTER]
or [INTERRUPT] button.
8.
Key in [576], and then press the [START] button.
9.
Rewrite the displayed status counter from “1” - “16” to “0”, and then press the [ENTER]
or [INTERRUPT] button.
10. Turn the power OFF and then back ON. Make sure that the equipment enters the normal
ready state.

