24
Toshiba 65" 1080p 120Hz LED TV
www.tv.toshiba.com
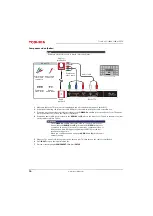
Component video (better)
1
Make sure that your TV’s power cord is unplugged and the game console is turned off.
2
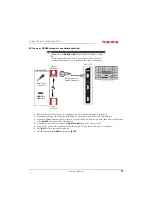
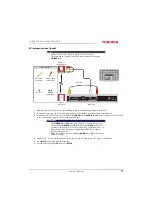
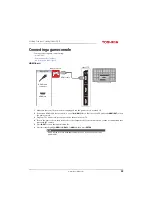
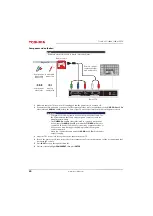
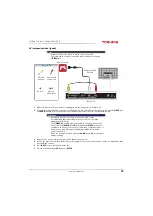
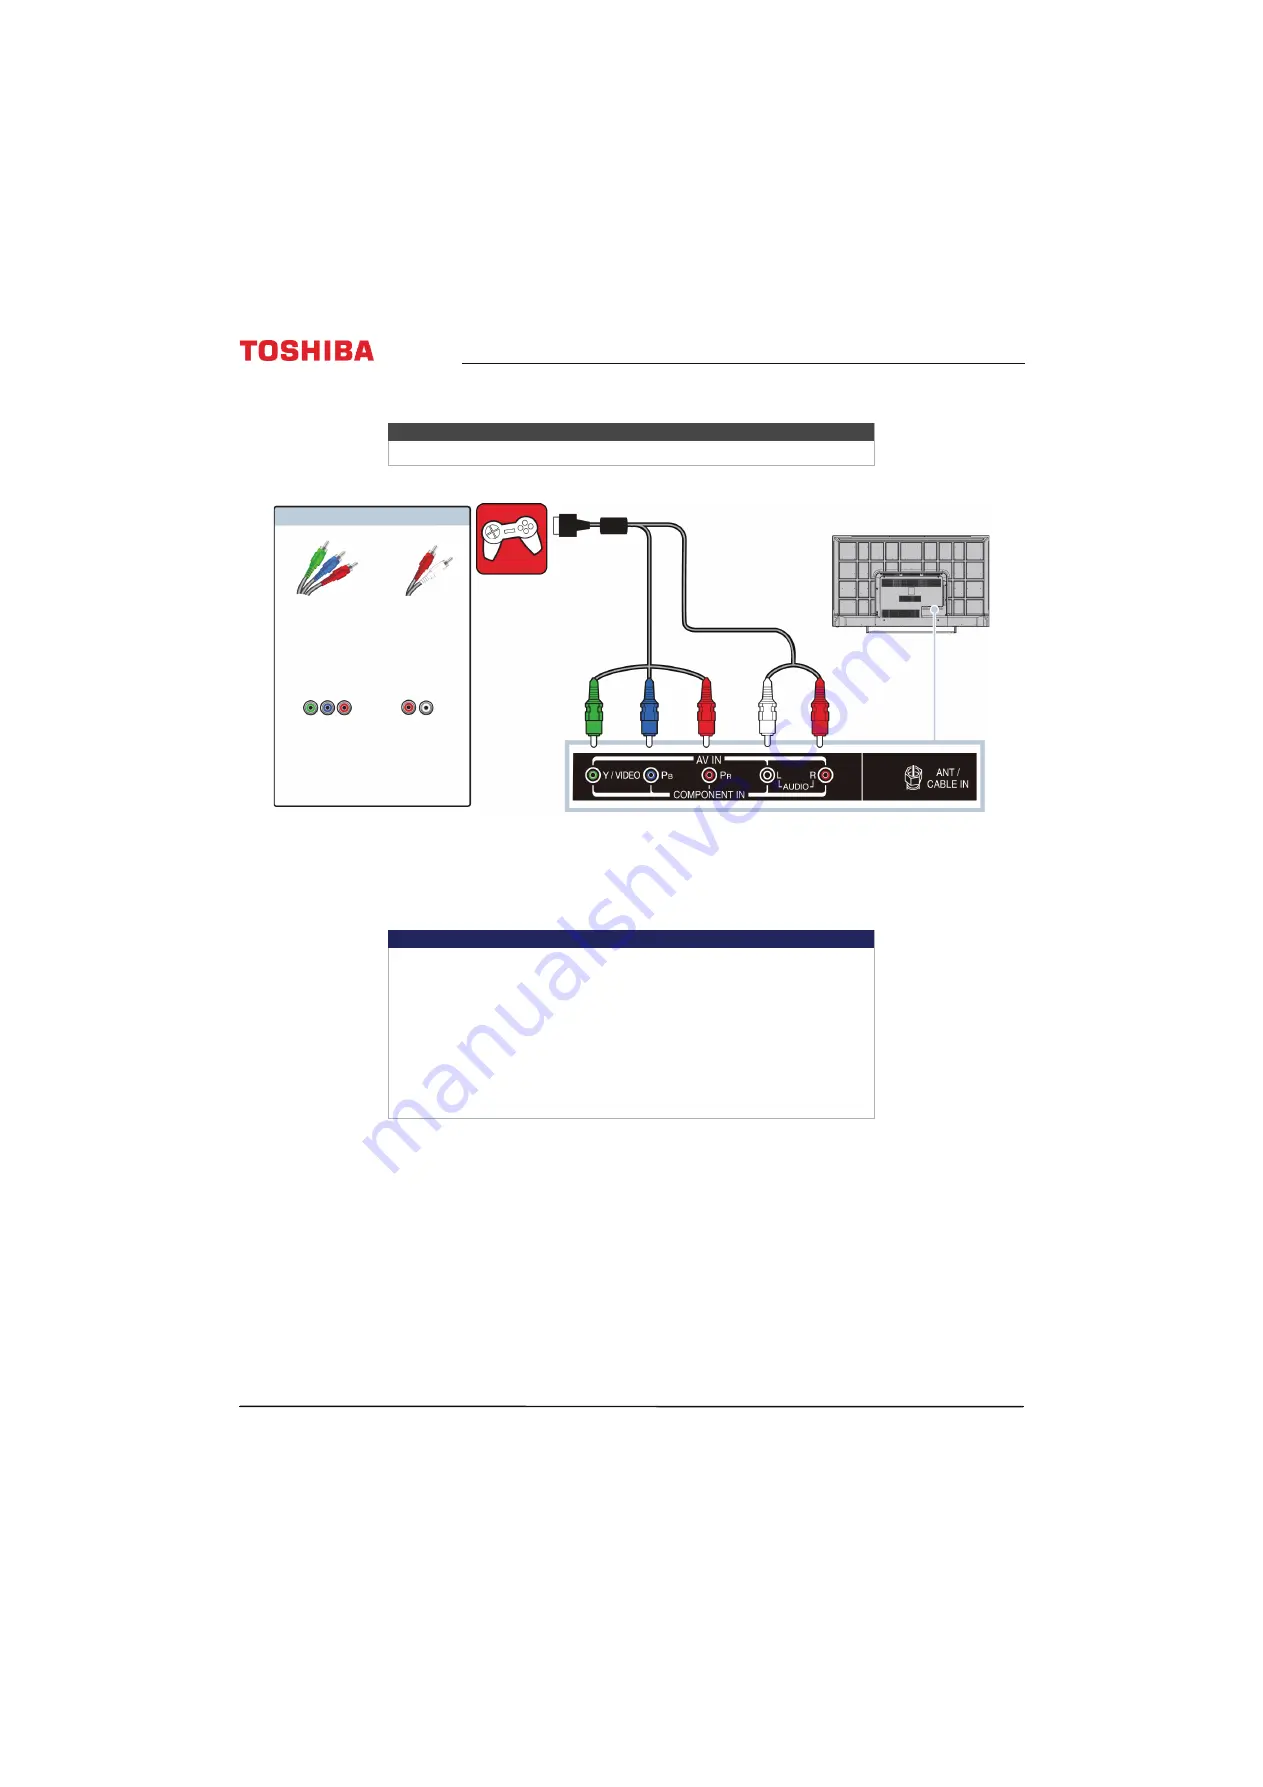
Connect the video and audio connectors on the component video cable (not provided) to the
Y/VIDEO
,
P
B
, and
P
R
video jacks and
AUDIO
L
and
R
jacks on the back of your TV and to the component jack(s) on the game console.
3
Plug your TV’s power cord into a power outlet, then turn on your TV.
4
Turn on the game console, then set it to the correct output mode. For more information, see the documentation that
came with the console.
5
Press
INPUT
to open the
Input Selection
list.
6
Press
S
or
T
to highlight
COMPONENT
, then press
ENTER
.
Note
Cables are often color-coded to match color-coded jacks.
Important
• Your game console may require a special component video cable. See
the documentation that came with your game console or check the
manufacturer’s website.
• The
Y/VIDEO
,
P
B
, and
P
R
video jacks (used to connect a component
device) share the
AUDIO
L
and
R
jacks with the
Y/VIDEO
jack (used to
connect an AV device). You can only connect one component video or
AV device at a time. We suggest upgrading to HDMI if your game
console supports it.
• When you connect the audio using the
AUDIO
L
and
R
jacks, the audio
output is analog.
Game console
Back of TV
Console-specific
component video
and audio cable
On your TV
Component
video cable
connectors
Audio cable
connectors
Component
video jacks
Analog
audio jacks

