12
Checking/Adjusting the
Cutting Unit Attitude
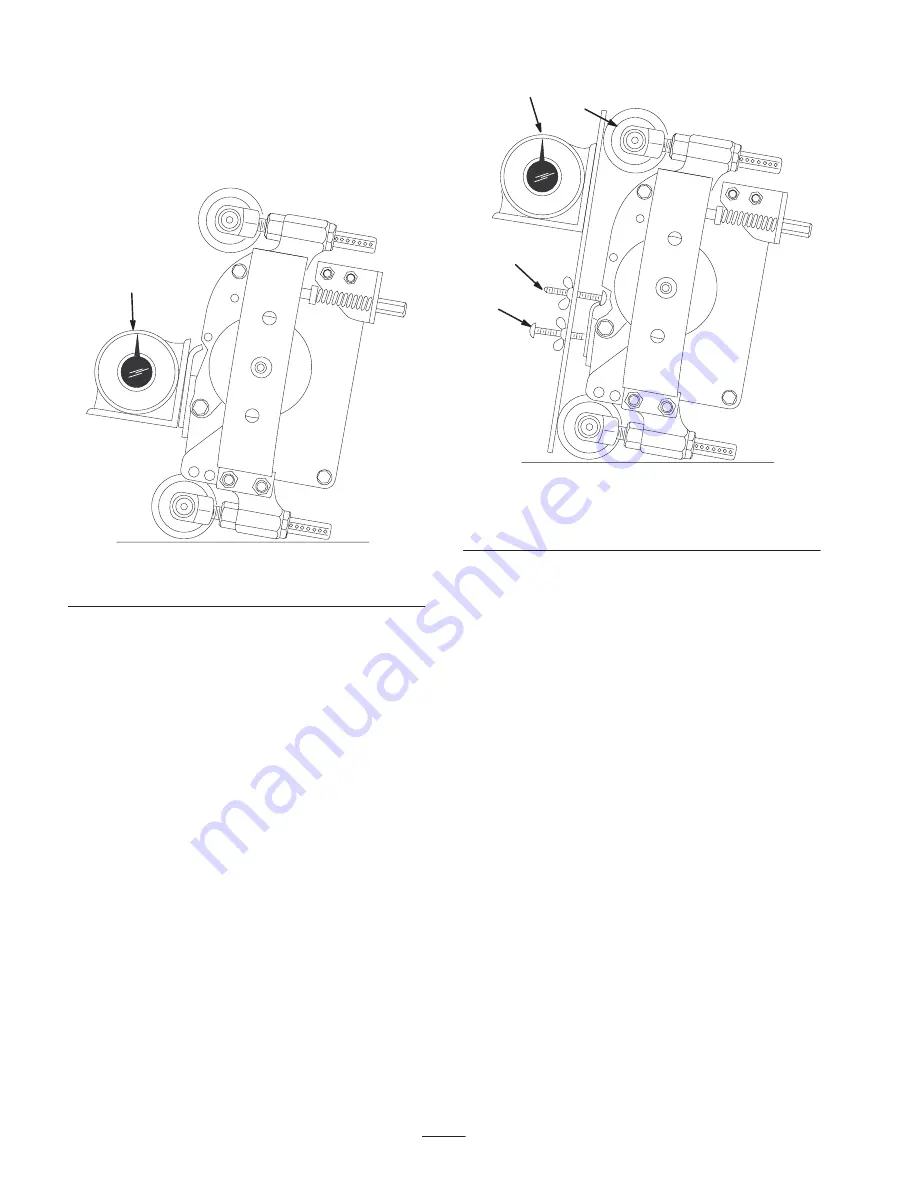
1. Place an angle indicator, Toro Part No. 99-3503, on the
bedknife and record the bedknife angle (Fig. 20).
1
Figure 20
1.
Bedknife angle
2. Using a two-screw gauge bar, Toro Part No. 98-1852,
set the first screw to the desired height-of-cut.
3. Place the gauge bar across the front and rear rollers.
The first screw head needs to fit snugly over the edge
of the bedknife while the gauge bar contacts the rollers
(Fig. 21).
3
1
2
4
Figure 21
1.
First screw
2.
Second screw
3.
Gauge bar angle
4.
Front roller
4. Adjust the second screw to contact the bedknife.
5. Place an angle indicator on the gauge bar and record
the gauge bar angle (Fig. 21).
6. Bedknife Angle (step 1) – Gauge Bar Angle (step 5) =
Cutting Unit Attitude (degrees)
7. For adjusting the cutting unit attitude, adjust the
second screw for the desired attitude, then repeat the
height-of-cut adjustment for a floating cutting unit;
refer to Leveling the Rear Roller to the Reel, page 9.
Change the bar stock thickness for leveling the rear
roller in order to accommodate your desired cutting
unit attitude.


