background image


Carrying out maintenance tasks 


17 

Carrying out maintenance tasks 

Changing the hydraulic oil 

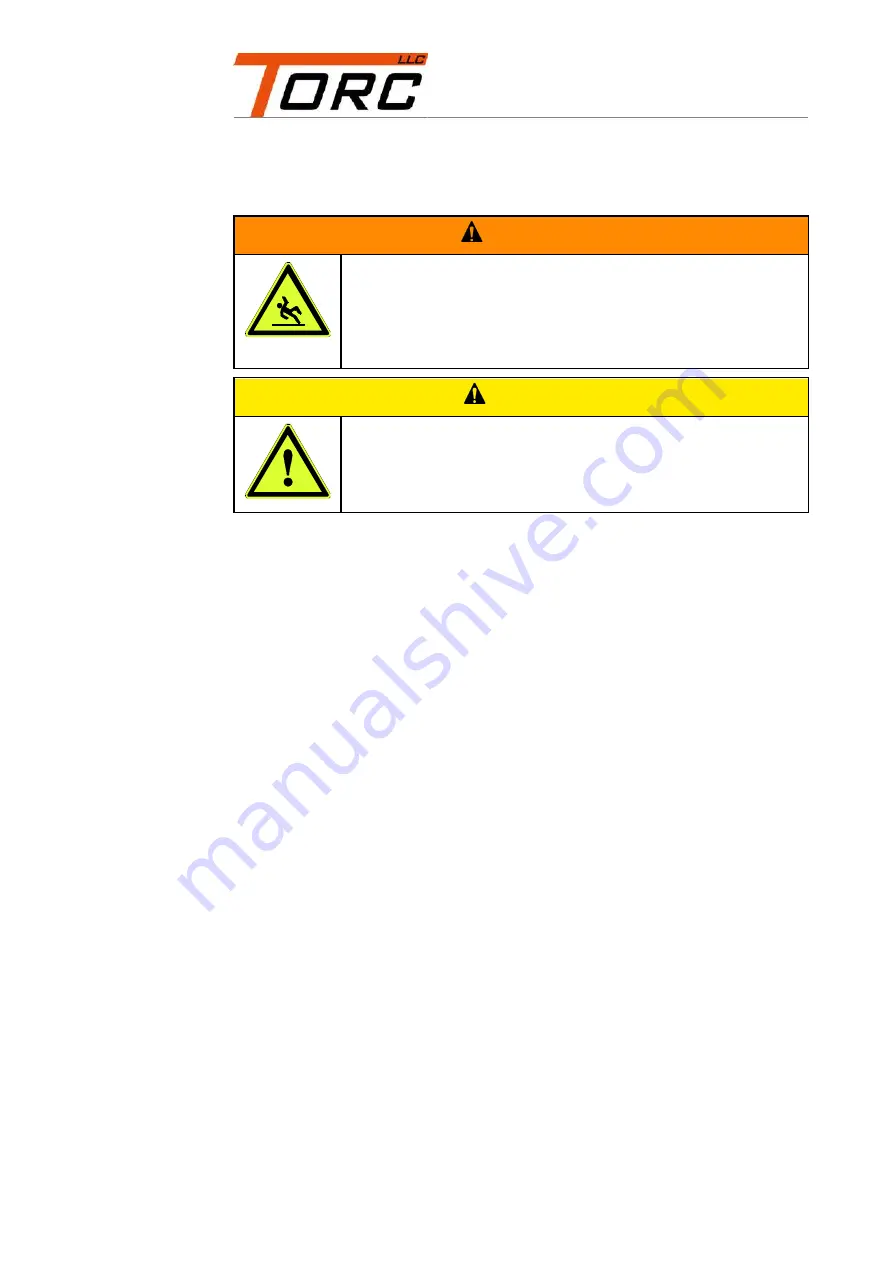
 WARNING 


Slipping hazard from leaked oil. 
Bruising and bone fractures possible. 


Clean up any leaked oil with a cloth or suitable binding 

agents. 


Wear safety shoes with non-slip soles. 


 CAUTION 


Health hazard from contact with hydraulic oil. 


Wear nitrile gloves and chemical-resistant protective 

goggles during work that may include contact with 

hydraulic oil. 


To change the hydraulic oil, proceed as follows: 


Switch off the unit. 


Disconnect the mains plug. 


Leave the hydraulic oil to cool until it is tepid. 


Place a container under the oil drain plug which can hold the oil volume in 

the unit, 8 l (2.1 gal). 


Open the oil drain plug. 

The hydraulic oil will flow into the container. 


Check the seal of the drain plug for damage. 


Replace the damaged seal if required. 


After completely draining the hydraulic oil from the oil tank, seal the oil drain 

opening with the oil drain plug. 


Tighten the oil drain plug with a torque of 20 N m. 


Open the filler opening of the unit. 


Fill in fresh hydraulic oil (manufacturer's recommendation: Castrol Hyspin 

HVI 32) until the oil level fills half of the upper sight glass. 


Close the filler opening with the corresponding cap. 


Dispose of the drained hydraulic oil in line with the environmental 

regulations at the place of installation. 


Summary of Contents for HYFLOW 230-2

Page 1: ...store these maintenance and repair instructions together with the hydraulic unit Ensure that the maintenance and repair instructions are available to the qualified and authorized personnel at the TOR...

Page 2: ...ting serious injury or death 10 Preventing explosion hazards 10 Preventing electric shock 10 Preventing burns from fire 10 Preventing burns from oil and hot surfaces 10 Preventing poisoning 11 Prevent...

Page 3: ...ing the carrying handle 50 Moving the unit into the repair position for the upper structures 51 Moving the unit into the repair position for the lower structures 52 Carrying out checks and repairs on...

Page 4: ...g the torque valve mechanically 84 Replacing the torque valve 86 Completing repair work 87 Mounting the unit on the oil tank 87 Cleaning unit 90 Carry out a test run 91 Disposal 92 In Europe 92 In the...

Page 5: ...ions and details about the unit components can be found in the documentation from the respective manufacturers These documents are regarded as a part of these instructions Store these documents togeth...

Page 6: ...you to easily distinguish the following elements Normal text Lists Action steps References to headers are set in quotation marks Labels of switches or other elements are set in inverted commas Table t...

Page 7: ...he place of installation Responsibilities of the operating company The operating company has to ensure that all accident prevention regulations are observed The responsibility lies with the head of th...

Page 8: ...zards which may arise from voltage and current able to assess hazards which may arise from noise and heat able to apply information from wiring and terminal diagrams able to install electrical connect...

Page 9: ...ering safety devices Never bypass or shunt any safety devices Personal protective equipment Risk of crushing feet when lifting and carrying the unit Wear safety shoes with steel toes Risk of slipping...

Page 10: ...cable is in perfect condition Disconnect the mains plug before carrying out electrical work on the unit or before cleaning the unit Use tools which are insulated up to at least 370 V If you detect a...

Page 11: ...ccur The unit can fall if it is set up lifted or carried in an unsafe manner Risk of slipping and therefore bone fractures during hydraulic work Always place the unit on a level solid and strong surfa...

Page 12: ...ifications from the manufacturer Preventing material damage Avoid soiling the couplings by installing the protective caps and protective plugs when the couplings are not in use Always set the hydrauli...

Page 13: ...situations that can lead to property damage and limited functionality Warning and information signs Ensure that all warning and information signs attached to the unit remain well visible and legible...

Page 14: ...ing and setting down 14 Carrying and setting down Only carry the unit by its carrying handle Place the unit on a dry level solid and strong surface Secure the unit and the associated tools against fal...

Page 15: ...ne set of box and open end wrenches one set of hexagon socket wrenches one set of crosshead screwdrivers one set of slotted screwdrivers one torque wrench 10 30 N m with suitable attachments e g open...

Page 16: ...the twists Have defective or bent hydraulic hoses replaced by qualified personnel see page 18 Electric supply lines Check electric supply lines for visible damage twisting and kinks Remove the twists...

Page 17: ...l until it is tepid Place a container under the oil drain plug which can hold the oil volume in the unit 8 l 2 1 gal Open the oil drain plug The hydraulic oil will flow into the container Check the se...

Page 18: ...type if any visible damage is found but after seven years at the latest To replace a hydraulic hose proceed as follows Switch off the unit To depressurize the unit press the Stop button on the remote...

Page 19: ...op button on the remote control several times Disconnect the mains plug Release the screw connection A below the pressure gage Lift the pressure gage upwards to remove it Ensure that an intact O ring...

Page 20: ...the capacitor see from page 36 Replace a defective capacitor see page 42 No pressure or pressure below 70 bar The solenoid valve is defective Check the solenoid valve electrically see page 43 Check th...

Page 21: ...The pipe work is leaking Check the pipe work see page 80 Replace the leaking pipe work see page 83 The pressure is only 70 80 bar The solenoid valve is defective Check the solenoid valve electrically...

Page 22: ...tches off The motor temperature is too high Wait about 10 minutes and switch on the unit If the motor switches off again check the motor temperature problem see page 36 The display on the pressure gag...

Page 23: ...he electrical equipment Disconnect the mains plug from the socket Have work on electrical equipment carried out only by specialist personnel who are qualified for these tasks Proceed as follows to pre...

Page 24: ...trical equipment Disconnect the mains plug from the socket Have work on electrical equipment carried out only by specialist personnel who are qualified for these tasks Proceed as follows to bring the...

Page 25: ...t Have work on electrical equipment carried out only by specialist personnel who are qualified for these tasks To check the circuit board proceed as follows Move the unit into the repair position for...

Page 26: ...ollows Move the unit into the repair position for the electric control see from page 24 Release all cable connections on the defective circuit board Release the screwed connection A of the defective c...

Page 27: ...nel who are qualified for these tasks To check the energy supply proceed as follows Move the unit into the repair position for the electric control see from page 24 Connect the mains plug to a grounde...

Page 28: ...continuity tester To check the power cord of the power supply with a continuity tester proceed as follows Connect a continuity tester to the brown wire P2 and the mains plug C Check whether the line i...

Page 29: ...ry from electric shock caused by inexpert work on the electrical equipment Disconnect the mains plug from the socket Have work on electrical equipment carried out only by specialist personnel who are...

Page 30: ...w wire of the power cord from the PE terminal Remove the cable feedthrough A of the power cord on the housing Remove the hose clamp of the power cord on the oil tank Remove the defective power cord In...

Page 31: ...ric control Checking the remote control WARNING Risk of injury from electric shock caused by inexpert work on the electrical equipment Disconnect the mains plug from the socket Have work on electrical...

Page 32: ...voltage of 230 V and a frequency of 50 60 Hz To check the input line connect a multimeter to the ON connection and the COM connection Check whether any voltage is present Connect the multimeter to the...

Page 33: ...t the circuit board is fine In this case check the wiring of the remote control as follows Connect the multimeter with the wire of the ON connection and the wire of the COM connection Press the button...

Page 34: ...eter to the wire of the OFF connection and the wire of the COM connection Press the OFF button A on the remote control Measure the electrical resistance The resistance has to be significantly less tha...

Page 35: ...electrical equipment Disconnect the mains plug from the socket Have work on electrical equipment carried out only by specialist personnel who are qualified for these tasks To replace the remote contr...

Page 36: ...te control Secure the remote control cable to the oil tank with the hose clamp Fix the remote control cable with the screw connection A Connect the wires X5 to the circuit board according to the termi...

Page 37: ...identified by the following signs The motor temperature fuse automatically switches off the motor The capacitor A does not switch off The LED B on the circuit board goes out Excessive motor temperatur...

Page 38: ...a temperature of about 25 C 77 F Check the temperature with a contactless thermometer Move the unit into the repair position for the electric control see from page 24 Connect the mains plug to a grou...

Page 39: ...the capacitor is defective If the capacitor is defective replace it see page 42 To check the stator proceed as follows Let the motor cool down to a temperature of about 25 C 77 F Check the temperature...

Page 40: ...e connecting terminal C and the red wire from the connecting terminal E Connect a multimeter to the black and the red cable Measure the electrical resistance The nominal resistance is 1 8 A significan...

Page 41: ...ting terminal F Connect a multimeter to the blue and the white cable Measure the electrical resistance The nominal resistance is 5 2 A significantly different resistance indicates a defective stator C...

Page 42: ...al PE upwards Remove the green yellow wire of the capacitor from the PE terminal Release the four nuts A with an open end wrench WAF 4 Use the four nuts and an open end wrench WAF 4 to install a funct...

Page 43: ...specialist personnel who are qualified for these tasks To check the solenoid valve electrically proceed as follows Move the unit into the repair position for the electric control see from page 24 Veri...

Page 44: ...If the relay B clicks audibly the relay is switching If the relay B does not click audibly the relay is defective If the control of the solenoid valve is defective replace the circuit board see from p...

Page 45: ...ove the unit into the repair position for the upper structures see from page 51 Release the screw which holds down the solenoid valve connector C Remove the solenoid valve connector from the solenoid...

Page 46: ...ultimeter to the two contacts F of the solenoid valve Measure the electrical resistance of the coil The resistance has to be 1100 10 If the resistance is outside this range the solenoid valve is defec...

Page 47: ...ed as follows Move the unit into the repair position for the upper structures see from page 51 Release the screw which holds down the solenoid valve connector A Remove the solenoid valve connector fro...

Page 48: ...4 O rings D are in the corresponding boreholes and that they are undamaged Connect the new solenoid valve and the valve block with the M5 hexagon socket screws using a 4 mm hexagon socket wrench Tigh...

Page 49: ...o prepare checks and repairs on the unit Ensure that the couplings on the unit are secured with the appropriate protective caps and the protective plugs Remove the carrying handle see from page 50 Mov...

Page 50: ...move the carrying handle proceed as follows Place the unit on a solid surface Release the screw connections A with two combination wrenches WAF 10 Remove the screws the nuts and the tooth lock washer...

Page 51: ...Moving the unit into the repair position for the upper structures Proceed as follows to bring the unit into the repair position for the upper structures Place the unit on a solid surface Position the...

Page 52: ...ents Wear safety shoes with non slip soles CAUTION Health hazard from contact with hydraulic oil Wear nitrile gloves and chemical resistant protective goggles during work that may include contact with...

Page 53: ...hecks and repairs on hydraulic components 53 Remove the screws the nuts and the tooth lock washer and keep them in safe place Hold the unit by the couplings and on the underside of the electric contro...

Page 54: ...ures through the jaws of the vise Use protective jaws for the vise Lift the cover with the structures from the oil tank Chuck the unit in a vise with the help of a second person Use the edge of the co...

Page 55: ...esistant protective goggles during work that may include contact with hydraulic oil To check the torque valve electrically proceed as follows Move the unit into the repair position for the upper struc...

Page 56: ...oil could be ejected through the ball bearing Support the cover with a rectangular piece of wood C Set the pressure of the unit to 0 bar with the torque valve Switch on the pump of the unit Press and...

Page 57: ...hydraulic components 57 Check whether oil is dripping from the tank pipe borehole 5 E If oil is dripping from the tank pipe borehole 5 the torque valve is defective If the torque valve is defective r...

Page 58: ...To check the solenoid valve electrically proceed as follows Move the unit into the repair position for the upper structures see from page 51 Remove the carrying handle see from page 50 Mount the prot...

Page 59: ...oil could be ejected through the ball bearing Support the cover with a rectangular piece of wood C Set the pressure of the unit to 0 bar with the torque valve Switch on the pump of the unit Press and...

Page 60: ...ydraulic components 60 Check whether oil is dripping from the tank pipe borehole 7 E If oil is dripping from the tank pipe borehole 7 the solenoid valve is defective If the solenoid valve is defective...

Page 61: ...ical resistant protective goggles during work that may include contact with hydraulic oil To check the pump flange proceed as follows Move the unit into the repair position for the upper structures se...

Page 62: ...oil could be ejected through the ball bearing Support the cover with a rectangular piece of wood C Set the pressure of the unit to 0 bar with the torque valve Switch on the pump of the unit Press and...

Page 63: ...nts 63 Check whether oil is dripping from the pump flange E If oil is dripping from the pump flange the O ring of the pump flange is defective If the O ring of the pump flange is defective send the un...

Page 64: ...t with hydraulic oil Wear nitrile gloves and chemical resistant protective goggles during work that may include contact with hydraulic oil To check the screen filter proceed as follows Move the unit i...

Page 65: ...repair position for the upper structures see from page 51 Remove the carrying handle see from page 50 Mount the protective caps and protective plugs of the couplings see from page 49 Release the screw...

Page 66: ...oil could be ejected through the ball bearing Support the cover with a rectangular piece of wood C Set the pressure of the unit to 0 bar with the torque valve Switch on the pump of the unit Press and...

Page 67: ...e replace it see page 67 Replacing the maximum pressure valve WARNING Slipping hazard from leaked oil Bruising and bone fractures possible Clean up any leaked oil with a cloth or suitable binding agen...

Page 68: ...the unit into the repair position for the lower structures see from page 52 Unscrew the maximum pressure valve A from the pump flange B with a combination wrench WAF 14 Screw a functioning maximum pr...

Page 69: ...cking and replacing the pump element To check the pump element proceed as follows Move the unit into the repair position for the lower structures see from page 52 Release the screw connections A of th...

Page 70: ...components 70 Place the pump element with the rear side facing upwards on a stable surface ensuring that the piston B does not slide from the housing C Press the ball D into the pump element with a s...

Page 71: ...spring behind it If the ball is not being pushed out again the spring is defective If the spring is defective replace the pump element Fix the checked or replaced pump element with the 5 mm hexagon so...

Page 72: ...ical resistant protective goggles during work that may include contact with hydraulic oil To check the low pressure cut off valve proceed as follows Move the unit into the repair position for the uppe...

Page 73: ...oil could be ejected through the ball bearing Support the cover with a rectangular piece of wood C Set the pressure of the unit to 0 bar with the torque valve Switch on the pump of the unit Press and...

Page 74: ...f valve is defective replace it see from page 74 Replacing the low pressure cut off valve WARNING Slipping hazard from leaked oil Bruising and bone fractures possible Clean up any leaked oil with a cl...

Page 75: ...e unit into the repair position for the lower structures see from page 52 Unscrew the low pressure cut off valve A from the pump flange B with a combination wrench WAF 17 Screw a functioning low press...

Page 76: ...ical resistant protective goggles during work that may include contact with hydraulic oil To check the back pressure valve proceed as follows Move the unit into the repair position for the upper struc...

Page 77: ...oil could be ejected through the ball bearing Support the cover with a rectangular piece of wood C Set the pressure of the unit to 0 bar with the torque valve Switch on the pump of the unit Press and...

Page 78: ...rs on hydraulic components 78 Check whether oil is emitted from the back pressure valve E If oil is emitted from the back pressure valve it is defective If the back pressure valve is defective replace...

Page 79: ...ed as follows Move the unit into the repair position for the lower structures see from page 52 Unscrew the back pressure valve A from the valve block B with a combination wrench WAF 14 Screw a functio...

Page 80: ...contact with hydraulic oil Wear nitrile gloves and chemical resistant protective goggles during work that may include contact with hydraulic oil To check the pipe work proceed as follows Move the unit...

Page 81: ...oil could be ejected through the ball bearing Support the cover with a rectangular piece of wood C Set the pressure of the unit to 0 bar with the torque valve Switch on the pump of the unit Press and...

Page 82: ...hecks and repairs on hydraulic components 82 Check whether oil is dripping from the pipe work E If oil drips from the pipe work it is defective If the pipe work is defective replace it see from page 8...

Page 83: ...n end wrench WAF 19 Unscrew the pipe work A from the pump flange B with a combination wrench WAF 14 Press the functioning pipe work into the screw collar of the valve block Hold the screw collar with...

Page 84: ...on the unit are secured with the appropriate protective caps and the protective plugs Move the unit into the repair position for the upper structures see from page 51 Carrying out checks and repairs...

Page 85: ...shaped knob clockwise until it rests against the wing nut Removing the shim allows the torque valve to be screwed in further which raises the pressure Use the star shaped knob to turn the torque valve...

Page 86: ...leasing the wing nut To replace the torque valve proceed as follows Move the unit into the repair position for the upper structures see from page 51 Release the wing nut B Turn the star shaped knob C...

Page 87: ...ding agents Wear safety shoes with non slip soles CAUTION Health hazard from contact with hydraulic oil Wear nitrile gloves and chemical resistant protective goggles during work that may include conta...

Page 88: ...Completing repair work 88 Ensure that the seal F at the top of the oil tank is installed and undamaged Place the unit D onto the oil tank E...

Page 89: ...A into the boreholes from the top Secure the power cord to the oil tank with a hose clamp Secure the remote control cable to the oil tank with a hose clamp Slide one tooth lock washer over each thread...

Page 90: ...m contact with hydraulic oil Wear nitrile gloves and chemical resistant protective goggles during work that may include contact with hydraulic oil ATTENTION Water or steam may enter into the unit Ther...

Page 91: ...Carry out a test run 91 Carry out a test run After each maintenance or repair measure carry out a test run according to the operating instructions for the unit...

Page 92: ...lic oil Dispose of hydraulic oil in an environmentally friendly manner using a specialist firm Replaced wear parts and defective components consist of e g the following materials steel rubber plastic...

Page 93: ...raulic oil Dispose of hydraulic oil in an environmentally friendly manner using a specialist firm Replaced wear parts and defective components consist of e g the following materials steel rubber plast...

Reviews: