39
BASIC OPERATIONS
PHOTOGRAPHY AND ANALYSIS RESULT DISPLAY
ALIGNMENT AND PHOTOGRAPHY
Alignment can be operated from the control panel.
1
Have the patient look at the fixation target (blinking in green.) in the photographing window. If
blinking in green stops tell the patient suppress so to suppress eye blinking approx.3 seconds.
(Photographing is carried out at this time.)
2
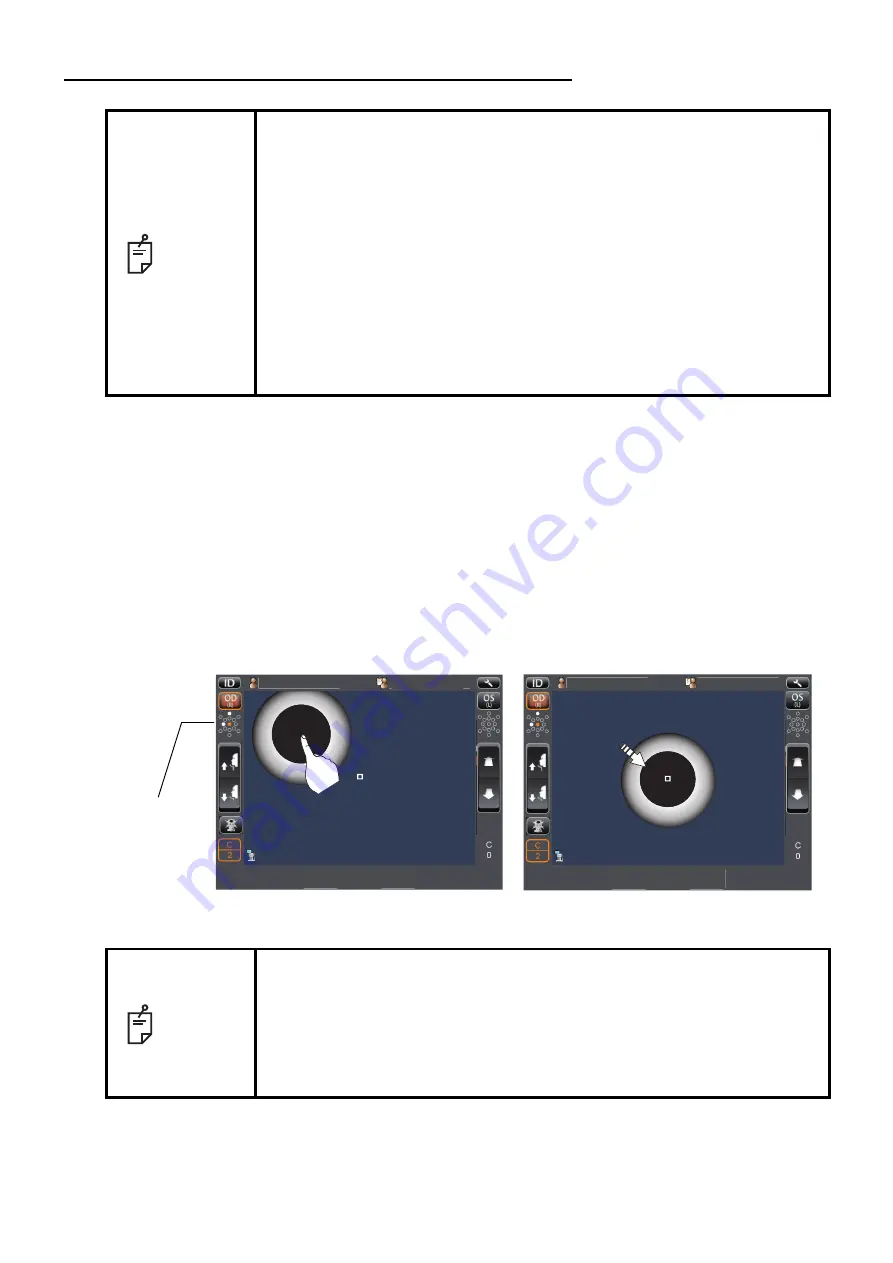
When the pupil is displayed, tap the area around the pupil. The photographing head moves to
display the pupil image and alignment dot on the center of the screen.
3
Alignment starts automatically, and photographing is performed.
NOTE
• Photographing may not be possible, in case the eyelid and the eyelashes
cover the pupil.
If this occurs, the operator should tell the patient to open their eyes as
wide as possible, or lift the eyelid to allow for measurement.
• Photographing may not be possible due to frequent blinks or existing
abnormalities in the corneal surface caused corneal disease etc.
In this case, select manual mode.
• When operating the instrument (for measurement and control panel opera-
tion), be careful that the instrument does not touch the patient's lip or nose.
If touched, clean the instrument following "CLEANING THE FOREHEAD
REST AND CHIN REST" on page 83.
• If the patient is wearing make up on the eyelid or around the eyelid using
glitter, the auto alignment may not function properly. In this case, select
manual mode.
NOTE
• When "Please touch pupil on the screen." is displayed, please confirm if
the patient's eye fits normal conditions for measuring. Then tap the pupil
on the control panel again.
• When the alignment status has continued for more than 30 seconds, the
operation stops telling "Please touch pupil on the screen". Tap the photo-
graphing Head Forward/Backward button to focus. Then tap the pupil on
the control panel again.
1
1
Patient ID
Patient ID
̲
TOPCON̲TAROU
TOPCON̲TAROU
OS
OD
(R)
(L)
1
1
Patient ID
Patient ID
̲
TOPCON̲TAROU
TOPCON̲TAROU
OS
OD
(R)
(L)
Position of
fixation target
Summary of Contents for SP-1P
Page 1: ...USER MANUAL SPECULAR MICROSCOPE SP 1P ...
Page 2: ......
Page 25: ...23 COMPONENTS SETUP SCREEN ...
Page 90: ......
Page 92: ...SPECULAR MICROSCOPE SP 1P 41904 97030 Printed in Japan 1308 100LW0 ...


