


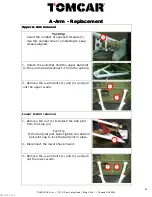


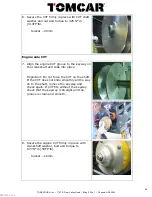

Ball Joint - Replacement
Ball Joint - Replacement
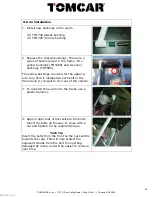
Upper ball joint - disassembly and inspection
Upper ball joint - disassembly and inspection
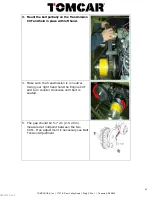
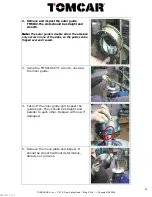
1.
Remove the ball joint nut (3).
2.
Loosen the two Allen set screws (2).
3.
Unscrew the cap (1)
from the ball joint
housing.
Tech Tip
If the ball joint spins while removing the nut (3)
tighten the ball joint cap (1) to lock the ball joint
in place.
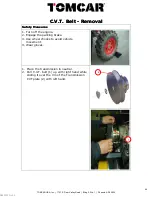
Tech tip
To remove the ball joint from the spindle
Install the ball joint nut back on the ball joint
finger tight. Hit the nut to remove the ball joint.
This will protect the threads on the ball joint.
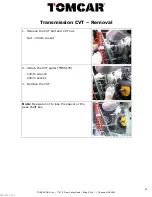
4.
Inspect the ball joint, housing and cap for
damage and or wear.
5. Remove the 2 Allen set screws and remove
the 2 copper washers.
2
3
1
TOMCAR
USA, Inc.
|
1727 E. Deer Valley Road
|
Bldg. 2, Ste. 1
|
Phoenix, AZ 85024
35
06222010-v2.0