


6.8.1
Application
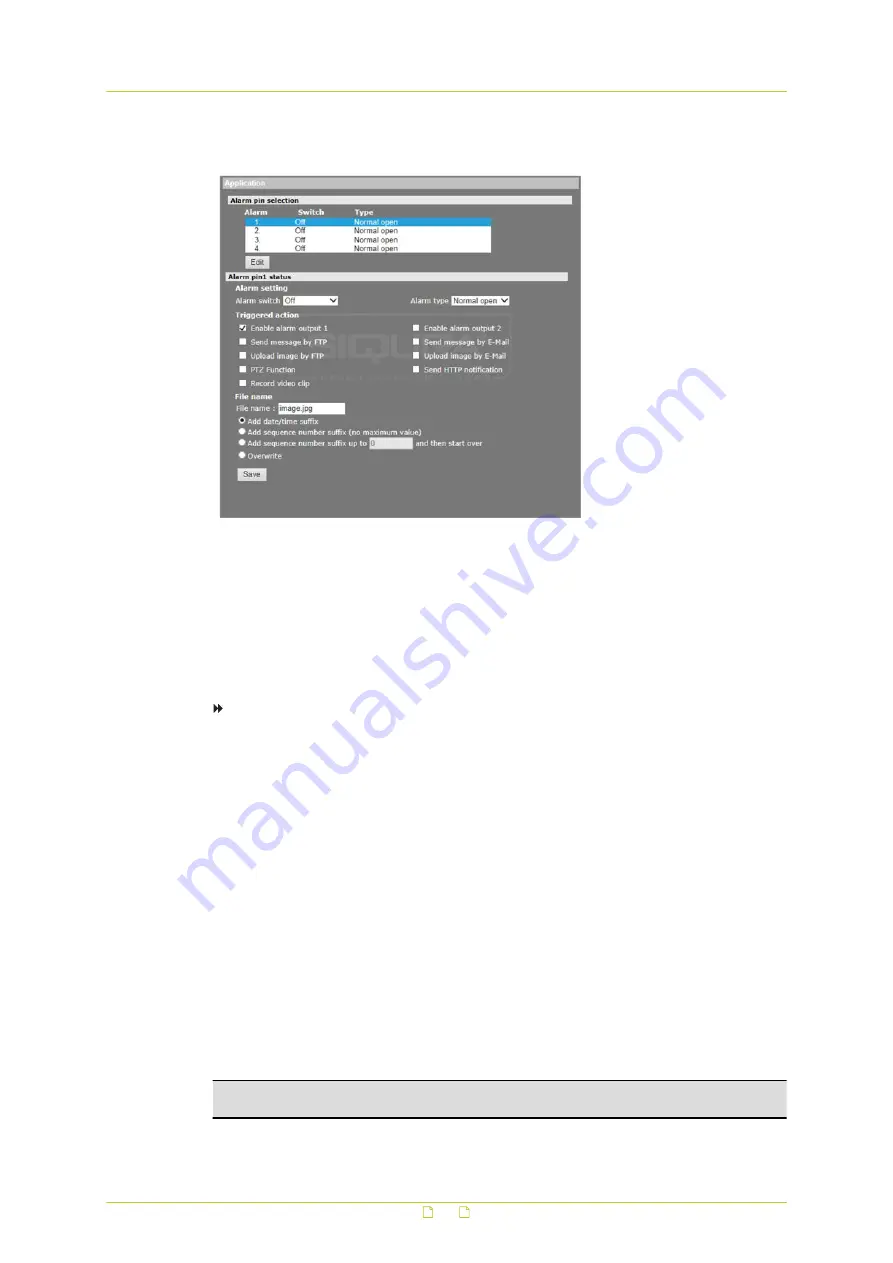
System > Events > Application
HSD820v2H3-E cameras provide four digital alarm inputs and two digital alarm outputs to be
used with alarms and their specified trigger actions. For information about the alarm pin
definition and connecting alarm devices, see the HSD820v2H3-E Installation Manual.
On the Application page, administrators can set the active state of the digital inputs and
outputs (I/O), enabling the camera to trigger an alarm when the state of the alarm connectors
changes.
To set up alarm settings
1
On the System tab, click Events in the menu on the left, and then click Application.
2
Under Alarm pin selection, select the alarm pin you wish to configure, and then click
Edit.
3
In the Alarm switch list, click On or Off to enable or disable the alarm input and the
actions triggered by it.
You can also use By schedule to activate the alarm function according to a schedule you
have previously set on the Schedule page.
4
In the Alarm type list, select Normal close or Normal open, according to the
application. See below for more details.
5
Under Triggered action, select the actions that are to be performed in the event of an
alarm. For more information, see section Alarm trigger actions.
6
If applicable, under File name, specify a file name for a file to be sent when an alarm
occurs, and then select an option to add a suffix to the file name or overwrite the
previous file. For more information, see section Specifying file name conventions.
7
Click Save.
Note that SMTP, FTP, and/or HTTP configuration must be completed prior to using these
protocols in alarm actions. For more information, see sections Mail, FTP, and/or HTTP.
Important: Uploading images by FTP or e-mail is only possible if MJPEG output is
configured. If only H.264 streaming is enabled, no images will be sent.
System settings
46


