Tiger Box1 Assembly Guide
Site Installation: Installing the Drives
9
•
there must be at least 50cm (19 inches) of clearance at the front and rear of the
appliance for installing and replacing the RAID drives, or accessing network cables or
equipment;
•
the appliance receives adequate ventilation (it is not being installed in an enclosed
cabinet where ventilation is inadequate);
•
the appliance is not in close proximity to devices that emit strong electromagnetic
waves;
Installing the Drives
Tiger Box1 is shipped to you with a pre-configured RAID 5 storage, comprised of 4
disks. Each disk is installed in a hot-swappable drive carrier. You can replace a failed
hard disk, while Tiger Box1 is operating and no data on the storage will be lost (see
“Replacing a Failed Drive” on page 21). For safety reasons, the drives in the carriers
are shipped separately and you should install them yourself in the appliance.
Important:
To prevent drive failure, in case the drives have been
transported to you in cold environment (temperature less than 15°C/59°F),
let the drives return to room temperature for at least 3 hours, before
installing them in the enclosure.
Each drive is labeled and must be inserted in the drive bay corresponding to its
number as described in this scheme:
Tip:
If you intend to rackmount the appliance, to make the lift easier, insert
the drive carriers after installing the appliance in the rack.
Warning:
Before proceeding, make sure that the power cord is disconnected
from the power source!
Important:
To prevent electrostatic discharge (ESD), touch grounded metal
before touching any of the appliance components. You can also prevent ESD
when inserting the drive carrier into the enclosure, by holding the appliance
enclosure with the other hand.
To install the drives:
1.
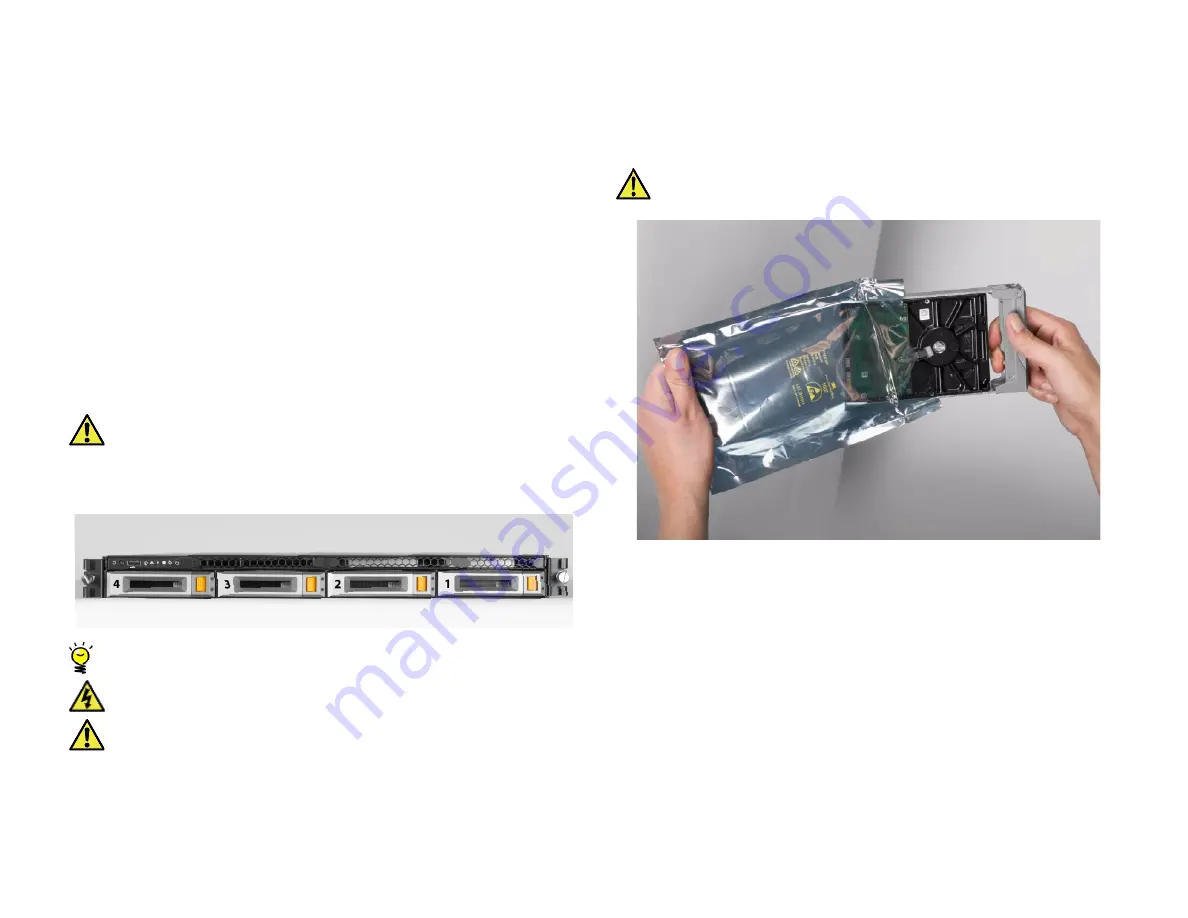
Take out a drive carrier from its antistatic bag.
Important:
Handle the hard drive by the sides only, making sure you don't
touch the printed circuit board or the connectors.


