MX10B Series
12.5 Gb/s Optical Transmitters
MX40B Series
40 Gb/s Optical Transmitters
User Guide
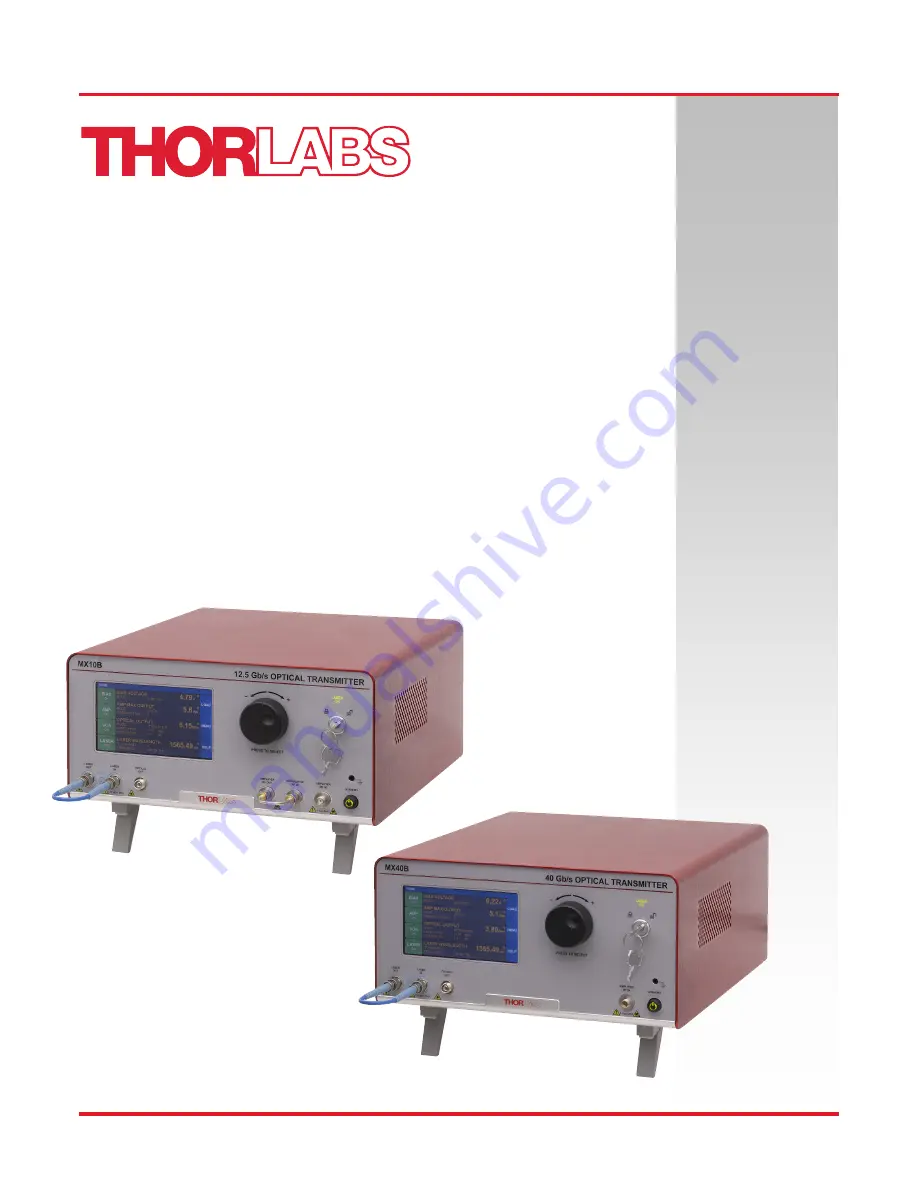
Page 1: ...MX10B Series 12 5 Gb s Optical Transmitters MX40B Series 40 Gb s Optical Transmitters User Guide...
Page 2: ......
Page 3: ...Null Mode 15 4 3 4 Manual Mode 16 4 4 Amplifier Settings Page 18 4 5 Variable Optical Attenuator Settings Page 20 4 6 Laser Settings Page 21 4 7 Load Page 22 4 8 Menu Page 23 4 8 1 Display and Sound S...
Page 4: ...B Series 32 Chapter 8 Maintenance Repair and Fuses 33 8 1 Maintenance and Repair 33 8 2 Replacement Parts 33 8 3 Replacing the Main Fuse 34 Chapter 9 Troubleshooting 35 Chapter 10 Declarations of Conf...
Page 5: ...he optical input These instruments can be controlled in two ways The simplest method is directly via the built in graphical user interface GUI and touchscreen The instrument can also be operated remot...
Page 6: ...r own The Laser In port uses PM fiber with light linearly polarized along the slow axis as shown on the front panel Maximum input power is 20 dBm 100 mW In the MX10B series of transmitters the user al...
Page 7: ...chscreen Display B Adjustment Knob C Key Switch and Indicator Lasing Disabled Lasing Enabled D Grounding Jack Banana Connector Earth Ground Banana Banana E Laser Output PM FC PC PM FC PC F Laser Input...
Page 8: ...TTN048897 D02 Figure 3 Back Panel Callout Description MX10B Series MX40B Series N I O Port DB 15 DB 15 O Option Label P RS 232 Port DB 9 DB 9 Q USB Port Type B R Laser Interlock 2 5 mm 2 5 mm S Power...
Page 9: ...ated in explosion endangered environments Warning Laser Radiation Avoid Exposure Radiation emitted from apertures Do not look into the laser aperture while the laser is on Injury to the eye may result...
Page 10: ...e harmful interference to radio communications However there is no guarantee that interference will not occur in a particular installation This product has been tested and found to comply with the lim...
Page 11: ...ack RF cable between the Amplifier RF Out and Modulator RF In SMA connectors on the front panel This instruction does not apply to the MX40B series as it does not have an Amplifier RF Out port Figure...
Page 12: ...Settings pages The power buttons turn green to indicate the function is ON and turn red to indicate the function is disabled The central section is the main dashboard for reporting operational values...
Page 13: ...he Laser In bulkhead The instrument s system wavelength is factory preset to correspond to the wavelength band of the integrated laser source If an external laser is to be used with the instrument the...
Page 14: ...vides the controls for changing the values for the selected parameters The main control knob on the front panel can also be used to adjust and confirm selected values The screen shots below show examp...
Page 15: ...y the Extinction Ratio of the modulator Peak power Null power The efficiency of the modulator is also characterized by V which is defined as the voltage necessary to change the transmission from Null...
Page 16: ...k in control scheme to keep the MZM bias stable The dither tone allows the control algorithm to track the drifting but at the cost of decreased signal to noise ratio SNR due to the injection of a sing...
Page 17: ...sed to Stabilize Modulator Bias Point A small AC voltage is applied to the DC bias so that the optical output is also slightly modulated Both the amplitude and the frequency of AC dither tone can be s...
Page 18: ...ZM bias may not stay locked Typically a value between 300 mV and 500 mV is a good starting point In applications where the highest SNR is desired there is also the option to disable the dither tone Th...
Page 19: ...ion and non linear frequency doubling The optical phase is 180 shifted on opposite sides of the Null point Figure 24 Peak Mode Settings 4 3 3 Null Mode The Null Mode adjusts the DC bias voltage so the...
Page 20: ...ult it can achieve superior SNR compared to the Quadrature mode This mode is recommended for analog signals or higher level Pulse Amplitude Modulation PAM formats Constant Ratio works by holding the M...
Page 21: ...utomatically calculated to keep the MZM at the same location on the transmission function For example in order to switch to Constant Ratio mode at the Quadrature location follow these steps Turn the b...
Page 22: ...ode is recommended for OOK On Off Keying digital signals The V Swing button is provided to conveniently set the Max Output Swing to the optimum value to achieve high extinction modulation with the int...
Page 23: ...supply a signal with small enough amplitude so the amplifier does not saturate or clip This mode is recommended for analog signals or higher order modulation formats such as PAM4 The crossing point ad...
Page 24: ...een the output of the MZM and the output port on the front panel Any fluctuations at the input are transferred to the output Figure 35 Constant Attenuation Mode Settings Constant Output Power Mode act...
Page 25: ...t available when the 1310 nm fixed wavelength source is the internal laser When the internal laser is not the standard C band tunable laser the laser type is denoted in the Options label on the rear p...
Page 26: ...ned by the user as well Figure 40 Preset State Options on the Load Page Tapping on one of the presets will bring up a window that displays all the stored settings The user can then review the choice b...
Page 27: ...S button on the Menu pane Figure 43 Display and Sound Settings Page DISPLAY BRIGHTNESS controls the overall brightness of the touch screen display DISPLAY SLEEP TIME controls how long the touch screen...
Page 28: ...LED Settings Page To open the screen shown below tap the ACCENT LEDS button on the Menu pane The accent LED settings control the intensity of the color LEDs that emanate from the bottom of the instru...
Page 29: ...labs Help Page To open the screen shown below tap the THORLABS HELP button on the Menu pane The Thorlabs Help page displays the Tech Support phone number Thorlabs web site and the installed hardware a...
Page 30: ...Analog Response MX40B Series 20 GHz Low Frequency Cutoff 100 kHz Amplifier RF Input Analog Mode MX10B Series 100 mV Max 5 THD at 1 GHz MX40B Series 120 mV Max Amplifier RF Input Digital Mode 3 MX10B S...
Page 31: ...oss 0 4 dB Typical VOA Response Time 1 s 5 4 Internal Amplifier Specifications 5 5 Internal Modulator Specifications Parameter Typical Values Notes Rise Fall Time MX10B Series 35 ps Large Signal Digit...
Page 32: ...SNR dB 40 60 Intrinsic Linewidth kHz 10 15 Relative Intensity Noise RIN dB Hz 145 Back Reflection dB 14 Polarization Extinction Ratio PER dB 18 L Band Tunable Laser MX10B LB MX40B LB Optical Output Po...
Page 33: ...ath see the block diagram in Chapter 3 The power monitors provide a voltage that is proportional to the optical power with one of two gain settings These values are available on the I O DB15 connector...
Page 34: ...ipped from Thorlabs are configured with a shorting device installed in the Interlock connector If you are not going to use this feature then leave the shorting device installed The unit will operate n...
Page 35: ...smitters Chapter 7 Mechanical Drawings Rev D March 19 2019 Page 31 Chapter 7 Mechanical Drawings 7 1 MX10B Series Figure 50 Mechanical Drawing of the MX10B Series 122 0 mm 4 80 134 8 mm 5 31 250 0 mm...
Page 36: ...es of Optical Transmitters Chapter 7 Mechanical Drawings Page 32 TTN048897 D02 7 2 MX40B Series Figure 51 Mechanical Drawing of the MX40B Series 122 0 mm 4 80 134 8 mm 5 31 250 0 mm 9 84 300 0 mm 11 8...
Page 37: ...w connection is made The end faces of the internal fiber connectors can easily be damaged by the use of dirty fiber ends If damage occurs the instrument will need to be sent back for repair We suggest...
Page 38: ...e the fuse holder slide from the power entry module use a flat screwdriver Figure 52 Power Entry Module Figure 53 Removing the Fuse Holder Slide Investigate the fuse This can be done with a simple con...
Page 39: ...s then the box should cool itself and return to the standby Do not operate or leave the instrument in standby mode in an environment above 40 C Blinking Amber Green Indicates the instrument is both ov...
Page 40: ...MX10B MX40B Series of Optical Transmitters Chapter 10 Declarations of Conformity Page 36 TTN048897 D02 Chapter 10 Declarations of Conformity...
Page 41: ...MX10B MX40B Series of Optical Transmitters Chapter 10 Declarations of Conformity Rev D March 19 2019 Page 37...
Page 42: ...lndal Sweden Tel 46 31 733 30 00 Fax 46 31 703 40 45 www thorlabs com Email scandinavia thorlabs com Brazil Thorlabs Vendas de Fot nicos Ltda Rua Rosalino Bellini 175 Jardim Santa Paula S o Carlos SP...
Page 43: ......
Page 44: ...www thorlabs com...