background image

Protecting the environment

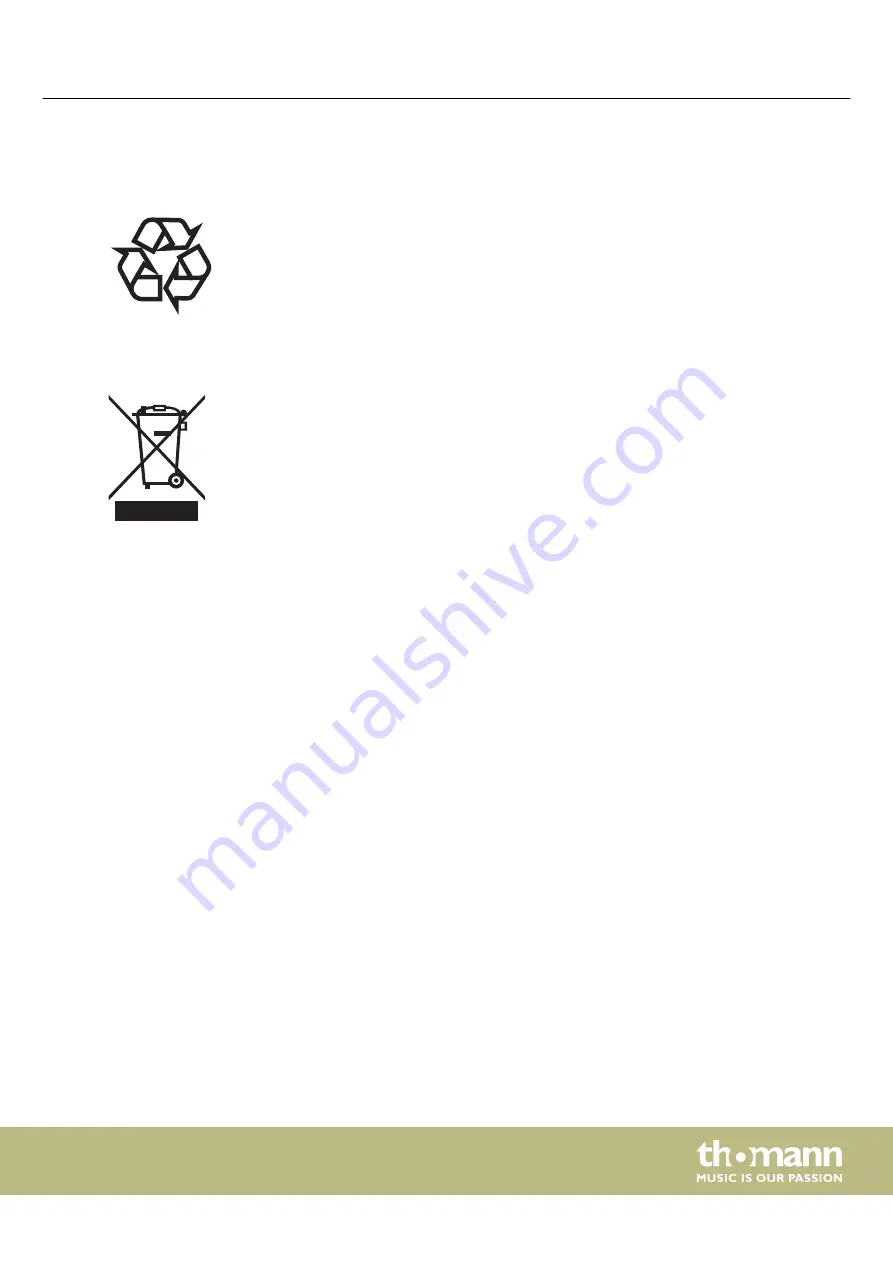
For the transport and protective packaging, environmentally friendly materials have

been chosen that can be supplied to normal recycling.
Ensure that plastic bags, packaging, etc. are properly disposed of.
Do not just dispose of these materials with your normal household waste, but make

sure that they are collected for recycling. Please follow the notes and markings on

the packaging.

This product is subject to the European Waste Electrical and Electronic Equipment

Directive (WEEE) in its currently valid version. Do not dispose with your normal

household waste.
Dispose of this device through an approved waste disposal firm or through your local

waste facility. When discarding the device, comply with the rules and regulations

that apply in your country. If in doubt, consult your local waste disposal facility.

Disposal of the packaging material

Disposal of your old device

Protecting the environment


LED-Commander 16/2

23

Summary of Contents for Stairville LED-Commander 16/2

Page 1: ...LED Commander 16 2 DMX controller user manual...

Page 2: ...Musikhaus Thomann Thomann GmbH Hans Thomann Stra e 1 96138 Burgebrach Germany Telephone 49 0 9546 9223 0 E mail info thomann de Internet www thomann de 03 08 2021 ID 251852 SW V1 5 V6...

Page 3: ...tes 4 2 Safety instructions 5 3 Features 6 4 Installation 7 5 Starting up 8 6 Connections and operating elements 9 7 Operating 13 8 Technical specifications 22 9 Protecting the environment 23 Table of...

Page 4: ...reserve the right to make changes without notice This section provides an overview of the symbols and signal words used in this user manual Signal word Meaning DANGER This combination of symbol and s...

Page 5: ...ly ensure that the input voltage AC outlet matches the voltage rating of the device and that the AC outlet is protected by a residual current circuit breaker Failure to do so could result in damage to...

Page 6: ...chases n Faders for fade and scene time and speed dimmer etc n Operation modes automatic sound controlled and manual n Blackout and Full on function n Separate channel assignment n Backup and firmwar...

Page 7: ...age use the original packaging or your own packaging material suitable for transport or storage respectively The unit has been designed for rack mounting in a standard 19 inch rack It occupies four ra...

Page 8: ...ripping hazards Connect the included power adapter to the 9V connector of the unit and then plug the power adapter into a wall outlet Turn on the device using the main switch on the rear panel After t...

Page 9: ...up to 16 scenes The indicator LEDs show which scenes are switched on LED lights up Switching between the button groups banks 1 8 and 9 16 is done via the shift button 3 3 Shift button SCENE Button to...

Page 10: ...or deactivated LED off Press the button again for three seconds to exit the mode 15 MIDI IN SET Press this button for three seconds to open the menu for assigning the MIDI inputs As soon as the associ...

Page 11: ...ash or selection button for manual setting of the colour intensity BLUE if assigned or channel control for the assigned DMX channel 26 GREEN Slider with associated flash or selection button for manual...

Page 12: ...32 Audio input line level 100 mV to 1 Vpp 33 Output socket MIDI OUT 34 Through socket MIDI THRU 35 Input socket MIDI IN 36 Connection socket for the 9 V power supply unit 37 Main switch to turn the d...

Page 13: ...and BLUE channels There are two modes for devices with different colour mixture n Library1 Dimmer control R G B n Library2 Dimmer control R G B W A UV Use and to select the desired mode for the selec...

Page 14: ...select the required FIXTURE channel 3 Select the required channel range with SPEED 4 Select the required DMX channel with FADE 5 Press the Flash button of the function you wish to assign 6 Repeat ste...

Page 15: ...d then for around one second the button of the scene you wish to overwrite All device LEDs flash briefly 5 Hold PATCH CLEAR down for three seconds to exit recording mode Scenes that are already alloca...

Page 16: ...ORD down for three seconds to switch to Program Record mode 2 Use CHASE to select the sequence you wish to expand To do this switch between the two memory banks using the toggle button if need be 3 Br...

Page 17: ...the toggle button if need be 4 Press TAP DEL and simultaneously the chase button of the sequence or scene you wish to delete Wait a few seconds until the LEDs have gone out 5 Hold PROGRAM RECORD down...

Page 18: ...again to work with the new settings The MIDI function allows you to connect two DMX controllers or to control the con troller via a MIDI keyboard 1 Hold MIDI IN SET down for three seconds to switch to...

Page 19: ...the file led commander 16 2 on the USB drive You can load saved device settings from a USB drive to the device memory 1 Connect your USB drive containing the saved settings values to the device s USB...

Page 20: ...FIXTURE 16 FUN CH1 FUN CH11 FUN CH21 FUN CH151 Red CH2 Red CH12 Red CH22 Red CH152 Green CH3 Green CH13 Green CH23 Green CH153 Blue CH4 Blue CH14 Blue CH24 Blue CH154 SPEED CH5 SPEED CH15 SPEED CH25...

Page 21: ...ame the file of the firmware version to led commander16 2 sup 4 Connect your USB drive containing the current firmware version to the device s USB port 5 Switch off the device 6 Hold PROGRAM RECORD MO...

Page 22: ...3 pin Data transfer USB 2 0 Transfer MIDI THROUGH 1 DIN socket 5 pin Power supply External power adapter 100 240 V 50 60 Hz Operating voltage 9 V 500 mA centre positive Installation 19 4 RU Dimensions...

Page 23: ...notes and markings on the packaging This product is subject to the European Waste Electrical and Electronic Equipment Directive WEEE in its currently valid version Do not dispose with your normal hous...

Page 24: ...Notes DMX controller 24...

Page 25: ...Notes LED Commander 16 2 25...

Page 26: ...Notes DMX controller 26...

Page 27: ......

Page 28: ...Musikhaus Thomann Hans Thomann Stra e 1 96138 Burgebrach Germany www thomann de...

Reviews: