background image

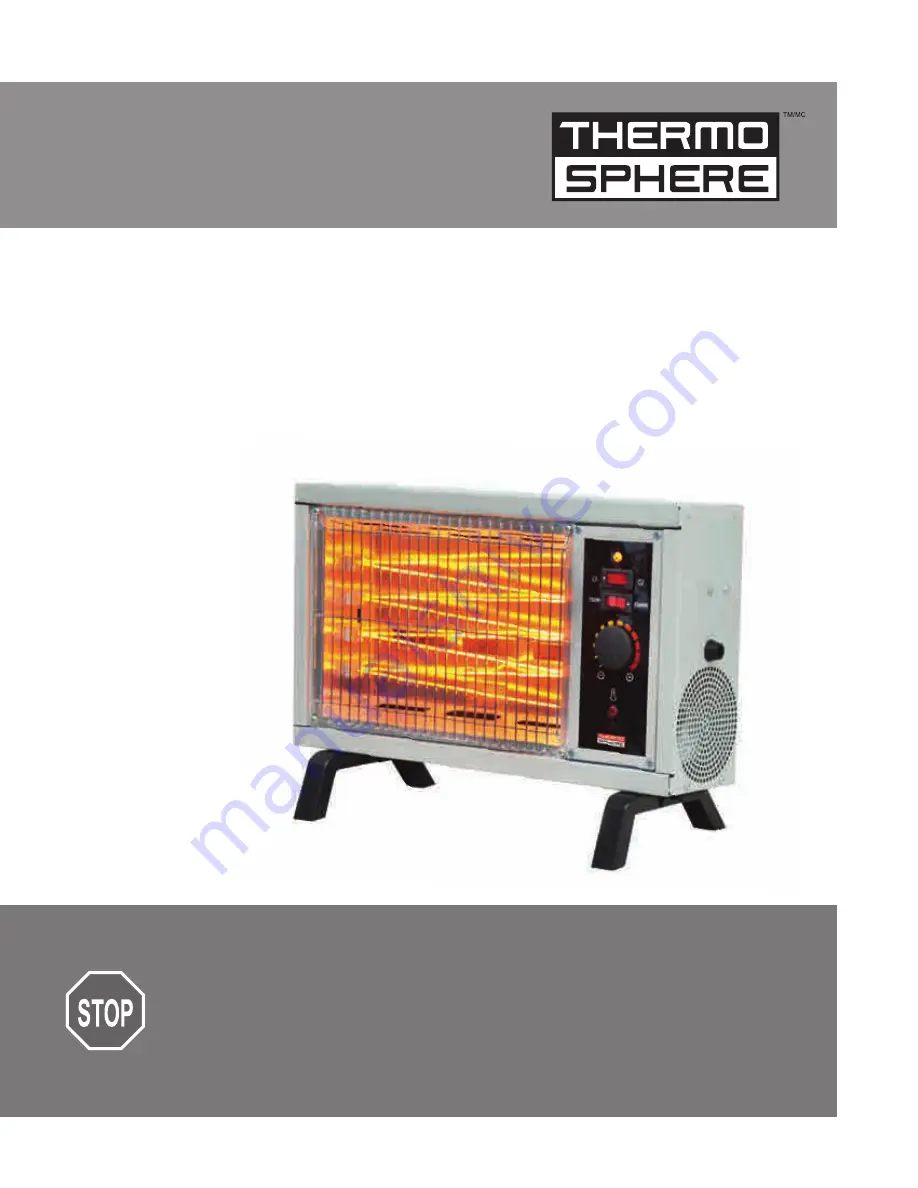
Electric Radiant Heater

Stop

Please read and understand this manual before any assembly 

or use of this product.
Before beginning assembly of product, make sure all parts 

are present.
Customer Service: 1-888-538-0082 / [email protected]

Instruction Manual

Electric Radiant Heater

Model No. FW550-15A

Summary of Contents for FW550-15A

Page 1: ... understand this manual before any assembly or use of this product Before beginning assembly of product make sure all parts are present Customer Service 1 888 538 0082 service hena ca Instruction Manual Electric Radiant Heater Model No FW550 15A ...

Page 2: ...uctions Operating Instructions Assembly Instructions Important Safety Features Care and Maintenance Warranty 2 3 5 6 7 7 7 Specifications Model Number FW550 15A Voltage Rating 120 V AC 60 Hz BTU Output 5 120 BTUs Amps 12 5 A Unit Size 16 75 W x 7 25 D x 11 75 H Unit Weight 4 84 lbs ...

Page 3: ...nts 7 Do not place the heater on a small unlevel uneven or any surface which might allow heater to tip or fall 8 For proper operation heater should be placed on a smooth non combustible surface Do not place on rugs carpet vinyl flooring or other plastic surfaces Not for use outdoors or in wet areas 9 This heater is not designed as a primary heat source 10 Always plug heaters directly into a wall o...

Page 4: ...contact a qualified electrician Do not operate any heater with a damaged cord or plug or after heater malfunctions has been dropped or damaged in any manner Do not operate heater with a broken heating element or ceramic cone or any visual imperfections For repairs covered under warranty see warranty statement PET OWNERS NOTE the initial use of many appliances Although these fumes are not harmful t...

Page 5: ... as described below During the heaters initial use you may experience a slight odour or smoke This is the result of Power Level Switch This heater has two heat settings 750 and 1 500 watts Use the higher setting 1 500 WATT to raise the room temperature quickly When the desired temperature is reached use the Setting Thermostat After heater has been turned on and the room has reached the desired tem...

Page 6: ... inserted push base leg towards heater front until it stops 3 Use supplied screws to secure leg Repeat steps for second leg This heater is packaged with the legs unassembled The legs must be attached before operating the heater Please notice the arrow on each base leg It shows the installation direction to the front of the heater 1 2 3 Assembly Instructions ...

Page 7: ...of one 1 year from the date of original purchase Please keep your proof of purchase receipt for any warranty claims Warranty does not cover wear and tear and damages arisen from misuse or use not in accordance with the product instructions Important Safety Features CAUTION Before cleaning the heater be sure to disconnect power cord and allow the heater to cool completely Cleaning This heater shoul...

Reviews: