7
For more information about our products and how to contact us, please visit thermopatch.com
a) Pressing time
Press here to set the machine’s pressing time.
Use the left and right arrow keys to increase and decrease the setting.
You can also change this setting by pressing the time display and
entering the required time from the touch pad (4 characters must be
entered).
Once you have entered the required time, press the “confirm” key in
the bottom right corner of the screen.
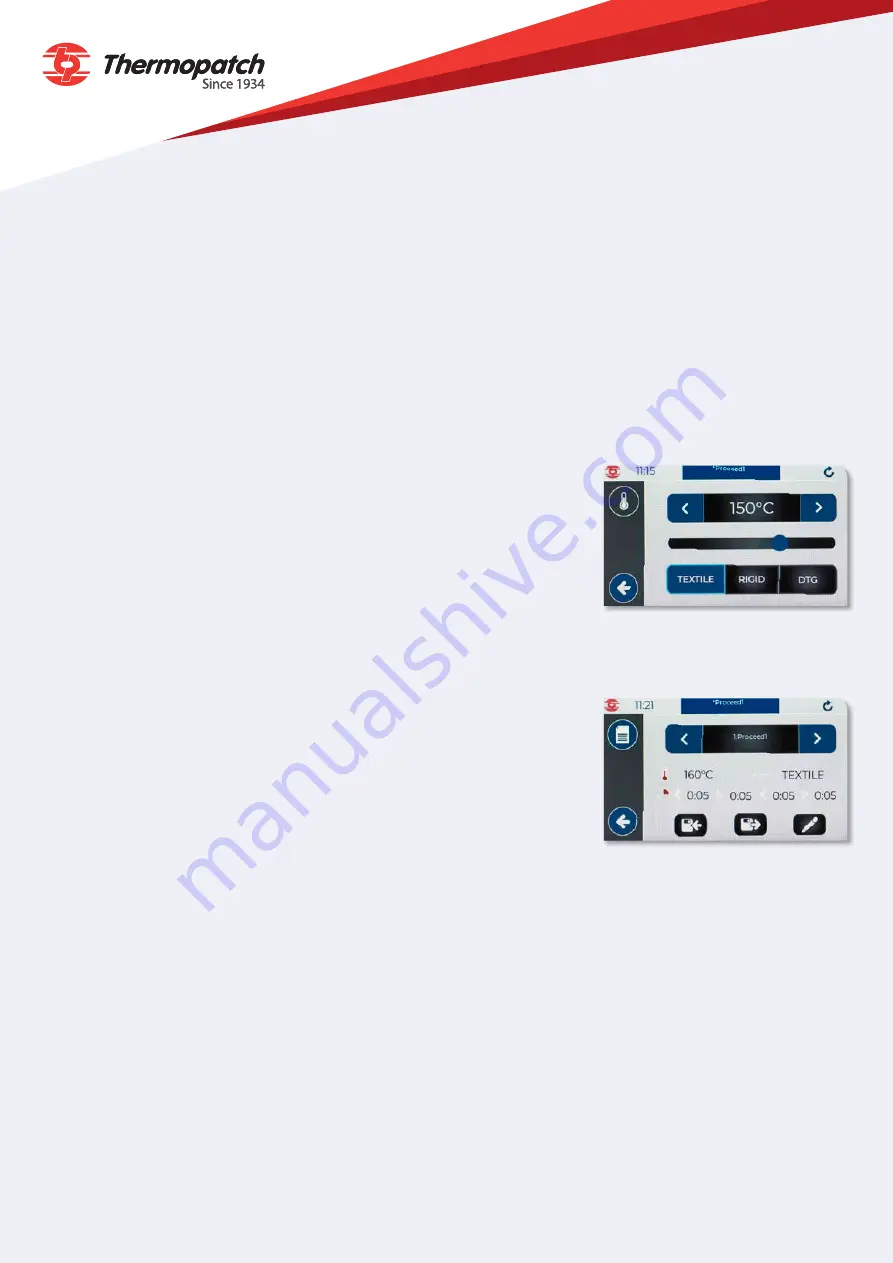
b) Temperature setting
Press the “temperature” menu (b). You can select the temperature
you require in the same way as for the pressing time, using the arrow
keys on the left and right of the temperature display. You can also click
on the reading and manually select a temperature. When typing in a
temperature below 100°C, enter a “0” first (e.g. 090°C).
You can also slide the blue cursor left and right with your finger to
lower and raise the temperature respectively, and then adjust it using
the arrows. Select the profile you wish to press (Textile, Rigid or DTG).
c) Presets
Pressing the “Presets” icon (c) brings up the menu shown opposite.
Use the left and right arrows to select one of the 10 pre-configured
recipes. To use (load) a preset, press the floppy disk icon with the
arrow pointing to the right. Once selected, press the arrow in the
bottom left corner to return to the main menu.
To create or alter a preset, you must first set the time and temperature
from the main screen and then select a memory slot (1 to 10) from the
preset (d) screen. To rename a preset, press the pencil icon.
Give your preset a name and press the arrow in the bottom right
corner to confirm. To finish, press the floppy disk icon with the arrow
pointing to the left to save your choice/setting.
An asterisk(*) at the start of the name of the current preset on the
indication bar means that the current settings are not the same as the
original settings for this preset, and the settings that are currently
being applied have not been saved to the preset.


