


Thermo Scientific
imPULSE S.U.M. with Touchscreen Console User’s Guide
|
97
Chapter 3
|
Touchscreen Console setup
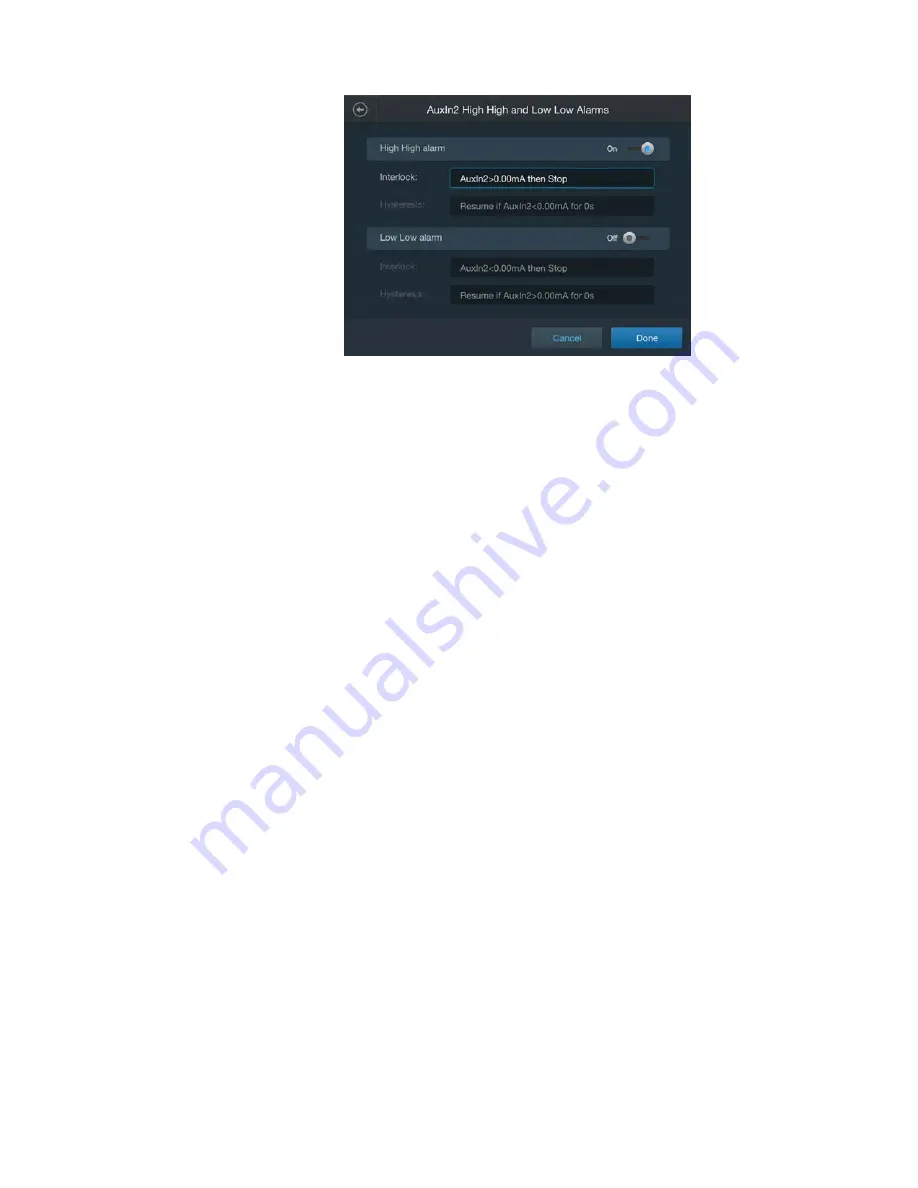
3. Touch the
Interlock
field of an enabled alarm to enter the Interlock
equation screen.
4. Fill out the Interlock equation by entering the
Control setpoint
(in
either mA) and selecting the
Action taken
(either
Pause
or
Stop
).
– If
Pause
is set as the action taken, you must fill out the Hysteresis
equation by entering the
Control setpoint
(in mA) and the
Time
to hold
before operations can resume (in seconds).
– If
Stop
is set as the action taken, operations must be resumed
manually.
5. Touch
Done
to return to the previous screen.
6. Once you finish setting the High High and/or Low Low alarms,
touch
Done
.
7. After a moment, a confirmation screen will appear. Touch
Done
to
return to the BPC Module Configuration screen—the values in the
High High and Low Low field will reflect your changes.
Alarm designation
After setting up High High and/or Low Low alarms, use this field to
select which pumps you would like these alarms to apply to, e.g. for
Pump 1, enable the Low Low alarm, and disable the High High alarm.
1. If you would like to designate alarms for specific pumps that have
been set up, touch the
Alarm Designation
field on the Conductivity
Module Configuration screen.
Figure 3.76. Aux Input High and Low alarms screen.


