


Chart Recorders
Thermo Scientific Cryopgenic Storage Freezers
Installation and Operation Manual
23
8.2 Power Supply
The recorder normally uses AC power when the system is operating. If AC
power fails, the LED indicator flashes to alert you to a power failure. The
recorder continues sensing cabinet temperature and the chart continues
turning for approximately 24 hours with back-up power provided by the
nine-volt battery.
The LED indicator glows continuously when main power is functioning
and the battery is charged.
When the battery is low, the LED flashes to indicate that the battery needs
to be changed.
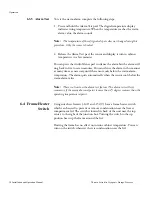
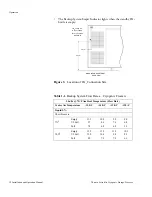
8.3 Changing Chart
Paper
To change the chart paper, complete the following steps:
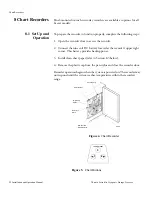
1. Locate the pressure sensitive buttons at the front, upper left of the
recorder panel.
2. Press and hold the Change Chart button (#3 in Figure 6) for one
second. The pen will move off the scale.
3. Unscrew the center nut, remove the old chart paper, and install new
chart paper. Carefully align the day and time with the reference mark (a
small groove on the left side of the recorder panel).
4. Replace the center nut and hand tighten. Press the Change Chart button
again to resume temperature recording.
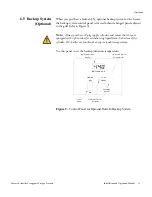
8.4 Calibration
Adjustment
This recorder has been accurately calibrated at the factory and retains
calibration even during power interruptions. If required, however,
adjustments can be made as follows:
1. Run the unit continuously at the control setpoint temperature.
Continue steady operation for at least two hours to provide adequate
time for recorder response.
2. Measure cabinet center temperature with a calibrated temperature
monitor.
3. Compare the recorder temperature to the measured cabinet
temperature. If necessary, adjust recorder by pressing the left (#1 in
Figure 6) and right (#2) chart buttons.


