1.
Touch Settings
4
Maintenance and Service
4
Calibration
4
Dye calibration.
2.
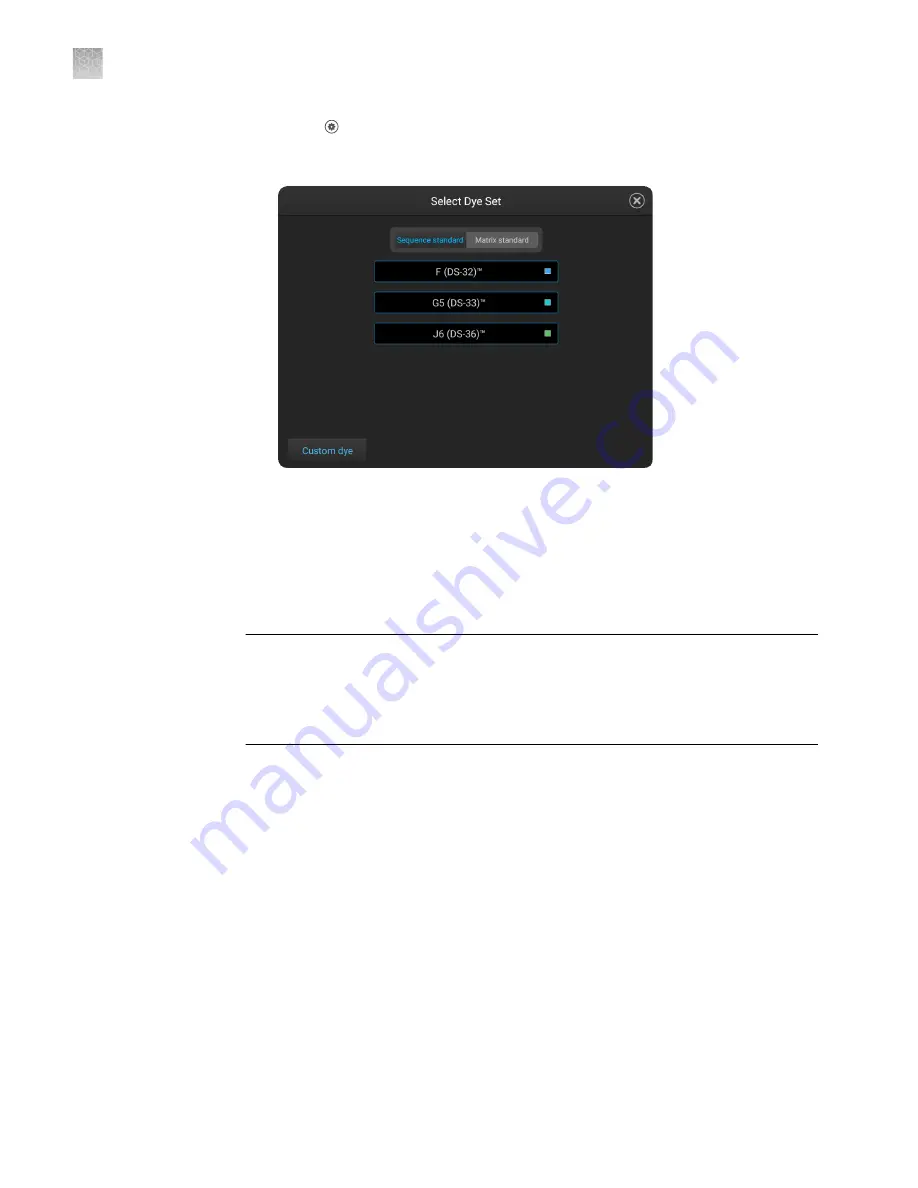
Touch the injection group for the dye set in the plate, then touch Dye set.
3.
Touch a custom dye set.
4.
Touch Calibrate.
5.
When the run is complete, touch View results.
6.
Ensure that all capillaries passed the calibration, then click Done.
IMPORTANT!
If the dye calibration fails:
·
The results of the calibration are not saved, and the calibration plate is not moved
to Run History.
·
The instrument does not allow you to rerun the plate setup for a failed calibration.
Close the calibration screen, then start a new calibration.
Add a custom dye to the Plate Manager or another instrument
• To add a custom dye set to the Plate Manager:
a.
Open a plate setup that specifies the custom dye set of interest.
b.
Export a plate setup that specifies the custom dye (see “Export or delete a
plate setup (PSM file)“ on page 138).
c.
Open the exported plate setup in the Plate Manager.
• To transfer a custom dye set to another instrument:
a.
Touch Settings
4
Maintenance and Service
4
Calibration
4
Calibration
history.
b.
Touch Custom dye.
c.
Touch Manage.
Appendix C
Dye calibration and install standard checks
Calibrate dyes
C
200
SeqStudio
™
Genetic Analyzer Instrument and Software User Guide


