


BQ79600EVM Quick Start Guide
12
SLUUC57A – October 2019 – Revised June 2020
Copyright © 2019–2020, Texas Instruments Incorporated
BQ79600-Q1 Evaluation Module
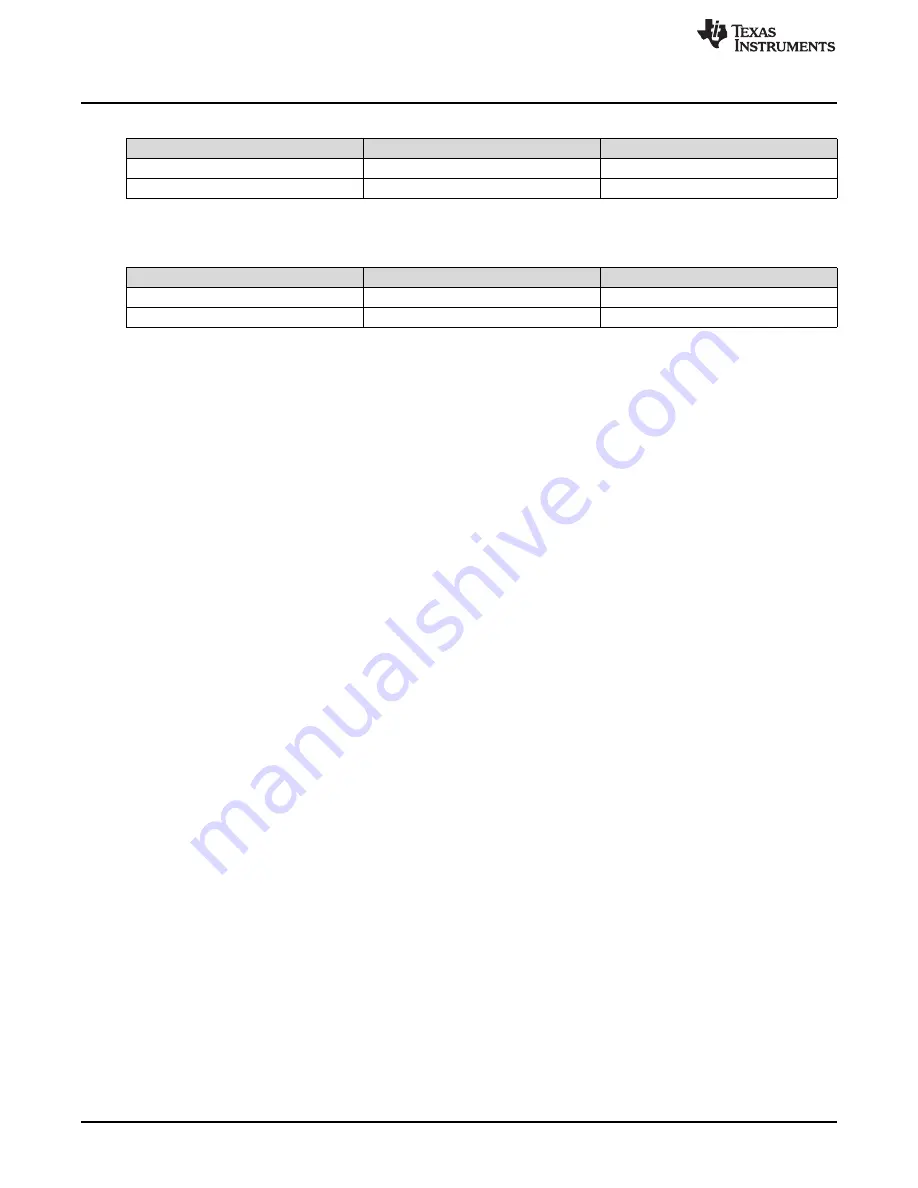
Table 13. Connections Between BQ79600EVM High Side and BQ79616EVM Low Side
Connection Name
BQ79600EVM High Side
BQ79616EVM Low Side
COMH_N to COML_N
J15 pin 4
J10 pin 1
COMH_P to COML_P
J15 pin 3
J10 pin 2
Table 14. Connections Between BQ79616EVM High Side and BQ79600EVM Low Side (for ring
architecture only)
Connection Name
BQ79600EVM Low Side
BQ79616EVM High Side
COML_N to COMH_N
J14 pin 1
J11 pin 4
COML_P to COMH_P
J14 pin 2
J11 pin 3
4.5
Software
The software provides a command API and drivers that are capable of implementing the examples
provided in the
BQ79600-Q1 Software Design Reference
document.
The example code only provides a control interface to the BQ79600-Q1 and BQ79616-Q1 and does not
provide any other communications interface to the outside world. The customer is expected to develop
their own communication implementation. Two examples are available using TMS570 micocontroller:
•
Example code using UART communication protocol between the microcontroller and BQ79600-Q1
device
•
Example code using SPI communication protocol between the microcontroller and BQ79600-Q1 device
Importing a project into
Code Composer Studio
™:
1. Launch the provided file:
BQ79600-Q1 UART Example Code 1.0 Installer.exe
or
BQ79600-Q1 SPI
Example Code 1.0 Installer.exe
and extract files to the default path provided (C:\ti\bq79600-Q1 UART
Example Code 1.0 or C:\ti\bq79600-Q1 SPI Example Code 1.0)
2. Launch
Code Composer Studio
(CCS):
Start
→
Programs
→
Texas Instruments
→
Code Composer Studio v8
→
Code Composer
Studio v8
3. When it launches, CCS requests a workspace is selected, choose “C:\myWorkspace”. Once CCS
loads, go to:
Project
→
Import CSS Projects...
→
Select search-directory
4. In Select search-directory, browse to the folder:
C:\ti\bq79600-Q1 UART Example Code 1.0 or C:\ti\bq79600-Q1 SPI Example Code 1.0
5. In
Discovered projects:
, check
BQ79600-Q1 UART example code
or
BQ79600-Q1 SPI example code
4.6
GUI
For initial evaluation, it may be more beneficial to use the graphical user's interface (GUI), which provides
a "point and click" interface to become familiar with the BQ79600. During the initial sampling phase,
contact your local TI FAE to get the latest GUI version.
To get started with the GUI, please refer to the
BQAutoEval GUI User's Guide
.
4.6.1
GUI UART/SPI Connection
The physical setup for the GUI is the same as for the microcontroller, but will instead use an USB2ANY
interface and 10-pin cable for the UART/SPI connections on J4. The USB2ANY has a USB Mini-B
connector on the right side. Plug the provided USB cable (or any USB cable with a Mini-B connector) into
the USB2ANY. Plug the other end of the cable (USB ‘A’) into the computer. Then connect the 10-pin
connector cable to J4 of the USB2ANY (middle most connector) and the key side must be facing upwards
when connecting to the EVM header J4. Refer to
and this is explained in more detail in the
USB2ANY Interface Adapter User's Guide
and the
BQAutoEval GUI User's Guide
.