8
-
4
Avigo User’s Guide
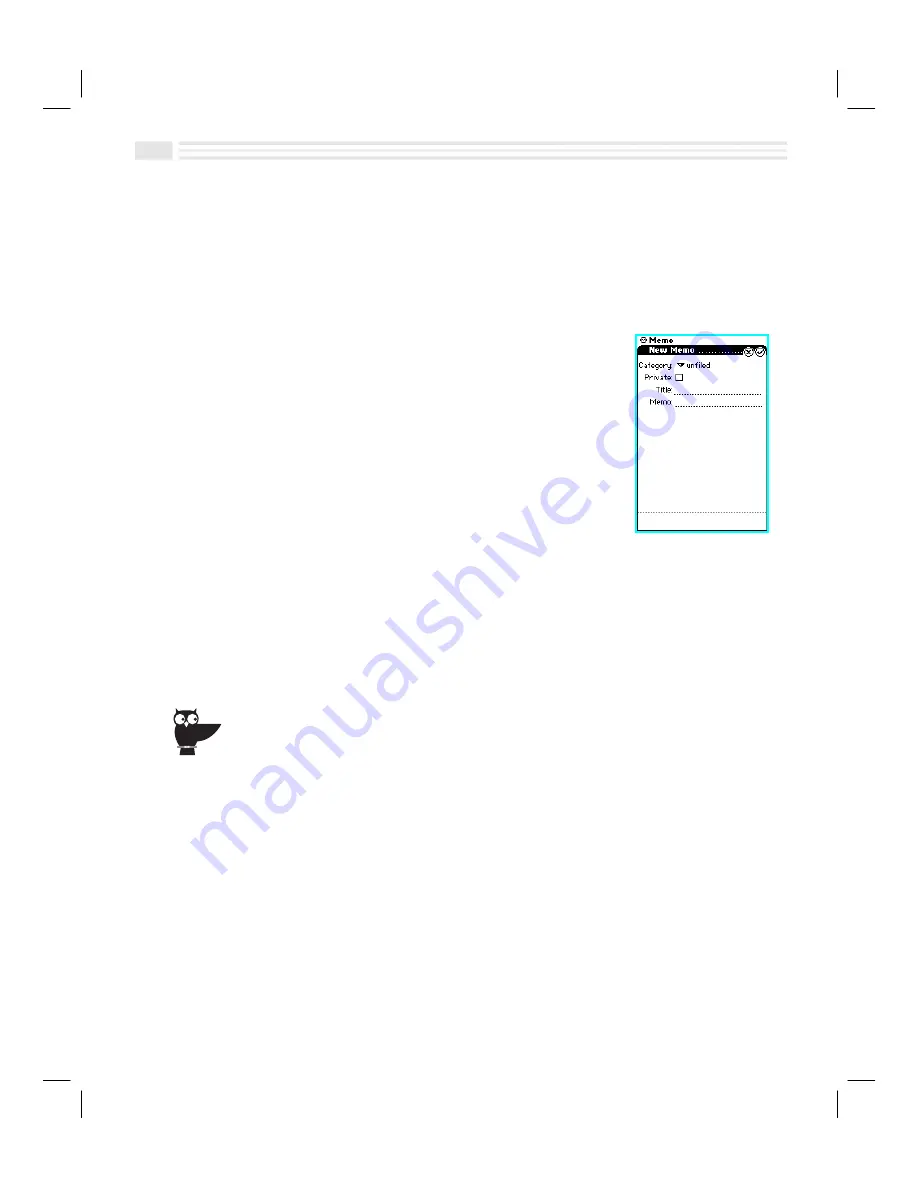
Adding Memos
When adding
Memos
for the first time, consider what categories you want to
establish for them. If desired, you can also create up to four custom fields for
Memos
to supplement the three description fields provided.
1.
Press the
memo
key to display the
Memo
application screen.
2.
Choose or create a category for the new
Memo
entry.
Note:
The first time you view the category list, a
default category called
unfiled
will be displayed. If
you want to change the name of this category or
create new categories, see
Adding and Editing
Categories
in
Chapter 2: Quick Start Short Cuts
.
3.
Tap
4
to add a new
Memo
.
4.
Enter a
Memo
title in the line to the right of
Title
.
5.
If desired, password-protect and hide the new
Memo
.
6.
Enter the text of the
Memo
on the line to the right of
Memo
.
7.
If desired, enter additional information about the
Memo
in any custom fields
you may have created. For more information on adding and editing custom
fields, see
Adding and Editing Custom Fields
in
Chapter 2: Quick Start
Short Cuts
.
8.
Tap
(
to save your changes or tap
)
to return to the previous screen without
saving your changes.
You may also create a new
Memo
by displaying an existing entry, opening the
Detail
menu
and selecting
Duplicate entry
, and then changing the newly created duplicate entry as desired.
Summary of Contents for Avigo
Page 1: ...Avigo Quick Start Guide Avigo Financial Calculator User s Guide Avigo User s Guide...
Page 28: ...Introducing Avigo 1...
Page 31: ...Setting Up Your Avigo 1...
Page 46: ...Quick Start Short Cuts 2...
Page 61: ...Planning Your Day 3...
Page 65: ...Events To Remember 4...
Page 73: ...Taming Your To Do List 5...
Page 79: ...Keeping In Contact 6...
Page 86: ...Organizing Your Data 7...
Page 92: ...Turning Your Memos Into Action 8...
Page 98: ...Facts Figures and Finances Tracking Your Expenses 9...
Page 104: ...Making Your Sketches Paint A Thousand Words 10...
Page 109: ...Making Everything Add Up 11...
Page 116: ...Additional Features 12...


