


Pre-Flight
70
RangePro RPX8-P User Manual
8 • Flight Ops
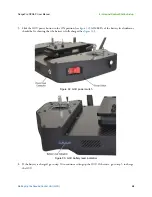
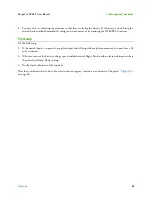
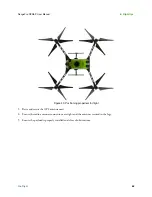
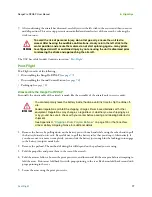
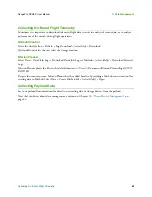
Figure 42. Clear zone around UAV
9.
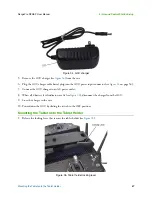
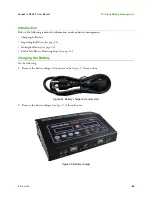
Power on the Ground Control Station, verifying that it is fully charged.
10.
Turn on the tablet.
11.
Open the QGroundControl app.
12.
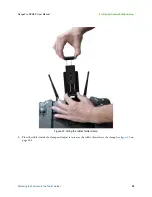
With the transmitter on, it’s now time to turn on the RangePro RPX8-P. While pulling down the battery
locking pin, press the battery into the rails far enough that the battery pin clears the battery transport mode
hole (see
on page 47). When that happens, release the pin. Continue pressing the battery until
the locking pin engages the battery flight mode hole, at which point the RangePro X8 will activate and
power up. The RangePro UAV will emit a series of beeps as part of the startup process:
– First sequence: Three rising beeps indicating power has been applied.
– Second sequence: Series of “diddley” beeps indicating unit has booted.
– Third sequence: Two falling beeps indicating no radio connection.
– Fourth sequence: Two rising beeps indicating radio connection.
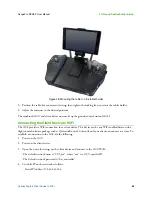
13.
After initial power up do not move the unit while the gyroscope is being calibrated. The side LEDs on the
GPS unit flash red and blue during the gyroscope calibration process. When the side LEDs start flashing
yellow it is okay to touch or move the unit.
Summary of Contents for RangePro RPX8-P
Page 90: ...90 Chapter 12 Contacting TerraView for Support Chapter Contents Support Options 91...
Page 104: ...104 Appendix F LED Meanings Chapter Contents Introduction 105...
Page 119: ...119 Appendix K Configuration Specific Parameters Chapter Contents Load Specific Parameters 120...
Page 121: ...121 Appendix L Making Sense of Motor Tests Chapter Contents Making Sense of Motor Tests 122...
Page 123: ...123 Appendix M Serial Port Assignment Chapter Contents Serial Port Assignment 124...


