k
Bedienungsanleitung
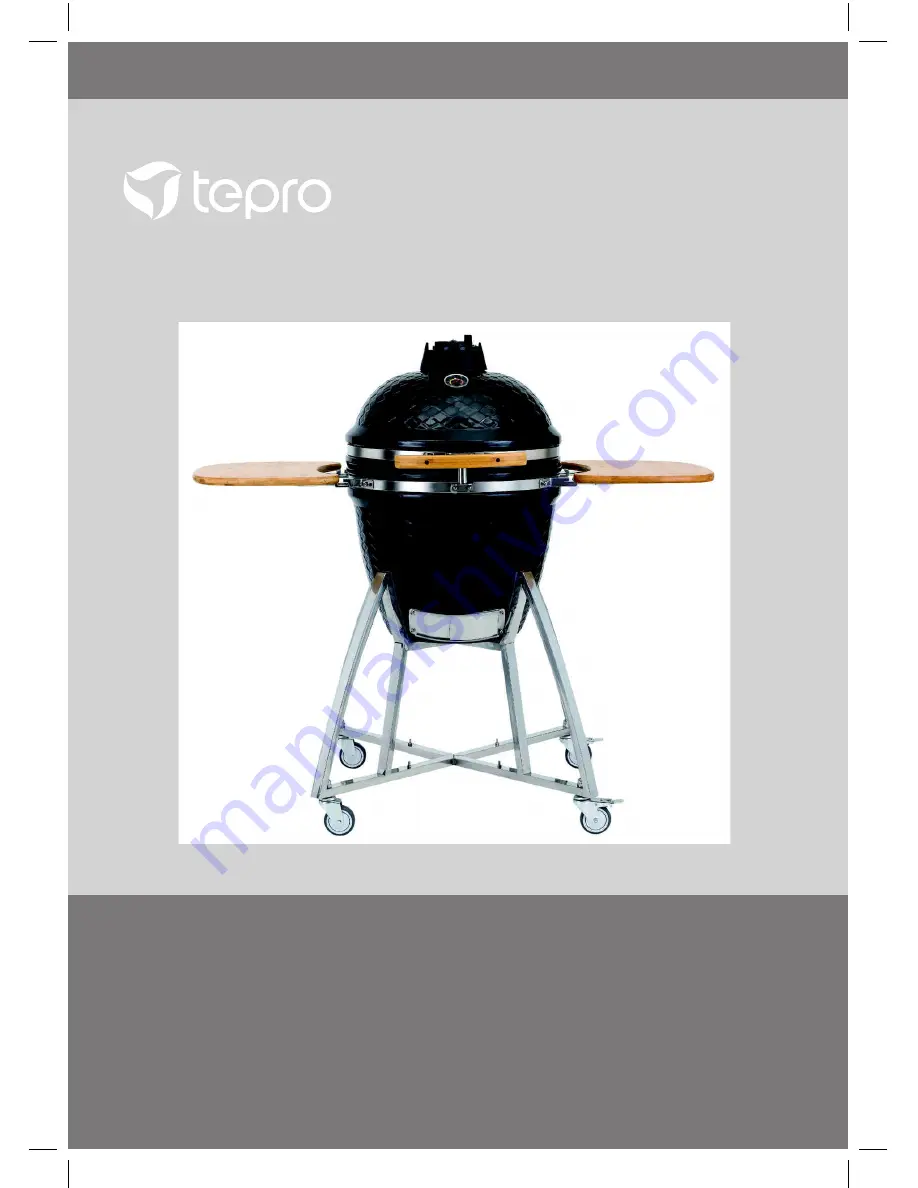
KeramiK-Grill „GreNaDa“
Holzkohlengrill
t
Operating manualCeramiC BBQ “GreNaDa”
Charcoal BBQ
Version 2017
art. Nr. 1154
P160175_TEPRO_1154_Grenada_K.indb 1
8/11/16 10:41 AM
Page 1: ...k Bedienungsanleitung KeramiK Grill GreNaDa Holzkohlengrill t Operating manual CeramiC BBQ GreNaDa Charcoal BBQ Version 2017 art Nr 1154 P160175_TEPRO_1154_Grenada_K indb 1 8 11 16 10 41 AM...
Page 2: ...P160175_TEPRO_1154_Grenada_K indb 2 8 11 16 10 41 AM...
Page 3: ...weise 6 7 Montage 8 11 Vorbereitung 8 Ben tigtes Werkzeug 8 Grill zusammenbauen 8 11 Grill aufstellen 11 Vor dem Grillen 11 Bedienung 12 13 Wartung und Reinigung 14 Entsorgung 15 Technische Daten 15 K...
Page 4: ...sanleitung aufmerksam durch Nur so k nnen Sie alle Funktionen sicher und zuverl ssig nutzen Heben Sie die Bedienungsanleitung gut auf und bergeben Sie sie auch an einen m g lichen Nachbesitzer Lieferu...
Page 5: ...sein wenden Sie sich bitte an Ihren H ndler Reklamationen nach erfolgter oder ange fangener Montage hinsichtlich Besch di gung oder fehlender Teile werden nicht anerkannt Bestimmungsgem er Gebrauch Di...
Page 6: ...nutzt zu werden Diesen Personenkreis auf die Gefah ren des Ger ts hinweisen und durch eine f r ihre Sicherheit zust ndige Per son beaufsichtigen Jegliche nderungen an dem Produkt stellen eine gro e S...
Page 7: ...W hrend des Grillens immer gr te Sorgfalt aus ben Bei Ablenkung k n nen Sie die Kontrolle ber das Ger t verlieren Seien Sie stets aufmerksam und ach ten Sie immer darauf was Sie tun Das Produkt nicht...
Page 8: ...ch ausreichend Zeit f r die Montage und schaffen Sie eine ebene Arbeitsfl che von ein bis zwei Quadratmetern 3 Eventuell sind Kleinteile wie etwa Grif fe bereits vormontiert 4 Achten Sie auf scharfe K...
Page 9: ...tzieren Entfernen Sie alle sich im Grillk rper befindlichen Teile Vorsicht Besch digungsgefahr Heben Sie den Grillk rper nie am Scharnier oder an den Seitenab lagen an Der Grillk rper muss von mindest...
Page 10: ...w hrleisten 7 Deckelgriff befestigen Entfernen Sie die Hutmuttern und stecken Sie den Deckelgriff 10 auf die bereits am Deckel installierten Schrauben Befestigen Sie den Deckelgriff mit den Muttern 9...
Page 11: ...h digungsgefahr W hrend des Gebrauchs k n nen sich die Verschraubungen allm hlich lockern und die Sta bilit t des Grills beeintr chti gen Pr fen Sie die Festigkeit der Schrau ben vor jedem Gebrauch Zi...
Page 12: ...wegen 4 ffnen Sie den Zulufteinlass des Grillk rpers 9 und z nden Sie die Anz ndhilfen mit einem langstieligen Streichholz an Achtung Vermeiden Sie zu hohe Flammen um die Deckelversiegelung nicht zu b...
Page 13: ...brust 4 Std pro Kilo Pulled Pork 4 Std pro Kilo H hnchen ganz 3 4 Std Schweinerippchen 3 5 Std Braten 9 Std Grillen und Braten 160 C bis 180 C Fisch 15 20 Min Schweinelende 15 30 Min H hnchenteile 30...
Page 14: ...Grillrosteinsatz sorgf ltig ab und set zen Sie sie wieder auf den Grill Das Innere des Grills ist selbstreini gend ACHTUNG Benutzen Sie we der Wasser noch Reinigunsproduk te im Inneren des Grills Die...
Page 15: ...it Trans port Fracht und Verpackung gehen im Garantiefall zu Lasten des K ufers Der Vertreiber beh lt sich das Recht vor evtl entstandene Kosten selbst zu tragen oder an den K ufer weiter zu berechnen...
Page 16: ...im Lieferumfang enthalten Erh ltlich im station ren und Online Handel Guss Grillrost Einleger tepro Artikelnummer 8571 zum Einlegen in den Hauptrost Guss Grillrost ca 30 5 cm P160175_TEPRO_1154_Grenad...
Page 17: ...ummer 8573 Guss Wok Einleger tepro Artikelnummer 8580 zum Einlegen in den Hauptrost Pizzastein aus Corderit ca 28 5 cm zum Einlegen in den Hauptrost Guss Pfanne ca 31 7 x 3 5 cm zum Einlegen in den Ha...
Page 18: ...f higem Polyestergewebe 300 x 250D mit wasserabweisender PVB Beschichtung widerstandsf hig gegen UV Strahlen Ventilations ffnungen mit Befestigungsklettband Material Au enseite PVB Polyvinylbutyral In...
Page 19: ...3 Assembly 24 27 Preparation 24 Required tools 24 Assembling the BBQ 24 27 Setting up the BBQ 27 Before grilling 27 Operation 28 29 Maintenance and Cleaning 30 Disposal 30 Technical details 31 Declara...
Page 20: ...by doing so will you be able to use all of the functions safely and reliably Keep the operating manual in a safe place and hand it over to any possible future owner Scope of delivery No Description P...
Page 21: ...thereby lead to forfeiture of the warranty Please use only solid firelighters complying with EN 1860 3 such as wood wool or a separate chimney starter No Description Quantity A Screw 16 B Domed nut 4...
Page 22: ...Such persons must be informed about the dangers of the device and supervised by a person responsible for their safety Any modifications to the product represent a large safety risk and are forbidden...
Page 23: ...ercise extreme caution while grilling If distracted you can lose control of the device Always be attentive to and aware of what you are doing Do not use this product if you are unfocussed or tired or...
Page 24: ...ctions completely 2 Take sufficient time for the assembly and establish an even work surface of one to two square metres 3 Small parts such as handles will probably be preassembled 4 Look out for shar...
Page 25: ...y on the base frame Remove all of the parts inside the BBQ body Caution risk of damage Never lift the BBQ body by the hinge or by the side racks The BBQ body must be carried by at least two people who...
Page 26: ...lation 7 Attach the lid handle Remove the domed nuts and stick the lid handle 10 onto the screws already installed on the lid Fasten the lid handle in place with the nuts 9 8 Attach the cast iron vent...
Page 27: ...BQ Attention Risk of damage During use the screws can loosen slowly and impair the BBQ s stability Check the stability of the screws prior to each use If necessary tighten all of the screws again to e...
Page 28: ...t the firelighters using a long stemmed match Warning Avoid letting the flames get too high in order to avoid damaging the lid seal 5 Insert the BBQ grate using the BBQ grate insert 5 into the BBQ bod...
Page 29: ...iron ventilation controller 11 op vent Bottom vent Air inlet on BBQ body Slow cooking and smoking 110 C to 135 C Beef brisket 4 hrs per kilo Pulled pork 4 hrs per kilo Chicken whole 3 4 hrs Pork ribs...
Page 30: ...ert and place them back on the BBQ The inside of the BBQ is self cleaning WARNING Do not use water or cleaning products on the inside of the BBQ The walls are porous and absorb liquids which can cause...
Page 31: ...All other costs incurred such as required working time shipping freight and packaging shall be borne by the buyer in the case of a warranty claim The distributor reserves the right to bear any incurre...
Page 32: ...ed in the delivery scope Available over the counter and online Cast Iron BBQ Grate Insert tepro Item Number 8571 for insertion into the main grate Cast iron BBQ grate approx 30 5 cm P160175_TEPRO_1154...
Page 33: ...cordierite approx 28 5 cm Cast Iron Pan Insert tepro Item Number 8573 for insertion into the main grate Cast iron pan approx 31 7 x 3 5 cm Cast iron wok inlay tepro Item Number 8580 for insertion into...
Page 34: ...PVB coating resistant to UV rays ventilation holes with Velcro fastener Material Exterior PVB Polyvinyl butyral Interior 100 polyester Hood dimensions approx 73 x 90 cm x H Chimney starter tepro Item...
Page 35: ...35 t P160175_TEPRO_1154_Grenada_K indb 35 8 11 16 10 42 AM...
Page 36: ...P160175_TEPRO_1154_Grenada_K indb 36 8 11 16 10 42 AM...