Airman 8
Parts List and Disassembly/Assembly 17
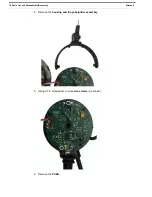
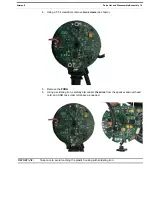
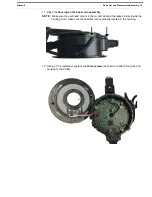
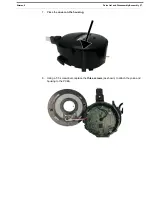
7. Using a soldering iron, carefully disconnect
the wires
from the speaker, overhead cord,
boom mic assembly, and ANR mic solder terminals, as needed.
IMPORTANT:
Take care to avoid touching the plastic housing with soldering iron.
2.3.1.6 Non-Boom Side Disassembly
NOTE:
The following steps need to be done before going forward:
•
“Remove the headband cover clips (if present)” on page 11
•
“Replace Cushions and Windscreen” on page 12
•
“Remove the mic prefilter” on page 14
•
“Remove the Yoke Assembly from the Headband Assembly” on page 14
To
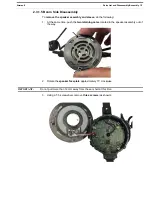
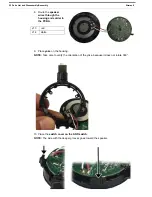
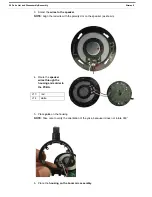
remove the speaker assembly and sleeve
, do the following:
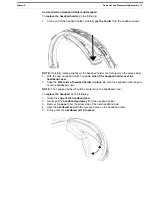
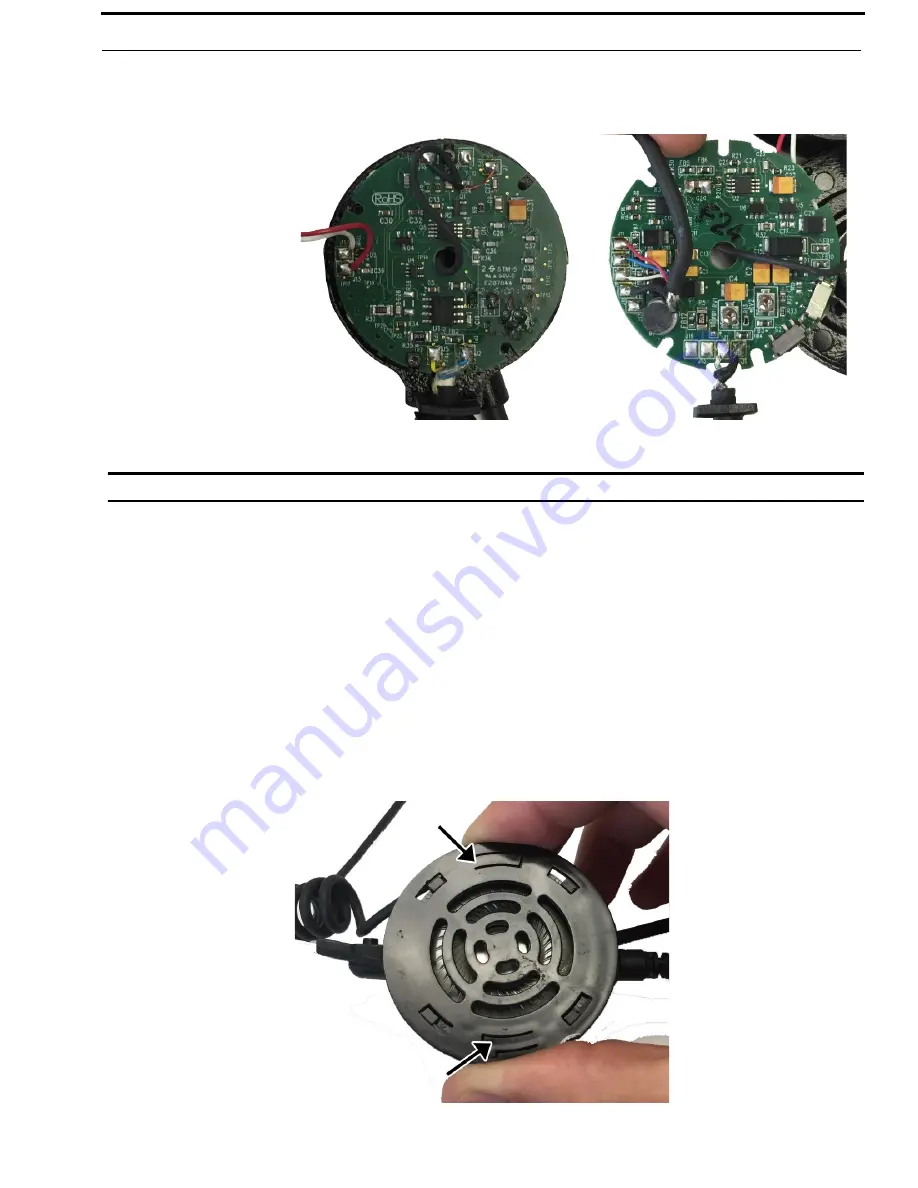
1. Pushing the two retaining cams simultaneously on the speaker assembly, rotate the
speaker faceplate approximately 15° clockwise
.
NOTE:
To avoid pulling the wires from the board, do not pulling the speaker assembly more
than 12mm from the ear shell.
Summary of Contents for Airman 8
Page 33: ...Airman 8 Parts List and Disassembly Assembly 33 5 Firmly press the headband pad into place...
Page 34: ...34 Parts List and Disassembly Assembly Airman 8...
Page 36: ...36 Maintenance Airman 8...
Page 38: ...38 Maintenance Airman 8...
Page 41: ...Airman 8 Maintenance 41 3 1 5 Speaker Troubleshooting and Workflow...
Page 43: ...Airman 8 Maintenance 43 3 1 6 ANR Troubleshooting and Workflow...
Page 48: ...48 Maintenance Airman 8...

