Creating Capture & Tape Action Workflows
Creating and Activating the Capture Action Workflow
115
Lightspeed Live Capture User Guide
Primary and Secondary Outputs
The Primary output panel allows you to select the container format and the video and
audio codecs to use for the main captured output. You can also select the output
storage location where the file will be written, edit the file name using tokens, and
specify a workflow nickname.
The Secondary output panel is optional, and allows you to select the container format
and video/audio codecs to use for a proxy output. To configure the video and audio
codecs, select the component in the container to display the settings panel to the right.
Primary Output > Select
. Choose the output's container format: MPEG2-TS | MXF OP1a
| QuickTime | QuickTime Open | TIFO.
Secondary Output > Select
. Choose the output's container format: Proxy HLS | Proxy
MP4 | Proxy MXF RDD-25.
Delete
. To delete this component, click the X icon in the upper right corner.
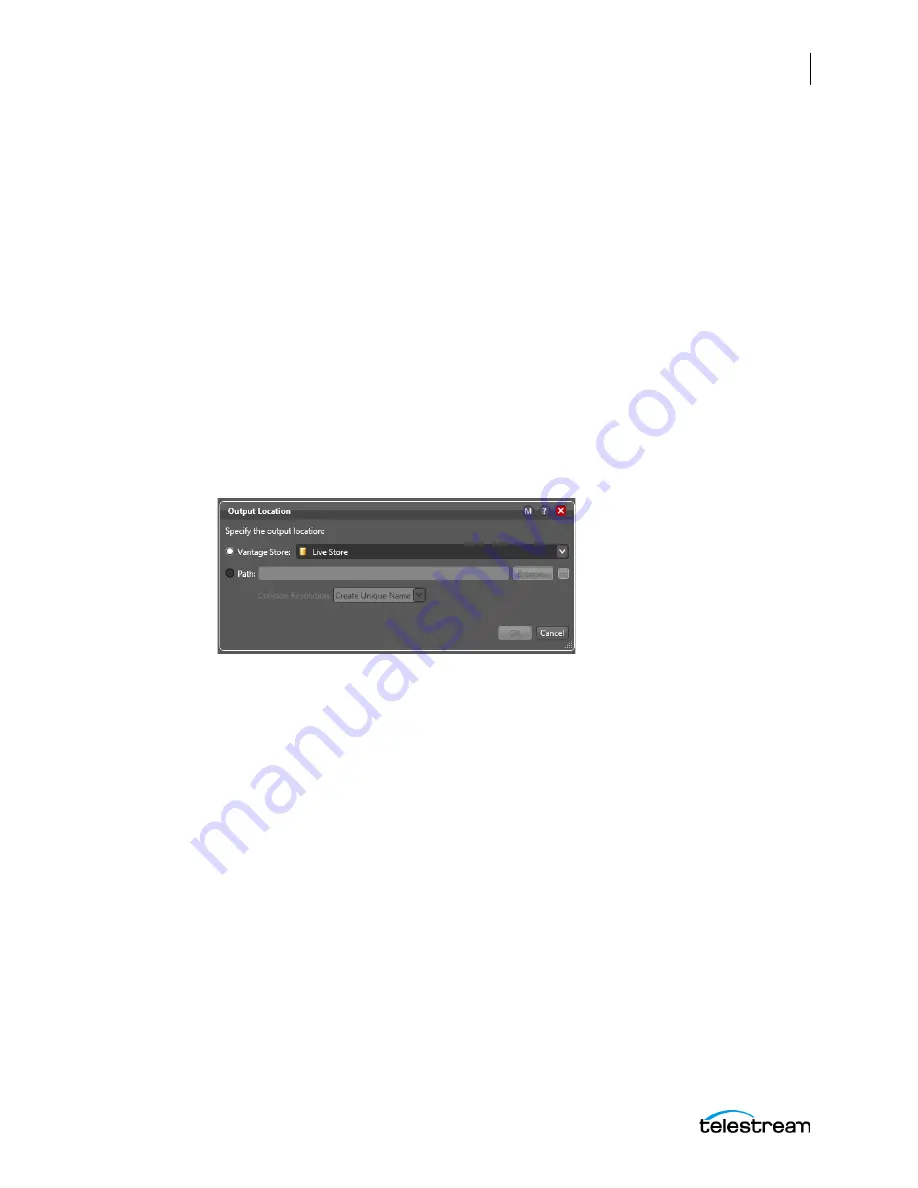
Output Location
. Click Output Location and select from these choices:
-
Vantage Store
: Write the output to a Live Store. Select any available Live Store from the
drop down list.
-
Path
: Write the output to a specific Windows file system server and directory. Manually
enter a Windows share (UNC path) or drive letter (not recommended on Vantage arrays)
or click Browse to navigate and select the location. Or, click the green Browse button
and select a variable which supplies the fully-qualified path.
WARNING: In rare instances two capture processes writing to the same Path
location folder could result in one file overwriting the other. To prevent this it is
best to use a unique folder location for each workflow, or append a Time token set
to 'mmm' to the file name in one workflow by using Edit Filename, which will
return seconds down to a thousandth of a second and add this onto the file name.


