SeaBat T-Series Subsea Operator's Manual
Page 12
January 31, 2019
Version 7
3.2
Pre-dive Checks
Prior to deploying the SeaBat T-Series Subsea system into the water, perform the following checks.
1.
Inspect all system cables for signs of chafing or damage.
2.
Inspect the transducer arrays for any signs of damage or oil leakage.
3.
Inspect the SSP for any signs of damage.
3.3
System Startup Instructions
3.3.1 AUV System
After the SeaBat hardware has been installed (see
Appendix B Installation Instructions
), the
system may be started.
1.
Apply power to the SSP. The SeaBat T-Series Subsea will automatically start the
AUV operating system.
2.
The 7k Center will start and then configure itself to match the sonar operating
parameters present when the system was last shut down. Thus, if the sonar was pinging
when the system was last shut down, the sonar will resume pinging. The factory default
power setting is Power OFF to prevent accidental damage of the projector.
3.
Optional:
a. Access the SSP operating system via remote control software and configure
the system operating parameters as appropriate for the mission (see
section
4 System Configuration with User Interface
).
b. Close the remote control software connection.
4.
The system is ready to be deployed.
CAUTION
The SSP is designed for operation under water. Operation in air for extended periods of time
will result in overheating and severe damage to the system. Transmitting in air should be
limited to low power levels and should be
no longer
than 1 minute in length with power ON.
NOTE
If the 7k Center is shut down during setup and test, it may be restarted by double-clicking the
7k Center icon on the control computer.
3.3.2 ROV System
After the SeaBat hardware has been installed (see
Appendix B Installation Instructions
), the
system may be started.
1.
Apply power to the SSP.
2.
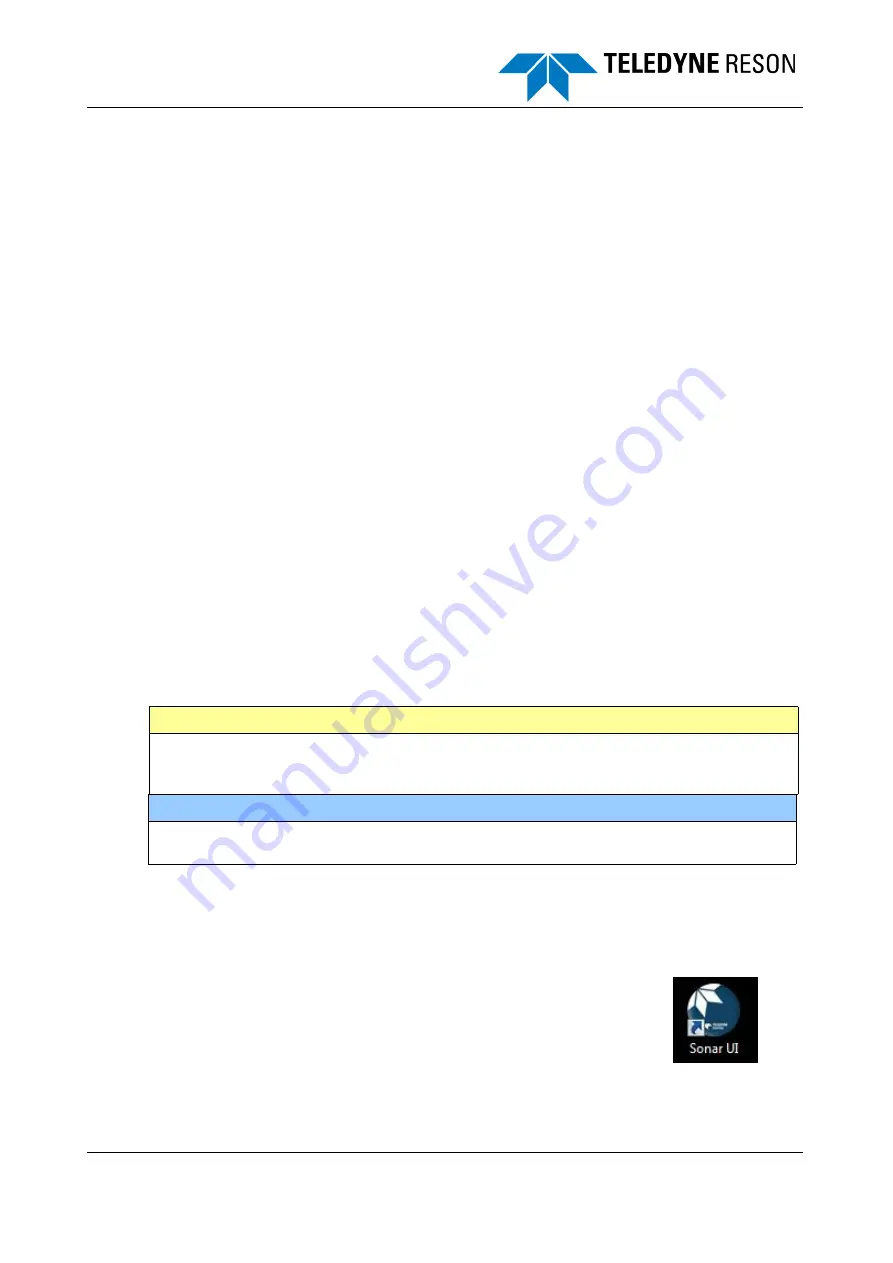
Double-click the Sonar UI icon on the customer-provided
computer/laptop to start the Sonar User Interface.
3.
Connect to the SSP.
4.
Select the appropriate settings for the mission.
(For further details, see
section 4.2 Sonar User Interface (SUI)
Summary of Contents for SeaBat T Series
Page 6: ......


