www.teknikoffice.co.uk
The
stories
of your
life
.
NOTE:
THIS INSTRUCTION
BOOKLET CONTAINS
IMPORTANT
SAFETY INFORMATION.
PLEASE READ AND KEEP FOR FUTURE REFERENCE.
Canal Heights
4
Shelf Bookcase
Model
5419228
Teknik
Page 1: ...teknikoffice co uk The stories of your life NOTE THIS INSTRUCTION BOOKLET CONTAINS IMPORTANT SAFETY INFORMATION PLEASE READ AND KEEP FOR FUTURE REFERENCE Canal Heights 4 Shelf Bookcase Model 5419228 Teknik ...
Page 2: ...f Contents Assembly Tools Required Part Identification Hardware Identification Assembly Steps Hammer Not actual size No 2 Phillips Screwdriver Tip Shown Actual Size Skip the power trip This time 3 4 5 10 Page 2 ...
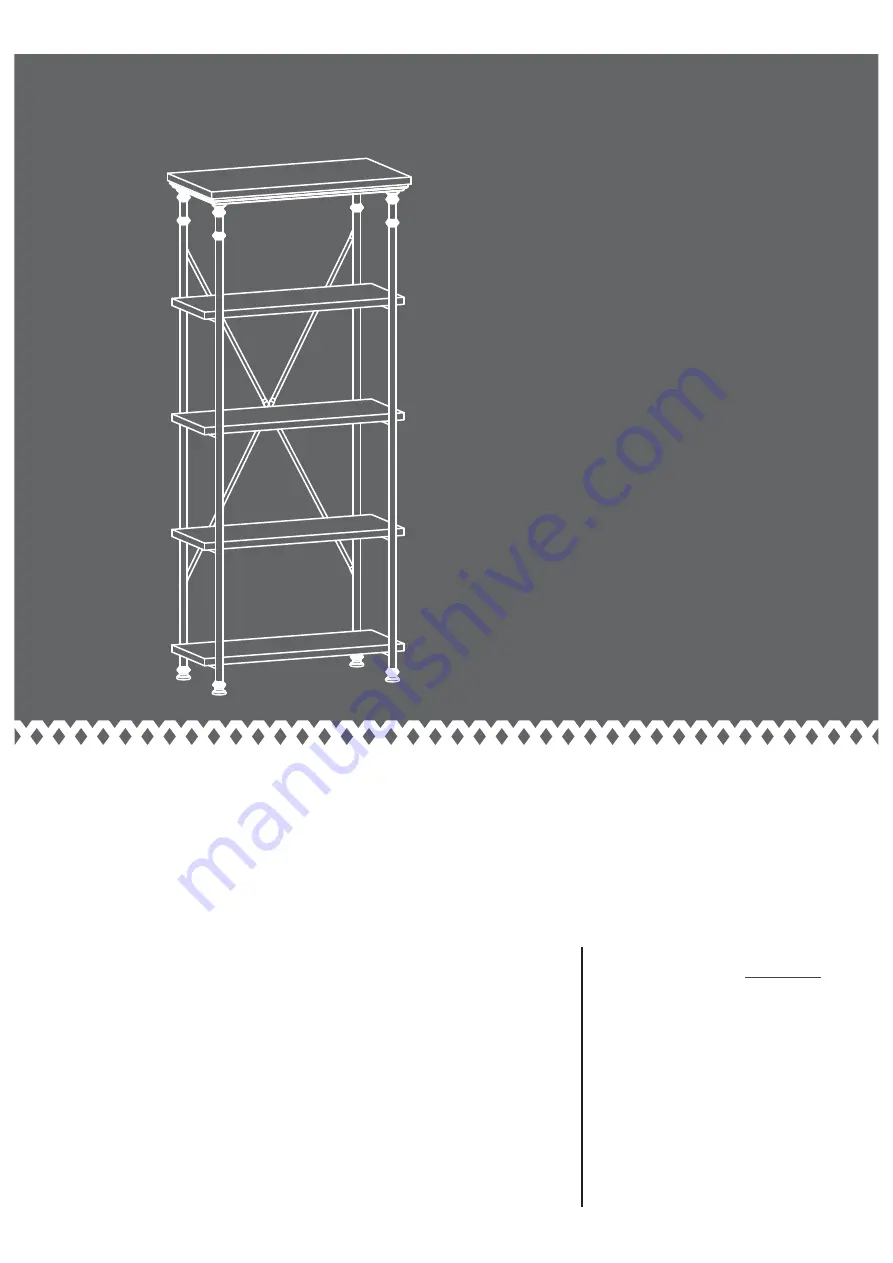
Page 3: ...an inked letter on the edge to help distinguish similar parts from each other Use this part identification to help identify similar parts Now you know our ABCs A RIGHT END 1 B LEFT END 1 C TOP 1 D SHELF 4 E SHELF SUPPORT 4 F BACK SUPPORT 2 A B C D D D D E E E E F F Page 3 www sauder com 419228 ...
Page 4: ...on å Screws are shown actual size You may receive extra hardware with your unit 1 2 MACHINE SCREW 20 6 1 1 4 FLAT HEAD SCREW 20 3 Page 4 www sauder com 419228 9 16 LARGE HEAD SCREW 6 7 FURNITURE TIPPING RESTRAINT KIT 1 99 ...
Page 5: ...n to avoid scratching your unit or the floor å Fasten the ENDS A and B to the SHELF SUPPORTS E Use sixteen 1 2 MACHINE SCREWS 6 Page 5 A B These holes must be here These holes must be here 1 2 MACHINE SCREW 16 used in this step 6 6 6 These holes must be here 6 6 E E E E ...
Page 6: ... SUPPORTS E and ENDS A and B Use twenty 1 1 4 FLAT HEAD SCREWS 3 Step 2 Page 6 1 1 4 FLAT HEAD SCREW 20 used in this step 3 3 3 3 3 3 3 3 3 3 Surface with holes Surface with holes Surface with holes Surface with holes A B D D D D E E E E ...
Page 7: ...å Fasten the BACK SUPPORTS F to the ENDS A and B Use four 1 2 MACHINE SCREWS 6 Step 3 Page 7 1 2 MACHINE SCREW 4 used in this step 6 A B F F ...
Page 8: ... B Use six 9 16 LARGE HEAD SCREWS 7 Step 4 419228 7 Edge without molding A B C For support place packing foam and magazines here under both ENDS to lift your unit so the TOP is easier to attach 9 16 LARGE HEAD SCREW 6 used in this step 7 ...
Page 9: ...for added stability Fasten a bracket to the TOP C using the 5 8 screw as shown å Place your unit in its final location against a wall å Follow the instructions included in the KIT to fasten your unit to the wall 99 Use the 5 8 screw through the small hole in a bracket and into the back edge of the TOP C Small hole ...
Page 10: ...lbs 40 lbs 40 lbs 40 lbs No load å NOTE Please read the back pages of the instruction booklet for important safety information å This completes assembly Clean with your favorite furniture polish or a damp cloth Wipe dry ...
Page 11: ... break if improperly moved Physical injury Furniture can be very heavy Unload shelves from top to bottom before moving the furniture Do not push furniture especially on a carpeted floor Have a friend help you lift the item and set it in place This unit must be positioned against a wall Children climbing on the shelves can cause the product to tip Risk of injury or death Do not allow children to cli...