EN
EN
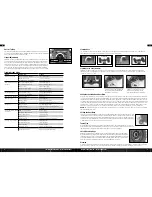
Control Test
Perform a control test with the vehicle wheels off of the ground. If the wheels rotate after the vehicle is powered on, adjust the “TH. Trim” knob until the
wheels stop. To make the wheels move forward, pull the throttle trigger back. To make the wheels rotate in reverse, wait for the wheels to stop, then push the
throttle trigger forward. When going forward, the wheels should maintain a straight line. If not, adjust the “ST. Trim” knob so the wheels maintain a straight
line without having to turn the steering wheel.
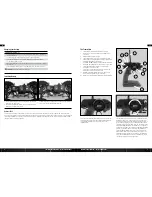
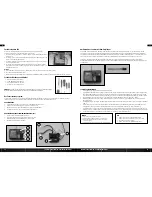
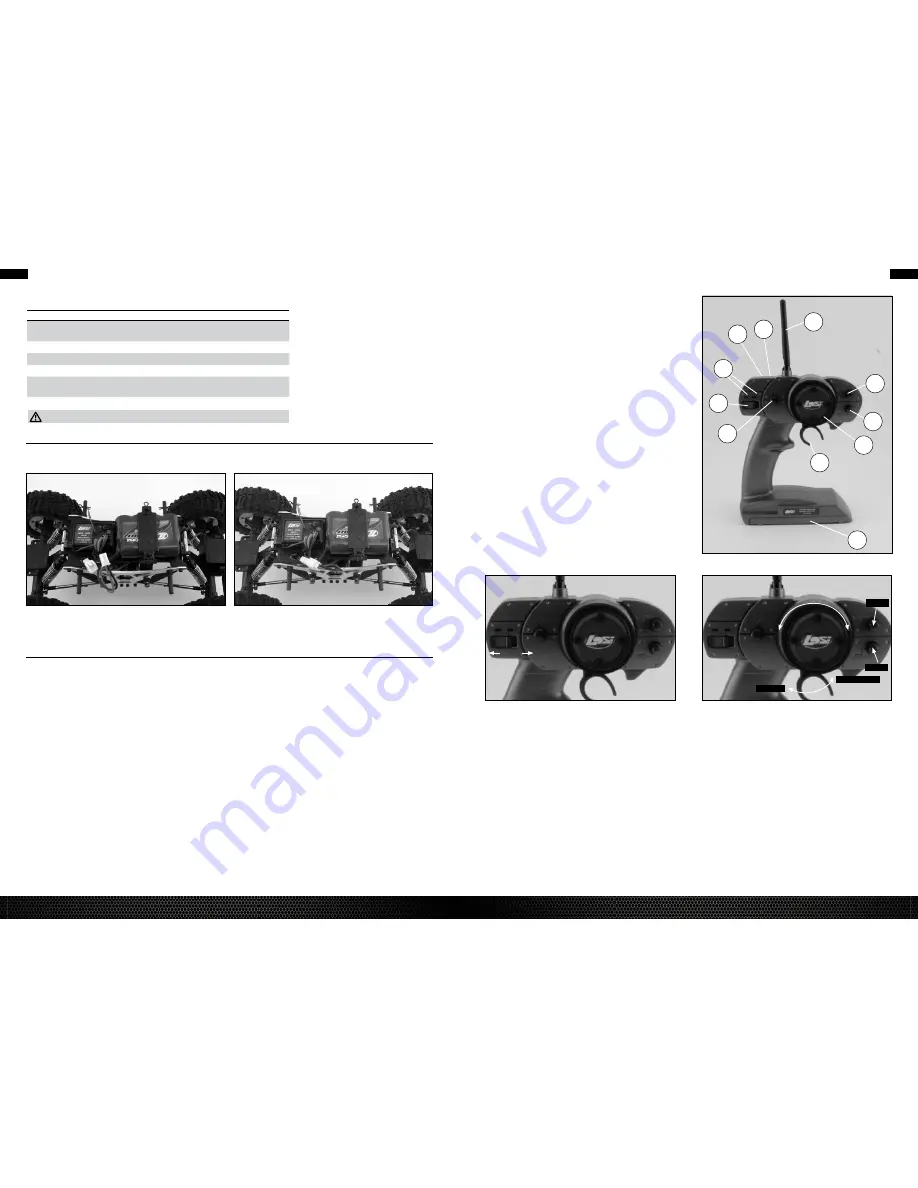
1. Once the battery is charged, remove the body clip from the battery tray.
Lift the front of the battery tray.
2. Install the charged battery pack into the chassis as shown. Ensure the
battery pack is laying flat on the chassis.
3. Plug the Mini connector on the battery into the Mini connector on the ESc.
4. Lower the battery tray and reinstall the body clip.
Installing battery
Charging your battery
The battery Charging Process
1. charge only batteries that are cool to the touch and are not damaged e.g., swollen, bent,
broken or punctured.
2. connect the charger to the proper wall receptacle, noting proper polarity.
3. Plug the white Mini battery connector into the Mini connector on the battery charger.
4. Let the battery charge for 5 hours.
5. Monitor the battery during charging, and end the charge process if the charger or battery
becomes hot.
6 Always unplug the battery from the charger immediately upon completion of charging.
CAuTIoN:
Overcharging a battery can cause a fire.
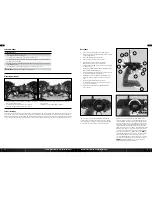
The Transmitter
1.
Steering Wheel: controls direction (left/right) of the model.
2.
Throttle Trigger: controls speed and direction (forward/reverse)
of the model.
3.
Antenna: Transmits signal to the model.
4.
On/Off Switch: Turns the power on for the transmitter operation.
5.
Indicator Lights: Green (top) light indicates adequate battery power.
Red (bottom) light indicates signal strength.
6.
Steering Trim (ST. TRIM): Adjusts the “hands off” direction of the model.
7.
Throttle Trim (TH. TRIM): Adjusts the motor speed to stop at neutral.
8.
Steering Rate: Adjusts amount front wheels move when the
steering wheel is turned left or right.
9.
Steering Reverse Switch (ST. REV): Reverses the function of the
steering when the wheel is turned left or right.
10. Throttle Reverse Switch (TH. REV): Reverses the function of the
speed control when pulled back or pushed forward.
11. Bottom cover: covers and holds the batteries powering the transmitter.
1
7
6
3
9
10
5
4
8
11
2
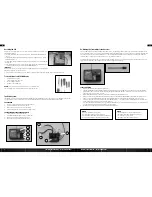
Always turn on the transmitter first by sliding the switch on the left side
of the wheel from left to right. The small red and green lights above the
switch should both light up. If not, check for low or incorrectly
installed batteries.
off/on
Once the transmitter has been turned on, turn on the Mini-Rock crawler
by sliding the switch on the speed controller to the “On” position. If the
rear wheels turn, adjust the “TH. Trim” knob located to the lower right of
the steering wheel until they stop. To go forward, pull the trigger back. If
you should need reverse, wait for the model to stop, then push the trigger
forward. When going forward the model should move in a straight line. If
not, adjust the “ST. TRIM” so that it tracks in a straight line without having
to turn the steering wheel. After you are finished, turn the Mini-Rock
crawler off FIRST by sliding the switch to the “OFF” position. After the
model has been turned off, turn off the transmitter. If you wish to clean
your Mini-Rock crawler, use compressed air and/or a soft paintbrush to
remove dust and dirt. NEVER use chemicals or anything wet as that can
cause damage to both electronics and plastic parts.
St.Trim
Th.Trim
Left
Right
brake/Reverse
Forward
5
4
LOSI MINI-ROCK CRAWLER
• INSTRUCTION MANUAL
LOSI MINI-ROCK CRAWLER
• INSTRUCTION MANUAL


