Page 1 / 18 ECOC: EGC0 ; LOC: AI
Bedienungsanleitung
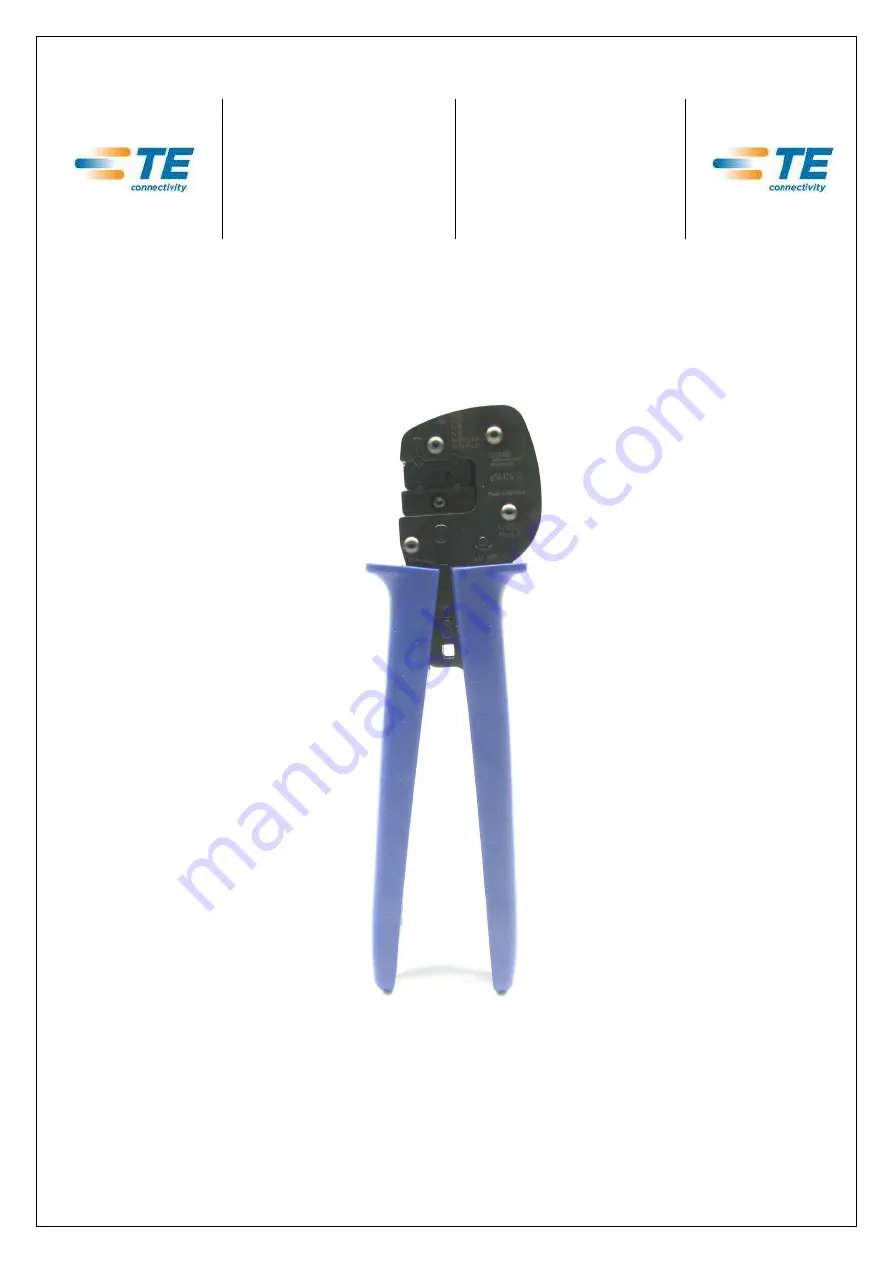
Handzange
Positive Lock
Model A
TE PN 654174-2
411-18341 / 2-744014-3 31.07.2015, LS, Rev.C1 ECR-15-011428
Operating instructions
Hand Tool
Page 1: ...ECOC EGC0 LOC AI Bedienungsanleitung Handzange Positive Lock Model A TE PN 654174 2 411 18341 2 744014 3 31 07 2015 LS Rev C1 ECR 15 011428 Operating instructions Hand Tool Positive Lock Model A TE PN...
Page 2: ...Page 2 18 TE PN 2 744014 3 411 18341 Rev C1 1 Deutsch 3 2 English 11...
Page 3: ...1 Zust ndigkeit 4 2 2 Hinweise zum Einrichten und Betreiben des Werkzeugs 4 2 3 Hinweise zum Warten und Instandhalten des Werkzeugs 5 3 Verwendungszweck 5 4 Technische Daten 6 5 Beschreibung 6 6 Einr...
Page 4: ...Substances unterliegen sind auf der folgenden Website zu finden http www tycoelectronics com customersupport rohssupportcenter Dort Find Compliance Status anw hlen und die entsprechenden Teile Nummern...
Page 5: ...kurz geschlossen sowie benachbarte unter Spannung stehende Teile isoliert werden Die elektrische Ausr stung des Werkzeugs ist regelm ig zu pr fen M ngel wie z B lose Verbindungen oder angeschmorte Ka...
Page 6: ...angen sind f r gelegentliche Anwendungen und geringe St ckzahlen vorgesehen F r den gesteigerten Bedarf bzw f r die Produktion bietet Tyco Electronics eine gro e Auswahl entsprechender Werkzeuge an HI...
Page 7: ...d Isolationsflanken nach oben in Richtung Crimper zeigen siehe Abbildung 3 und 4 Abbildung 3 Abbildung 4 2 Nun wird der Kontaktpositionierer zur ck geschwenkt wobei der Kontakt exakt ber dem Amboss po...
Page 8: ...und gleichzeitig der Handgriff mit gleichm iger Geschwindigkeit geschlossen werden Die integrierte Ratsche verhindert ein vorzeitiges ffnen und garantiert dass die Kontakte mit der richtigen Kraft an...
Page 9: ...mmen und ersetzt werden siehe Abbildung 8 und 9 Abbildung 8 Abbildung 9 Crimper Der Crimper ist ebenfalls durch eine Linsenschraube gesichert Um ihn heraus nehmen zu k nnen muss die Zange vollst ndig...
Page 10: ...Amboss 2 7 1579015 9 Kontaktpositionierer 10 Wartung und Instandhaltung Das Werkzeug muss vor Arbeitsbeginn in einem ordnungsgem en und sauberen Zustand sein R ckst nde sind zu entfernen Die Gelenke s...
Page 11: ...2 2 1 Responsibilities 12 2 2 Notes on setting up and operating the tool 12 2 3 Notes on service and maintenance 13 3 Intended use 13 4 Technical data 14 5 Description 14 6 Set up including equipping...
Page 12: ...stances subject to RoHS Restriction on Hazardous Substances can be found at the following website http www tycoelectronics com customersupport rohssupportcenter Click on Find Compliance Status and ent...
Page 13: ...that they no longer carry any current then they must be earthed and short circuited Adjacent parts carrying current must be insulated The electrical equipment of the tool must be checked regularly fa...
Page 14: ...tools are intended for occasional use and low volume applications For extended use or production operations Tyco Electronics offers a wide selection of powered application equipment NOTE The tool may...
Page 15: ...ile of the crimping and insulation flanks shows upwards in direction of the crimper see figure 3 and 4 Figure 3 Figure 4 2 Now the contact positioner is swivelled back whereby the contact is exactly p...
Page 16: ...d in this position and at the same time the handle must be closed consistently The integrated ratchet prevents premature opening and guarantees that the contacts are crimped with the correct force In...
Page 17: ...ioner can be removed and exchanged see figure 8 and 9 Figure 8 Figure 9 Crimper The crimper is also fixed with a fillister head screw In order to take it out the pliers need to be opened fully After t...
Page 18: ...79015 9 Contact positioner 10 Maintenance and preventive maintenance Prior to operation the tool must be in a proper and clean condition Any residues should be removed The joints should be oiled regul...