00-3795-0153
|
June
2019
Operating and Maintenance Instructions
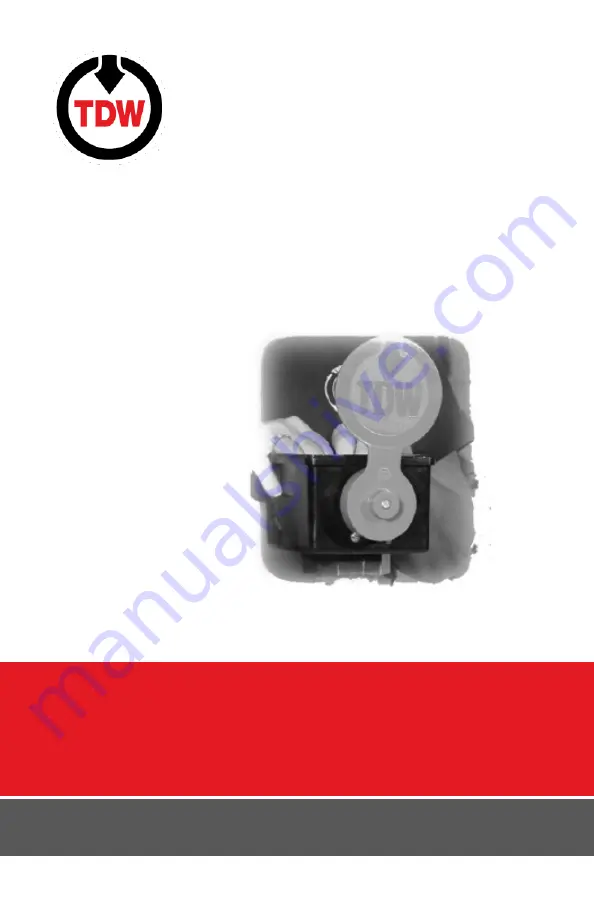
PIG-SIG IV
Scraper Passage Indicator
®
Page 1: ...00 3795 0153 June 2019 Operating and Maintenance Instructions PIG SIG IV Scraper Passage Indicator...
Page 2: ...cted with work on pipe containing liquids or gases under pressure The purchaser of this equipment is responsible for the way this equipment is used and the training and competence of the operators Sho...
Page 3: ...2019 All rights reserved T D Williamson The list below shows the complete revision history of this document Date Version 06 2019 Remove T 101a update measurements update photos Document Version Histor...
Page 4: ...tion Installation 1 0 Purpose 3 2 0 Description 3 Section 3 Installation 1 0 Nipple Installation 9 2 0 Plug Installation 12 3 0 Indicator Installation 16 4 0 Extended Indicator Installation 22 5 0 Rec...
Page 5: ...2019 All rights reserved T D Williamson ii This page intentionally left blank...
Page 6: ...ry or product or property damage 1 1 General Ensure the safety features and operating procedures of the drilling machine are understood Do not attempt to make a tap or set a PIG SIG V plug assembly wi...
Page 7: ...Section I Safety This page intentionally left blank 2...
Page 8: ...field and are interchangeable This makes it possible to use these units as conversion kits as well as complete PIG SIG Indicators The PIG SIG IV is weatherproof and corrosion resistant It features hou...
Page 9: ...unidirectional detection O ring material and material used in plug construction Several extension lengths are available to elevate the indicator The Build your own PIG SIG charts at the end of this m...
Page 10: ...Tensile Requirements 35 000 psi SMYS 60 000 psi SMTS Impact Requirements 13 ft lbf min Avg 3 Specimens 10 ft lbf min One Specimen Only Impact Temperature 50 F Chemical Requirements Composition Percent...
Page 11: ...9 2808 2340 1872 450 3072 3246 2246 1872 1497 500 2985 Note O Ring material selection must be suitable for service fluids and temperature requirements B Electrical Electrical Indicator Switch Specific...
Page 12: ...the North American Hazardous Locations Designation Class I Groups B C and D Class II Groups E F and G The switch complies with UL File No E61730 and CSA File No LR57327 The switch operating temperatur...
Page 13: ...ily to provide a degree of protection against the entry of water during occasional temporary submersion at a limited depth Type 13 enclosures are intended for indoor use primarily to provide a degree...
Page 14: ...cement is required THREAD O RING nipples can be provided for attachment to various types of integrally reinforced connections CAUTION The PIG SIG plug assembly can be damaged and may not operate prope...
Page 15: ...over the threaded end of the nipple G For proper weld penetration a root gap should be introduced between the weld end of the nipple and surface of the pipe Do not exceed 1 8 inch root gap DO NOT WEL...
Page 16: ...Before making tap check PIG SIG plug clearance B Grasp trigger of plug and pass plug assembly upside down through tapping valve bore into nipple as shown in Figure 2 If the top of the plug turns freel...
Page 17: ...n around a pipe oriented in any direction relative to horizontal The bi directional assembly must be installed on top of a horizontal pipeline When installing an indicator assembly on a plug assembly...
Page 18: ...visible on the body tube See Figure 8 Figure 8 Retract Plug Assembly 3 2 2 Compute Plug Setting Distance It is important that the distance required to completely set the plug be known Measurements are...
Page 19: ...is measurement on the drilling machine body tube See Figure 10 Figure 10 Plug Setting Measurements CAUTION Measurements must not exceed 18 inches the maximum travel distance of the T 101b Drilling Mac...
Page 20: ...plug setting operations See Figure 13 G Rotate handle clockwise until mark is reached on body tube and plug is tight inside fitting Do not over tighten or the O ring and threads may be damaged H Turn...
Page 21: ...onal plug arrow on top of plug should point in direction of flow If a bi directional plug arrows should align with pipeline axis See Figure 15 Figure 15 Check Plug Alignment Note Make sure the top of...
Page 22: ...ion spring to shaft See Figure 19 F Remove spring retainer and upper torsion spring from shaft See Figure 20 Figure 20 Remove Spring Retainer and Upper Torsion Spring G Loosen two set screws in cam an...
Page 23: ...driver Figure 23 as follows 1 If unidirectional turn shaft counterclockwise to a firm stop with a screwdriver The trigger is positioned 2 If bi directional turn the shaft fully counterclock wise Mark...
Page 24: ...t in place on the shaft as shown in Figure 27 Figure 26 Install Upper Torsion Spring Figure 27 Install Spring Retainer Note If pipeline pressure is less than 1 500 psi only one 1 torsion spring on cam...
Page 25: ...ng 3 3 2 Installing Rotary Cap Indicator Assembly Note See Section 4 3 1 for Flag and or Electrical Switch Indicator Assembly A Install drive sleeve and spring in plug See Figures 29 and 30 Figure 29...
Page 26: ...he two marks The trigger will be in the down position E Place rotary cap on pipe cap Position the rotary cap so that the two windows are perpendicular to the run of the pipe as shown in Figure 32 Mark...
Page 27: ...trigger 3 4 Extended Indicator Installation Note Special extensions are used in rotary cap applications extension and rotary cap are made as one unit 3 4 1 Install Extension Thread extension onto nipp...
Page 28: ...r in that order on the extension shaft H Return to paragraph 4 3 steps I through O for completion of assembly 3 5 Recovering the Plug 3 5 1 Preparations A Remove cover from the box or in the case of t...
Page 29: ...g bar fully making sure zero is visible on the body tube K Install valve adapter on drilling machine 3 5 2 Take Required Measurements A With boring bar fully retracted and feed tube at zero mark on bo...
Page 30: ...leeder Valve D With locking cap removed rotate feed tube clockwise to extend boring bar until plug holder contacts bottom of hole in plug The feed tube should be at mark on body tube If feed tube is 1...
Page 31: ...d be standing up The flag will need to be reset before the next Pig passage 2 If the PIG SIG is electrical is the indicator properly wired Are the wires still connected to the terminals in the microsw...
Page 32: ...SIG does not operate properly following correct indicator installation then you will have to remove the indicator and confirm that the plug is positioned properly and working correctly 5 Is the plug a...
Page 33: ...manual section for the proper procedure for removing plug Hex Keys Allen Wrenches Reference List Size TDW Part Number Where Used 3 32 00 0175 0002 00 Set screw in plug cam and spring retainer 1 8 00 0...
Page 34: ...t TDW s option returned to TDW s factory Customer shall prepay shipping charges and shall pay all duties and taxes as applicable for products or parts returned to TDW for warranty service 4 This Warra...
Page 35: ...TDW Pub No 00 3795 0153 2019 All rights reserved T D Williamson Printed in the U S A Revised June 2019 PIG SIG V Scraper Passage Indicator Operating and Maintenance Instructions tdwilliamson com...