


TC-IVL Ventures Inc.
TC Electronic A/S
Sindalsvej 34
DK-8240 Risskov
Denmark
Phone:
+45 8742 7000
Fax:
+45 8742 7010
E-Mail:
www.tc-helicon.com
How to Upgrade VoicePrism Software
1. Make note of the current version number (press the
Utility
button and tab to the
Version
page).
2. Chain several units together by connecting the
MIDI Thru
port to the
MIDI In
port of the
next unit. Connect the MIDI output from your computer to the
MIDI In
port of the first unit.
3. Using a MIDI tool such as MIDI-OX load the “Upload.syx” file.
4. Transmit the file. All units should display a message saying “YOU MAY START
UPLOAD…” (see
Figure 2
) Note, the “Upload.syx” file is only for internal use and should
never be made available to the customer because it bypasses the download password
mechanism.
5. Load and transmit the “ClearFlash.syx” file. This will erase the VoicePrism software flash
chip. Note, erasing the flash will not only remove the software but also clear all user
presets and preference settings.
6. Wait for at least 10 seconds after sending the “ClearFlash.syx” file. It takes a few seconds
to erase the flash.
7. Load “VP
xxx
.syx” where
xxx
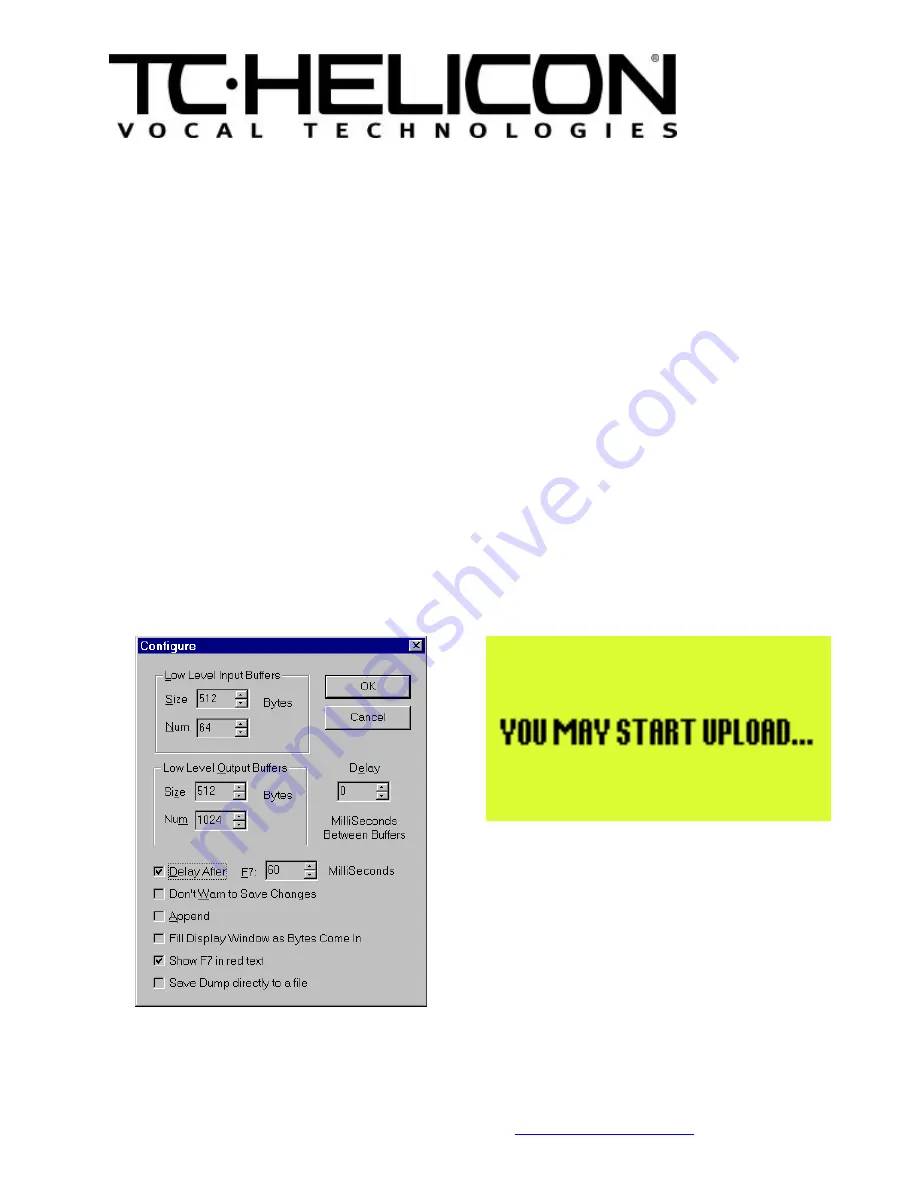
represents the current version number. If you are using MIDI-
OX make sure that there is a 60 ms delay after each F7 (one of the options in the Sysex,
Configure dialog box in MIDI-OX, see
Figure 1
for an example). This might not be absolutely
necessary, depending on the type of MIDI device you are using.
8. Transmit the file.
9. When the file has been sent, all units should reset automatically.
10. Confirm that the new software has been loaded by checking the version number again.
11. Perform the BIST procedure (see below).
Figure 1 - Sample MIDI -OX Sysex Configuration
Figure 2 - Upload Screen