EN
Dual-Bay RAID Storage Enclosure
for two 2.5-inch Serial ATA Hard Drives
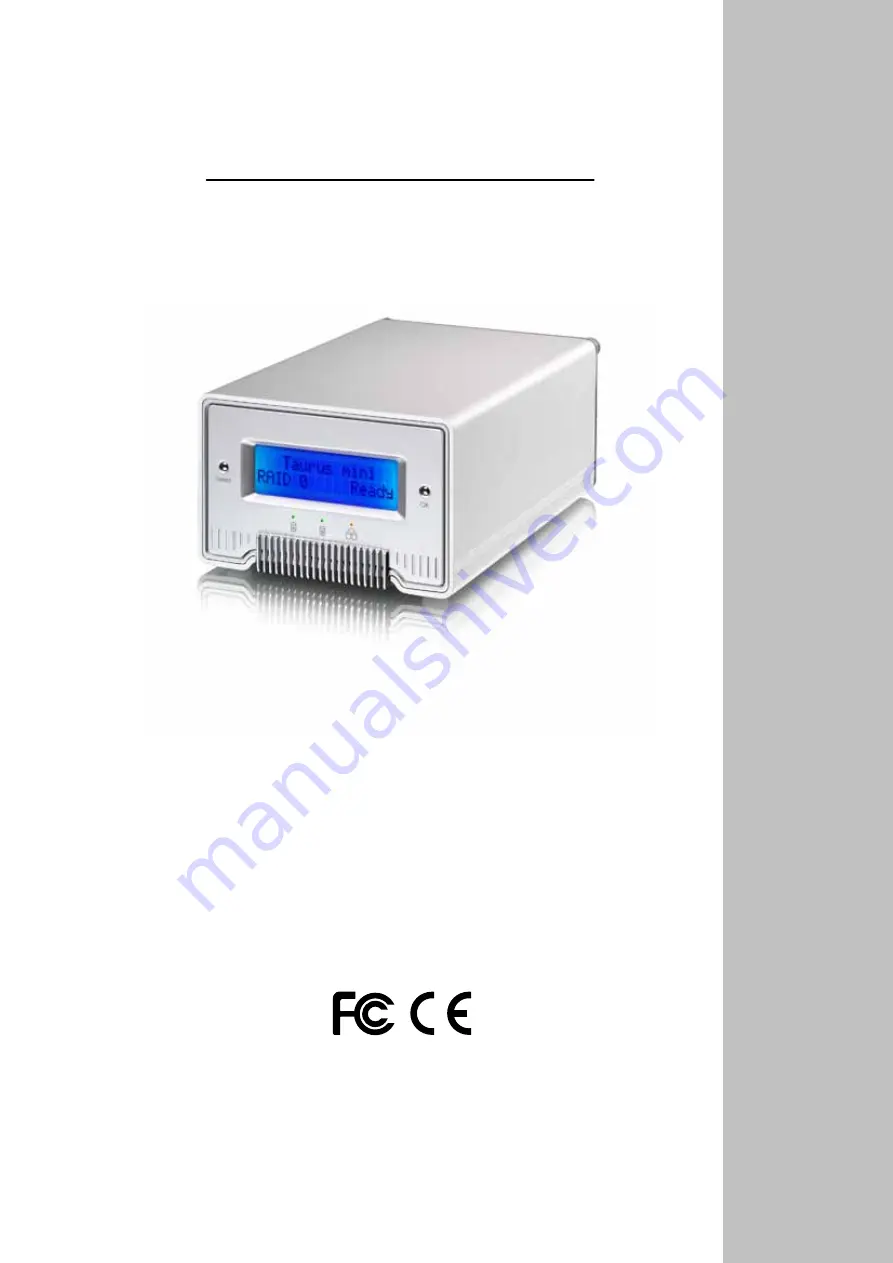
Taurus Mini Super-S
User Manual
September 13, 2010 – v1.1
Page 1: ...EN Dual Bay RAID Storage Enclosure for two 2 5 inch Serial ATA Hard Drives Taurus Mini Super S User Manual September 13 2010 v1 1...
Page 2: ...Disk Mirroring 3 1 6 3 Changing the RAID Mode 3 2 System Setup 4 2 1 Hard Drive Assembly 4 2 2 Replacing Hard Drives 6 2 3 Connection to Computer 6 2 4 About Data Backup 6 3 LCD Display 7 3 1 Main Men...
Page 3: ...rives 1 5Gb s or 3 0Gb s Height 9 5mm or 12 5mm 20GB 1TB per HDD Hard drives of identical capacities are recommended Note In order for the computer to access volumes larger than 2TB both the hardware...
Page 4: ...ata Select Select setup menu or mode OK Confirm current option or enter setup menu Note HDD A indicates the drive at the bottom and HDD B indicates the drive on top 1 5 2 Rear View Icon Label Meaning...
Page 5: ...creates an exact copy or mirror of a set of data on the second drive This is useful when reliability and backup take precedence over storage capacity Should one hard drive fail it can be replaced and...
Page 6: ...y from your vendor carefully as this could void your warranty 1 Remove the two hand tightening screws at top rear of the device and then remove the upper part of the rear panel 2 Grab the HDD tray and...
Page 7: ...puter For PC users use the disk management tool or for Mac users use the disk utility to create a new partition and format the drives 9 Done Your drive is now ready to use Note This device is designed...
Page 8: ...off the power during the rebuild process but if the process is interrupted it will continue rebuilding the data as soon as the power is turned back on 2 3 Connection to Computer A few precautions and...
Page 9: ...evice configuration 3 2 System Information Press the Select button until the system information menu is selected and then press the OK button to start displaying further details about the device confi...
Page 10: ...emperature of the drive installed at HDD1 4 Displays the model number and serial number of the drive installed at HDD2 5 Displays the total storage capacity and the temperature of the drive installed...
Page 11: ...cess the drive Disabled Only supports volumes up to 2TB If the total storage capacity exceeds 2TB the remaining storage space can not be accessed but on the other hand older Operating Systems are stil...
Page 12: ...ycle through the different options To exit the menu without changing any of the settings press the Select button until you see the Exit screen and then press the OK button To change the setting press...
Page 13: ...ly ON Beeper and alarm is enabled OFF Beeper and alarm is disabled Press the OK button to enter the setup menu and press the Select button to cycle through the different options To exit the menu witho...
Page 14: ...Backlight turns off when the screen has been idle for more than three minutes 5min Backlight turns off when the screen has been idle for more than five minutes Press the OK button to enter the setup m...
Page 15: ...and one of the drives fails the alarm will go off and the display shows this message Press the OK button to temporarily mute the alarm and use the HDD LED s in order to locate the defective drive XX...
Page 16: ...ly the cables supplied or recommended by your vendor in order to avoid the risk of malfunction electric shock and or possible interference to the device 4 2 FAQ Q What file system should I choose to f...