


TASCAM SS-CDR250N / SS-R250N
63
8 – Recording
Monitoring input signals
Press the RECORD [TRACK INC] button (or remote control
RECORD button) to put the unit in recording standby. The RE-
CORD [TRACK INC] and PAUSE [CALL] buttons will lights and
the input signals will be output from this unit's various outputs
(headphones, analog balanced and unbalanced jacks, and dig-
ital connectors). The meters at the top of the Home Screen will
also show input levels.
Press the STOP button (or remote control STOP button) to end
recording standby.
TIP
If you do not plan to record, but just want to monitor the
input signals, without setting the current media, press the
RECORD [TRACK INC] button (or remote control RECORD
button).
The RECORD [TRACK INC] button will blink.
To stop monitoring the input signals, press the STOP button
(or remote control STOP button).
Basic recording operations
Make the following settings (input source selection, recording
file format, sampling rate conversion on/off, input level adjust-
ments) before recording.
Entering recording standby from a stopped state:
Press the RECORD [TRACK INC] button (or remote control RE-
CORD button). (The RECORD [TRACK INC] and PAUSE [CALL]
buttons light.
Starting recording from recording standby:
Press the main unit or remote control PLAY button.
Pausing recording:
Press the PAUSE [CALL] button (or remote control F1 button).
Stopping recording:
Press the main unit or remote control STOP button.
Recording stops, recording data are written and audio files are
created.
NOTE
i
On the
FILE NAME
screen, you can set the name that is au-
tomatically given to audio files when they are created.(See
“Setting the recording file format” on page 61.)
i
The maximum file size for each track is 2 GB.
i
Recorded tracks are created in the current folder. (See “Folder
operations” on page 43.)
CAUTION
“
WRITING FILE...
” appears while recording data is being
written to the current media. During this time, do not move
the unit, turn it off, or remove the current media. Doing so
could prevent the recording data from being properly written.
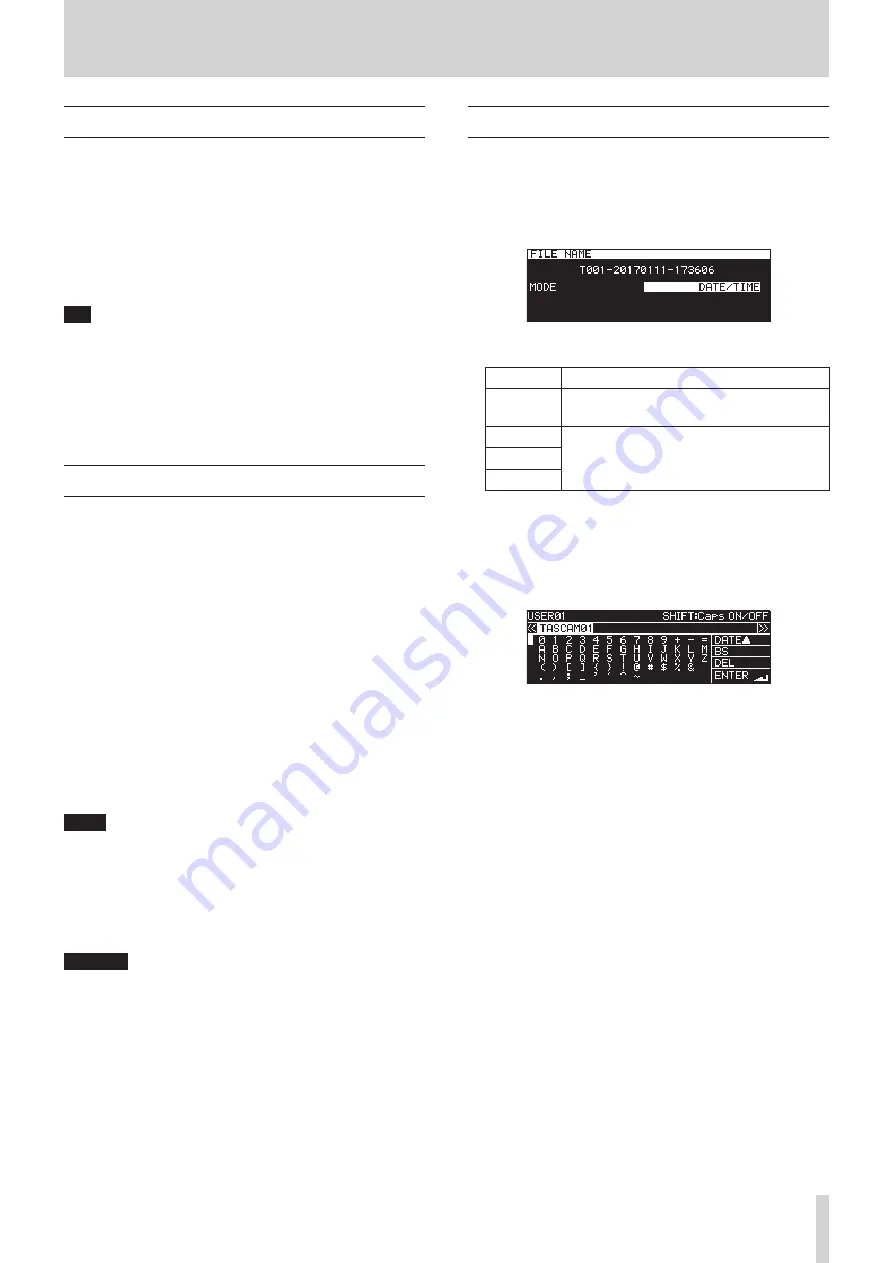
Setting the file name format
You can select the format of names given to files automatically
during recording.
1.
Select the
FILE NAME
item on the
REC 4
page to open the
FILE NAME
screen. (See “Menu operation procedures” on
2.
Set the file name format.
Option
Meaning
DATE/TIME
(default)
The date and time of the unit's built in clock are
used for the file name.
USER01
The text set by the user (8 characters) is used
for the file name.
USER02
USER03
3.
If you selected
DATE/TIME
or
USER 01
–
USER 02
and do not
want to edit the file name, press the MULTI JOG dial to re-
turn to the menu.
If you selected
USER 01
–
USER 03
and you want to edit the
file name, press the
,
[INPUT] button to open the RE-
NAME screen.
4.
Edit the file name.
5.
After you finish editing, turn the MULTI JOG dial and select
ENTER
. Press the MULTI JOG dial to confirm the edited text
and return to the
FILE NAME
screen.
6.
Press the MULTI JOG dial again to return to the menu
screen.


