124
TASCAM HS-4000
13 – Other functions
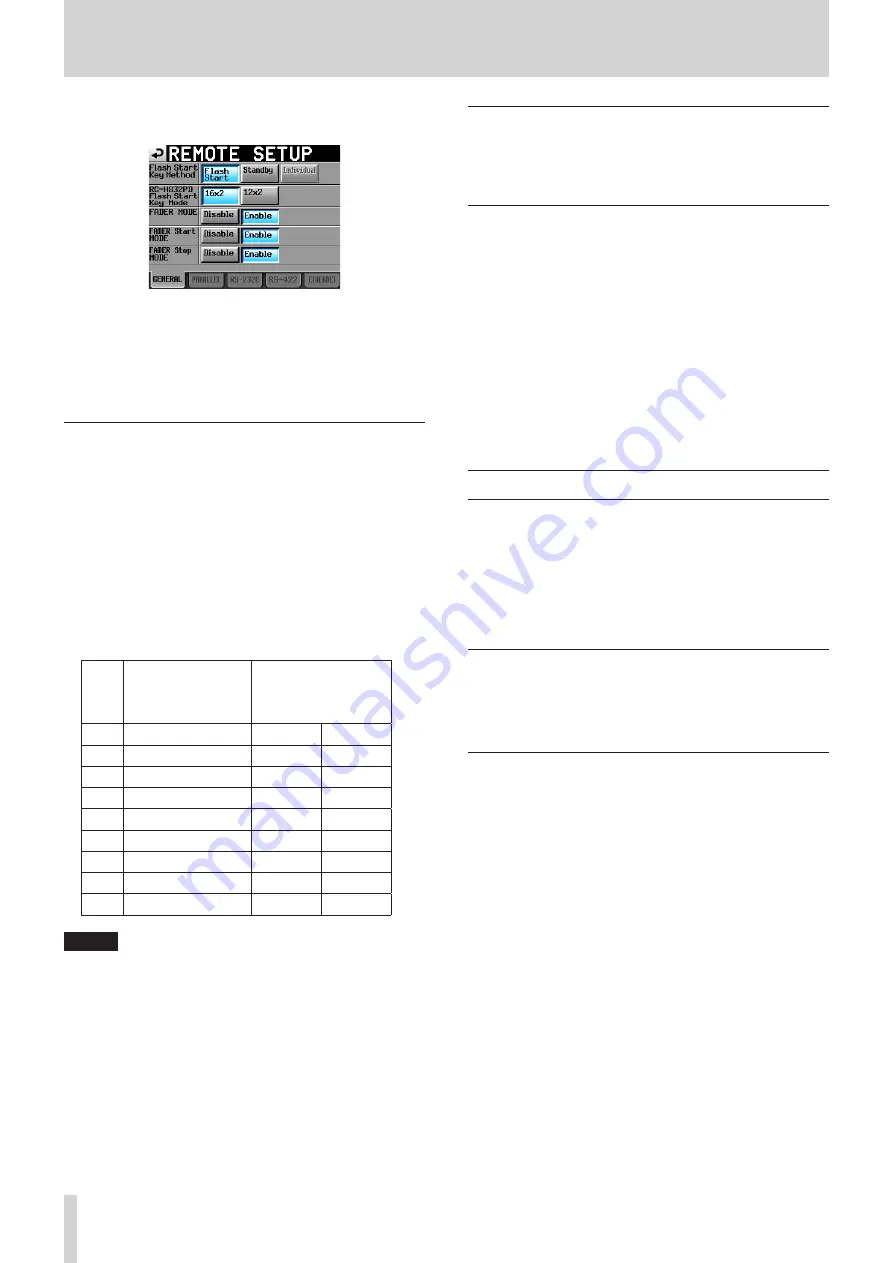
2. Touch the REMOTE SETUP button to open the REMOTE
SETUP screen.
On the GENERAL page, set what happens when a flash start
key is pressed, and set whether the two banks of flash start
keys have 12 or 16 buttons each when using the TASCAM
RC-HS32PD remote controller (sold separately) in dual
playlist mode. For details, see “GENERAL page (REMOTE
Selecting the flash start page
1. In take mode, select the session that you want to play back.
(See “Loading sessions” on page 43.)
When in playlist mode, select a playlist.(See “Loading
2. Use the DATA dial to select the page that contains the takes
or files that you want to play.
When in dual playlist mode, use the SELECT button to select
the current player first.
The takes or entries numbered from 1 to 96 in the selected
session or playlist can be played back using flash start.
The pages depend on the RC–HS32PD Flash Start Key Mode
and player mode.
Take, single playlist
or A/B MIXED playlist
mode
Dual playlist mode
Page 16x2
16x2
12x2
1
1-32
1-16
1-12
2
33-64
17-32
13-24
3
65-96
33-48
25-36
4
-
49-64
37-48
5
-
65-80
49-60
6
-
81-96
61-72
7
-
-
73-84
8
-
-
85-96
NOTE
•
When using a TASCAM RC-HS32PD remote controller (sold
separately), file names (or the first parts of long file names)
appear on the keys, making it easy to check the files.
•
When using a TASCAM RC-SS20 remote controller (sold
separately), the takes or entries numbered from 1 to 20 on
each page can be played back using flash start.
•
When using a computer keyboard, the takes or entries
numbered from 1 to 12 on each page can be played back
using flash start.
Flash start playback
When the Flash Start Key Method item is set to Flash Start,
pressing a flash start key causes the corresponding take or entry
to start playback immediately.
Standby playback (only with RC-HS32PD
connected)
When the Flash Start Key Method item is set to Standby,
pressing a flash start key when stopped puts the corresponding
take or entry into playback standby and that key blinks yellow.
Following this, pressing the PLAY key will cause playback to start
and the key to become green.
During playback, touching another flash start key will cause the
corresponding take or file to become lined up for playback, and
that key will become yellow.
When a take or entry is lined up for playback, pressing the PLAY
key will cause that take to start playing.
To cancel standby, touch the key for the lined up take (yellow
key) again.
Operation using a computer keyboard
You can control this unit by connecting an IBM-PC-compatible
keyboard with a PS/2 or USB interface to the unit.
Connect PS/2 keyboards to the KEYBOARD connector on the
front panel of this unit. Connect USB keyboards to the USB
connector on the front panel of this unit.
A variety of operations are possible, but using the keyboard is
especially efficient for inputting names.
Setting the keyboard type
Set the keyboard type to suit the connected keyboard.
Change the KBD Type setting on the PREFERENCES page of the
SYSTEM SETUP screen.(See “PREFERENCES page” on page 112.)
Using the keyboard to input names
You can edit and input characters for the following items in the
same manner as inputting characters on a computer.
0
Project names (See “Editing the project name” on page 40.)
0
Session names (See “Editing the name of the first session” on
page 41.),(See “Creating new sessions” on page 43.)
0
Take names (See “Editing take names” on page 76.)
0
Playlist names (See “Creating a new playlist” on page
77.),(See “Saving a playlist” on page 93.)
0
Exported PPL file names (See “Creating a JPPA PPL file from
the loaded playlist” on page 94.)
0
Exported AES31 file names (See “Exporting AES31 editing
0
Playlist entry titles (See “Editing entry titles” on page 88.)
0
Bounce file names (See “Bouncing” on page 67.)
0
First half of the next take name
0
Letter in the second half of the next take name
0
Mark (See “Editing mark names” on page 121.)
You can also use it to enter numbers for the following items.
0
Editing the T/C USER BITS
0
Editing the START TIME
0
Editing mark positions (See “Editing mark positions” on page


