


TASCAM DR-44WL
23
4 – Recording
Using the level control function
You can set the input level for microphone input.
1. Press the INPUT button to show the
INPUT
SETTING
screen.
2. Press a TRACK/INPUT button to open the
INPUT
SETTING
screen for that channel (track) to set its level
control function.
3. Using the wheel select (highlight)
LV
CTRL
and press the
ENTER/MARK or
/
button.
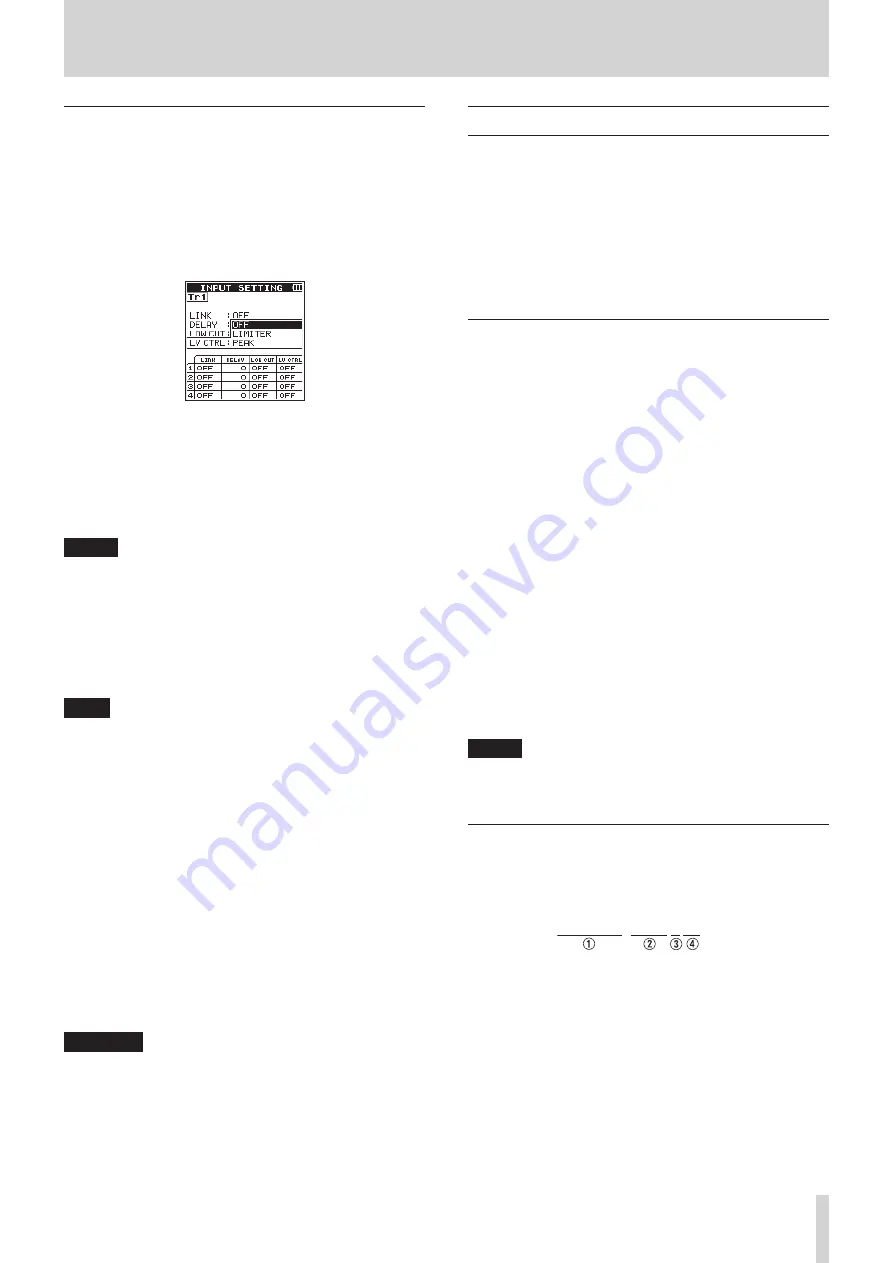
INPUT
SETTING
screen when in 4CH mode
4. Use the wheel to set the level to be used.
Options:
OFF
(default value),
LIMITER
,
PEAK
5. Press the ENTER/MARK button to confirm the setting and
enable selection of other setting items.
6. Once the setting has been completed, press the
8
/HOME
button to return to the Home screen.
NOTE
LV
CTRL
can be set or changed even during recording
standby and when recording.
PEAK (PEAK REDUCTION)
This function is used to automatically lower the input level to an
appropriate one when an input sound is too loud. This allows
input level setting to be performed easily. The input level can be
raised manually if required.
TIPS
When recording live performances, for example, test for
peak reduction may be performed before actual recording.
Select the peak reduction mode in recording standby, and
maximize the input level. As a test performance is given
subsequently, the input gain is reduced to an appropriate
level to meet the input signals, and an optimum input level
for the performance is set.
Recording will be stored at this input level if this mode is
disabled before starting recording. Otherwise, the input
level will continue to be controlled automatically during
recording.
LIMITER
This function prevents distortion due to a sudden and excessive
input.
This mode is also suited for recording of live performances with
large volume changes.
In this mode, you can change the input level manually even
during recording.
CAUTION
Distortion of sounds may occur when excessively large input
signals come in even if the LIMITER function is activated. If
this occurs, reduce the input level manually or move the unit
farther away from the sound source.
Record in 4 CH mode (4 CH mode only)
You can connect built-in microphones to external microphones
or other equipment to record four independent channels.
Mono × 1–4
Channels 1, 2, 3 and 4
Stereo × 1–2
Channels 1/2 and 3/4
Stereo × 1 + Mono × 1–2 (WAV or BWF only)
Channels 1/2, channel 3 and channel 4
Channel 1, channel 2 and channels 3/4
Record 4 channels
1. Set the mode to
4CH
mode. (See “Selecting Operation
2. Press the RECORD button to set the recording standby
mode.
3. Select the channel (track) you want to record by using the
TRACK/INPUT button.
At this point, for the channel (track) you want to record into
a stereo file, turn the stereo link on. A channel (track) not
stereo-linked is recorded into a mono file.
4. Press the RECORD button again to start recording.
5. Press the
8
/HOME button to stop recording.
How to Set the Stereo Link
• Turn the stereo link for channel 1 and channel 2 on/off.
When in recording standby, press TRACK/INPUT button 1
and button 2 at the same time.
• Turn the stereo link for channel 3 and channel 4 on/off.
When in recording standby, press TRACK/INPUT button 3
and button 4 at the same time.
You can check the status of the stereo link from the channel
(track) status display in the screen display.
The stereo link can be set for the above combinations only.
NOTE
When the
FORMAT
item on the
REC SETTING
screen is set to
MP3
, recording a combination of mono and
stereo files is not possible.
File names when recording in 4-channel
In 4-channel recording, the following files are created.
If they are stereo-linked, files are created in sets for the built-in
mic (channels 1/2) and external device (channels 3/4).
TASCAM̲0001S12.WAV
1
: Set with the
WORD
item on the
FILE
NAME
screen.
2
: Recording file base number
3
: S is the source file
4
: Assigned channels (
1
is channel 1,
12
is channels 1/2
and
34
is channels 3/4)


