background image


3

IMPORTANT SAFETY INSTRUCTIONS                                   


13. SERVICING: Do not attempt to service this product yourself as opening or removing covers may expose you to dangerous 

voltage and may damage precision components. Refer all servicing to qualified service personnel. 

14. LIGHTNING: For added protection during a lightning storm, or when it is left unattended and unused for long period of time, 

unplug it from the wall outlet and disconnect the antenna or cable system. This will prevent damage to the product due to 

lightning and power line surges. 

15. REPLACEMENT PARTS: Should replacement parts be required, has the service technician verify that the replacement parts 

he uses have the same safety characteristics as the original parts. Use of unauthorized replacements parts can cause fire or 

electric shock. 

16.  SAFETY  CHECK:  Upon  completion  of  any  service  or  repairs  to  this  product,  ask  the service  technician  to  perform safety 

checks recommended by the manufacturer to determine that the product is in a safe operating condition. 

17. HEAT DISPERSAL: Leave at least 10 cm of space between the top, back and sides of the unit and the wall or other electrical 

components. 

18. The apparatus shall not be exposed to dripping or splashing and that no objects filled with liquids, such as vases, shall be 

placed on the apparatus. 

 
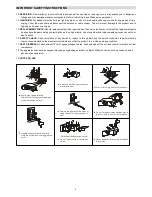
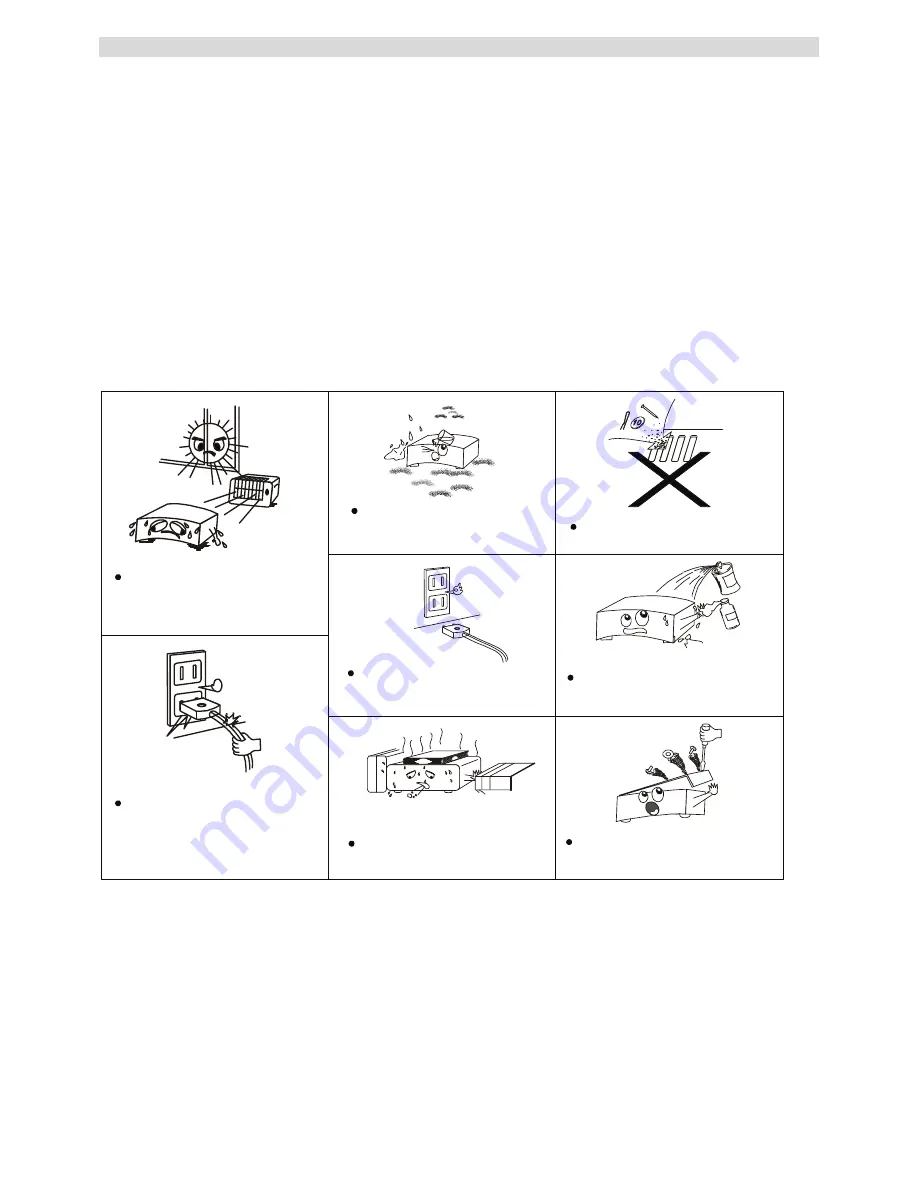
19. NOTES ON USE 


Avoid hig h temp eratures
Allow for sufficient heat d ispersion
when installed o n a rack.

Handle the p ower cord carefully.
Hold the plug when unplug ging the
cord .

Keep the set free fro m moisture.
water,and dust.

Unp lug the p ower cord when not
using the set for long p eriod s of
time

Do  not  ob struct the  ventilation
holes

* (For sets with ventilation ho les)

Do not let foreig n ob jects in the set.

Do not let insecticid es,b enzene,and
thinner co me in contact with the set.

Never d isassemb le or mod ify the set
in any way.


Summary of Contents for EXEO CDP

Page 1: ...EXEO CDP...

Page 2: ...RMATION 1 IMPORTANT SAFETY INSTRUCTIONS 2 ACCESSORIES 4 CONNECTIONS 5 REMOTE CONTROL INFORMATION 6 FRONT PANEL INFORMATION 8 REAR PANEL INFORMATION 9 OPERATION AND FUNCTIONS 10 TROUBLESHOOTING GUIDE 1...

Page 3: ...he user to the presence of uninstalled dangerous voltage within the product s enclosure that may be of sufficient magnitude to constitute a risk of electric shock to persons The exclamation point with...

Page 4: ...injury to a child or adult as well as serious damage to the product Any mounting of the product should follow the manufacture s instructions and use a mounting accessory recommended by the manufactur...

Page 5: ...completion of any service or repairs to this product ask the service technician to perform safety checks recommended by the manufacturer to determine that the product is in a safe operating condition...

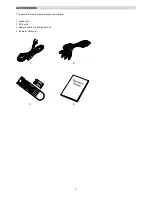
Page 6: ...4 ACCESSORIES You should find the following accessories included 1 Mains cord 2 RCA cord 3 Remote control batteries AAA x 2 4 Operator s Manual 1 2 3 4...

Page 7: ...5 CONNECTIONS Amplifier systems How to connect the EXEO CDP to e g an EXEO AMP...

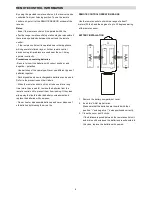
Page 8: ...le and non rechargeable batteries can be used Refer to the precautions on their labels When the remote control unit is not to be used for a long time more than a month remove the batteries from the re...

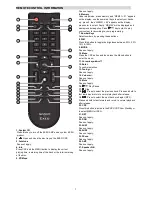
Page 9: ...ustom list according to your programming 7 Number Keys Select numbers by pressing these buttons 8 DIM Press this button to toggle the brightness between 25 50 75 100 9 MODE Does not apply 10 Menu Pres...

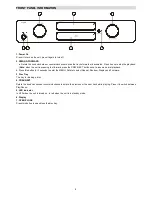
Page 10: ...T button once to resume normal playback b Press this button for 2 seconds to enter the MENU Rotate to select Repeat Random Display and Firmware 3 Disc Tray The tray for loading a disc 4 PREV NEXT Rota...

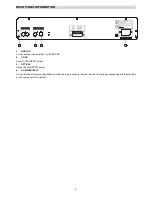
Page 11: ...ier e g EXEO AMP 2 COAX Coaxial 75 SPDIF output 3 OPTICAL Optical Toslink SPDIF output 4 AC MAINS INPUT For connection of mains voltage Make sure that the plug is correctly inserted and that the volta...

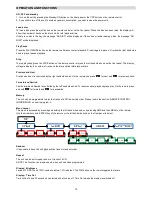
Page 12: ...tal playback time Previous and Next Previous and next is controlled by the right hand side knob On the remote you press for next and for previous track Forward and Rewind Fast Forward and Rewind is co...

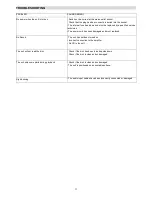
Page 13: ...he power cord has been damaged and must replaced No Sound The unit has not been turned on Incorrect connection to the amplifier No CD in the unit The unit will not read the disc Check if the disc has...

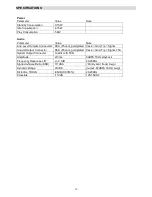
Page 14: ...old plated Case Gnd Tip Signal Coaxial Output Connector RCA Phono gold plated Case Gnd Tip Signal 75 Optical Output Connector Toslink JIS F05 Amplitude 2Vrms 0dBFS 1KHz playback Frequency Response L R...

Reviews: