


Tally Dascom DT-210/230 User Guide V1.3
23
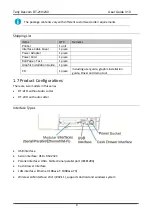
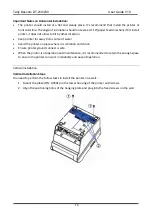
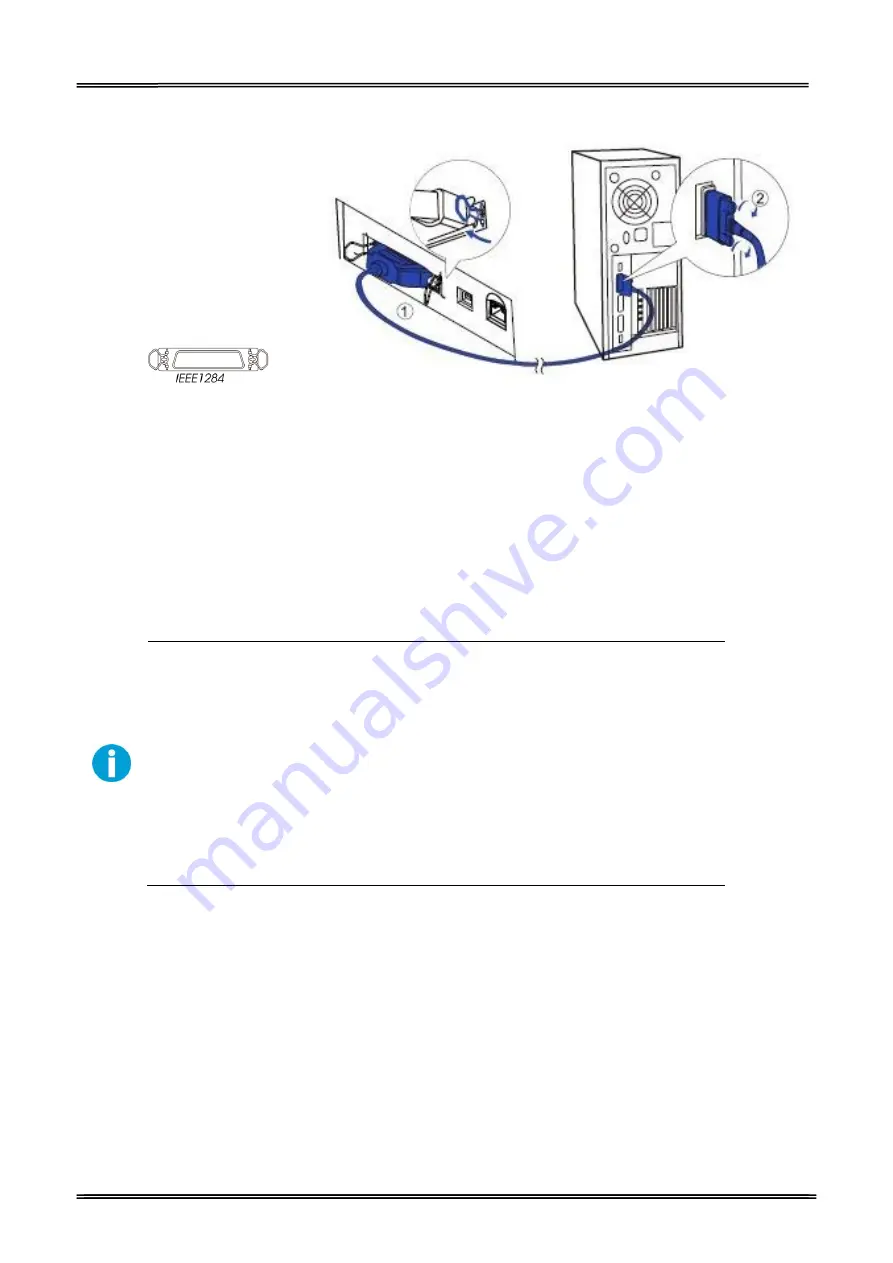
2.6.5 Connecting Parallel Interface
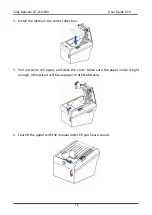
1.
Insert the interface cable connector firmly into the interface connector on the
connector panel.
2.
Press down the clips on either side of the connector to lock it in place.
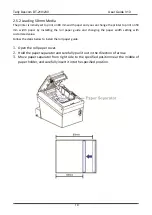
3.
When using interface cables equipped with a grounding line, attach the ground line
to the screw hole marked “FG” on the printer.
4.
Connect the other end of the interface cable to the host computer.
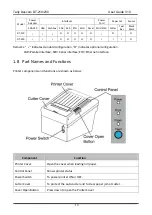
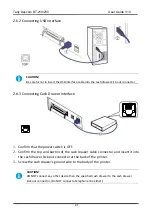
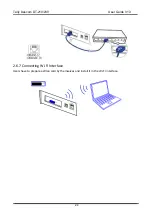
2.6.6 Connecting Ethernet Interface
Before installation, make you have installed the driver and the driver for
Ethernet interface (see Installing Driver on page 17)
When LAN cables are installed outdoors, make sure devices without
proper surge protection are cushioned by being connected through
devices that do have surge protection.
Otherwise, the devices can be damaged by lightning.
Never attempt to connect the customer display cable, drawer kick-out
cable, or the standard telephone line cable to the 10/100BASE-T LAN
connector.
Connect the printer to a network by a LAN cable via a hub.
Connect a 10/100BASE-T cable to the 10/100BASE-T LAN connector by pressing firmly until the
connector clicks into place.
Summary of Contents for DT-210
Page 1: ...User Guide DT 210 230 Thermal Receipt Printer ...
Page 15: ...Tally Dascom DT 210 230 User Guide V1 3 DASCOM REPRESENTATIVES 96 ...
Page 45: ...Tally Dascom DT 210 230 User Guide V1 3 30 5 Click Install 6 Wait for a sec ...
Page 46: ...Tally Dascom DT 210 230 User Guide V1 3 31 7 Installation complete Click Finish ...
Page 48: ...Tally Dascom DT 210 230 User Guide V1 3 33 Enable the Black Mark ...