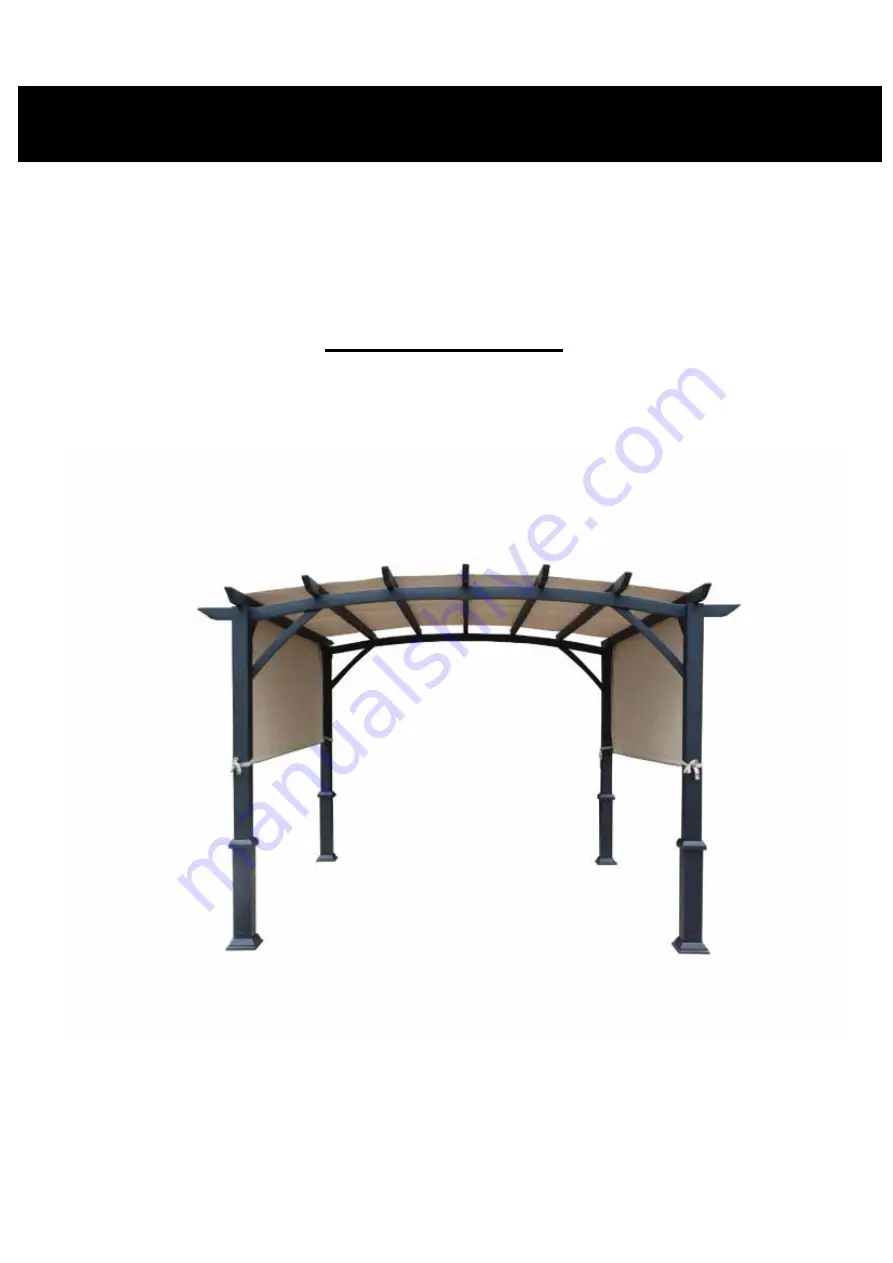
10’x10’ Curved Roof Pergola
Model
#TPPER94033
INSTALLATION GUIDE
Page 1: ...10 x10 Curved Roof Pergola Model TPPER94033 INSTALLATION GUIDE...
Page 2: ...ic washer DD and M6 15 mm bolt AA Secure the bottom of the rafter with a washer EE and M6 15 mm bolt AA Slide the preassembled pipe skirt on the joined rafter Secure pipe skirt with a washer DD and M6...
Page 3: ...ing the rear beam male D1 into the rear beam female D2 Secure the of the joined beam with a plastic washer DD and M6 15 mm bolt AA Secure the bottom of the beam with a washer EE an M6 15 mm bolt AA Re...
Page 4: ...J J K AA EE H H I 10 3 Operation continued AA EE Slide one post skirt J onto each post 1 H and post 2 I Attach one plate K to each post 1 H and post 2 I Secure each with washers EE and M6 15 mm bolt A...
Page 5: ...D1 D2 DD BB H I 11 4 Operation continued Attach rear beam D1 D2 to post 1 H and post 2 I Secure with plastic washers DD and M6 95 mm bolts BB Repeat for front beam E1 E2 4...
Page 6: ...5 A1 H I A2 Operation continued DD BB Attach left rafter A1 A2 to the top of the beam and post assembly Secure on both sides with plastic washers DD and M6 95mm bolt BB Repeat for right rafter C1 C2...
Page 7: ...nued DD BB Slide the pipe skirt on the center of the beam D1D2 E1E2 as shown then attach center rafter B1 B2 to the top center of the beam Secure with plastic washer DD and M6 95 mm bolt BB Repeat for...
Page 8: ...L1 L1 L1 L2 L2 L2 AA AA AA AA EE EE 14 7 Operation continued EE EE Attach a brace L1 L2 to the pergola assembly as shown Secure with washers EE and M6 15 mm bolt AA Repeat for remaining braces L1 L2 7...
Page 9: ...15 8 Operation continued N N N M M AA AA AA EE EE M AA EE EE Attach a brace N M to the pergola assembly as shown Secure with washers EE and M6 15 mm bolts AA Repeat for remaining brace N M 8...
Page 10: ...16 9 Operation continued G1 G1 G2 G2 F Insert rod male G1 into rod female G2 Insert rod assembly into canopy F Repeat for remaining rod assembly 9...
Page 11: ...17 10 Operation continued F F Place canopy F over pergola Tie corners of canopy F to each post 10...
Page 12: ...11 18 Operation continued Insert stakes FF into plate K Place post skirt J over plate K Repeat for remaining stakes FF and post skirts J FF K J 11...