Configuring aCOLyte3
d. Press OK to close the Select Users dialog box and add the users to the group in the
Properties dialog box.
Note
If required, you can also use the Properties dialog box to remove users from the group by
selecting them and pressing Remove.
e. Press OK to close the Properties dialog box.
Domain/Security groups
The principles and procedures for creating and populating an Acolyte Users Domain/Security
group are similar to those described for
, page 97, but using the Active Directory
Users and Computers console instead of the Computer Management application.
Database location
If you are using several aCOLyte3 instruments connected across a network, they can share a
single aCOLyte3 database. In order to do this, you will need to specify the location of the
shared database in each of the aCOLyte3 installations. Alternatively, you may have multiple
databases on the local database server on your PC, in which case, you can use the following
procedure to specify which one to use.
To specify the location of the aCOLyte3 database:
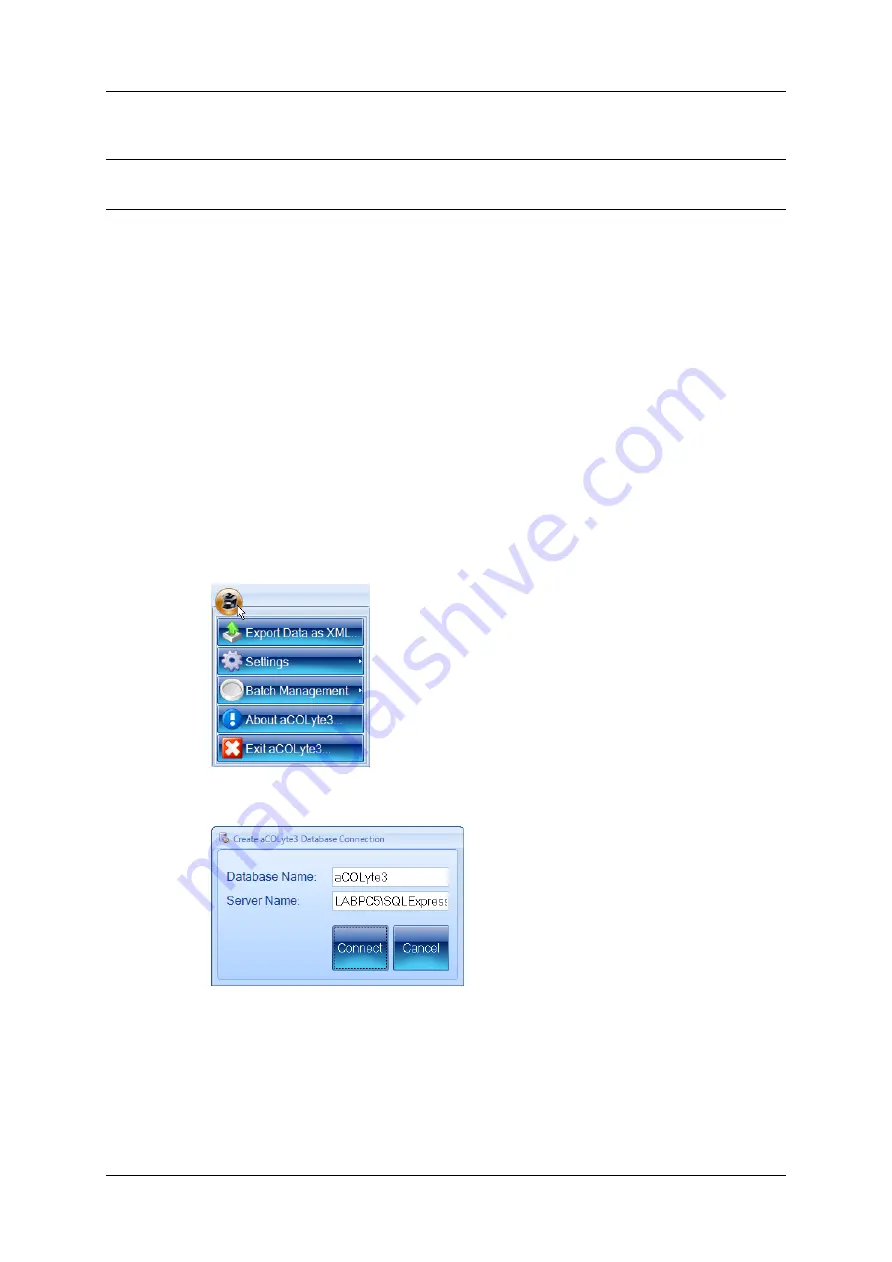
1. Press the aCOLyte3 button at the top left-hand corner of the window to display the
aCOLyte3 menu:
2. Choose Edit Database location from the Settings submenu to display the Create
aCOLyte3 Database Connection dialog box:
3. Enter the names of the aCOLyte3 Database and Server.
4. Press Connect.
100
aCOLyte3
User Manual
Summary of Contents for SYNBIOSIS aCOLyte3
Page 2: ......
Page 6: ......
Page 12: ...Getting started 6 aCOLyte3 User Manual...
Page 22: ...Capturing images 16 aCOLyte3 User Manual...
Page 66: ...Creating a new batch 60 aCOLyte3 User Manual...
Page 96: ...Working with results 90 aCOLyte3 User Manual...
Page 108: ...Configuring aCOLyte3 102 aCOLyte3 User Manual...


