


174 TimeHub 5500 User’s Guide
097-55501-01 Revision M – January 2009
Chapter 4 Testing and Configuring the TimeHub
Provisioning Inputs on a Remote Shelf
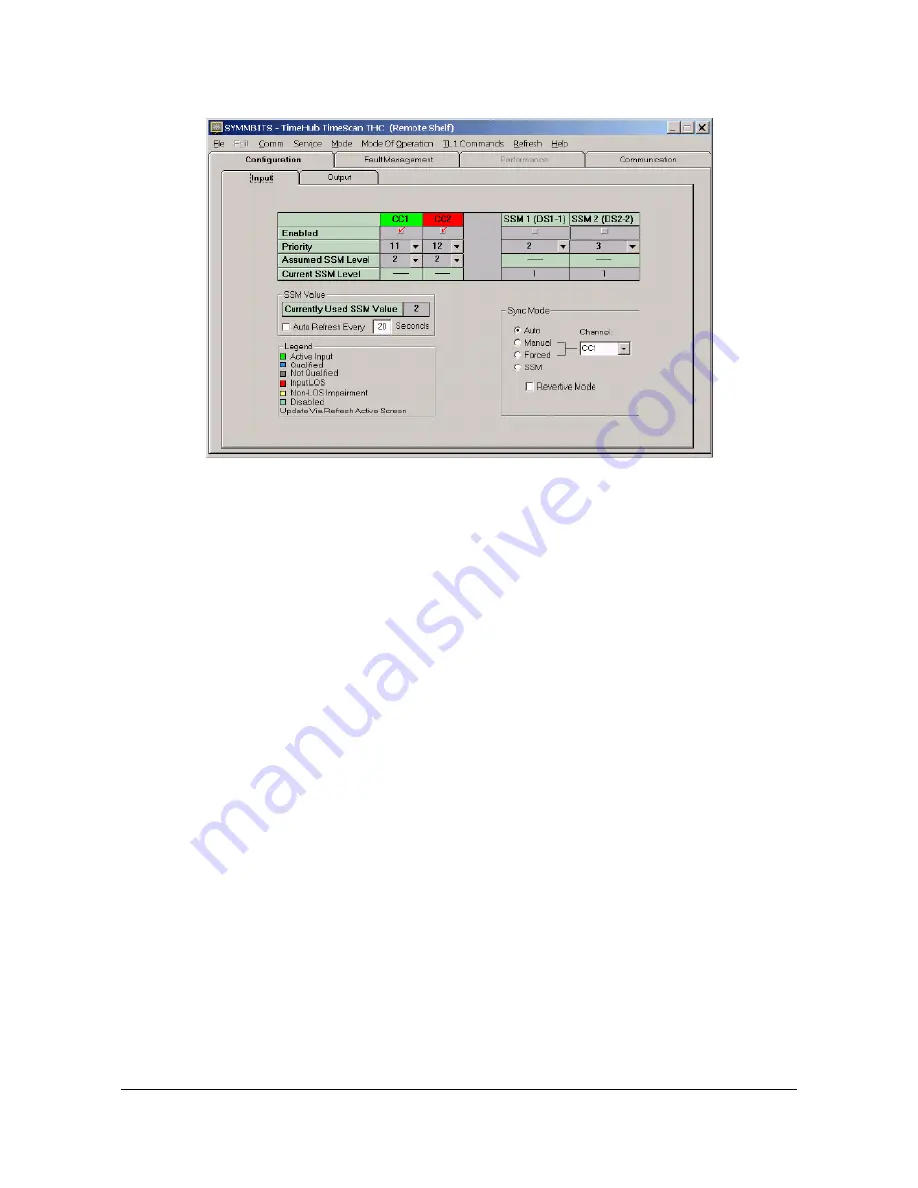
Figure 4-13. The Remote Input Configuration Window
2. Based on the timing references planned for this installation, set the Enabled row
appropriately. Click the Enabled box (a check mark is present) for CC inputs that
you will use; uncheck CC inputs that you will not use.
3. Verify that the input is enabled by checking the “E” LED on the front panel of
either Clock card (see
). Note that the Clock panel labeling is to the
right of the LEDs in the INPUTS section. The first row of three LEDs is labeled
CC1. In this step, verify that the “E” LED in that row is lit. Note that when the “E”
LED is lit, the input has been selected as a possible timing reference; it does not
indicate that a valid input is connected.


